
Delicious dehydrated apple slices are a healthy, shelf-stable snack that you can make using a dehydrator. Enjoy them as-is or add a bit of maple sugar and cinnamon spices for a perfect sweet treat!
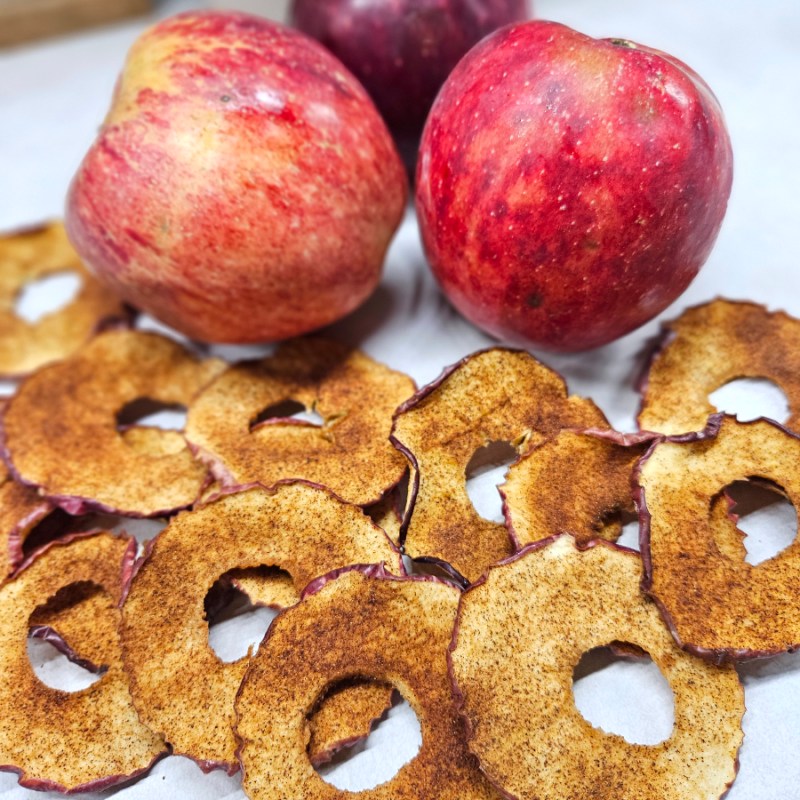
I’m sure some of you will argue that “pumpkin” should be the official flavor of fall. However, I think “apple” should be crowned king! Not that I have anything against pumpkin. (I love me some pumpkin bars with cream cheese frosting!)
However, apples have so many uses and applications. First, there’s apple cider and applesauce. Then there are apple pies, apple butter, apple crisps, caramel apples, and this recipe: dehydrated apple slices!
The best part about using apples is that they are delicious on their own. However, add in a bit of maple sugar and cinnamon, and these dehydrated apple slices are the perfect snack that is shelf-stable and great anytime you are craving a healthy but sweet treat!
How To Make Dehydrated Apple Slices
Choosing Your Apple Varieties
Whether you are picking apples from your own backyard, grabbing a few from a local orchard, or simply picking them up from your usual grocery store, fall is the perfect time for apple slices! However, the best part about apples is that they are readily available throughout the entire year, regardless of the season!
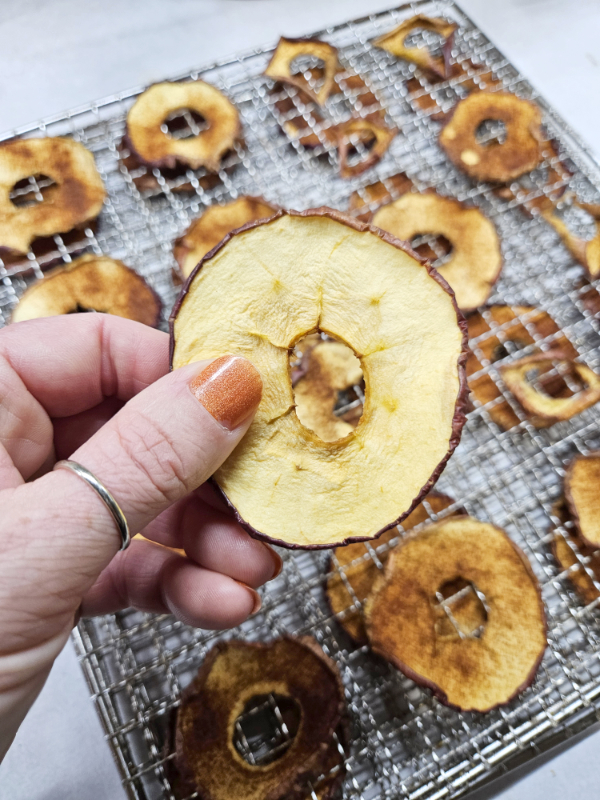
When you are choosing a variety of apple to use for dried slices, keep in mind their flavor profile. While all firm apple varieties can be used for dehydrated slices, some will have a better, more concentrated flavor than others. (Avoid using apples with softer flesh since they won’t slice as well.)
Most apples can be separated into either sweet or tart categories. For sweeter apple slices, some of my favorite varieties include Cosmic Crisp (hands-down my favorite apple), Fuji, Gala, Golden Delicious, Honeycrisp, or Pink Lady apples. For tart apple slices, choose Braeburn, Granny Smith, or McIntosh apples. You can, of course, use whatever variety you prefer, but these are some of the best ones to use.
Slicing The Apples – Dehydrated Apple Slices
First, wash your apples well. Set aside any apples that have large blemishes or bruises. (You can use those apples to make homemade applesauce or crockpot cider instead!)

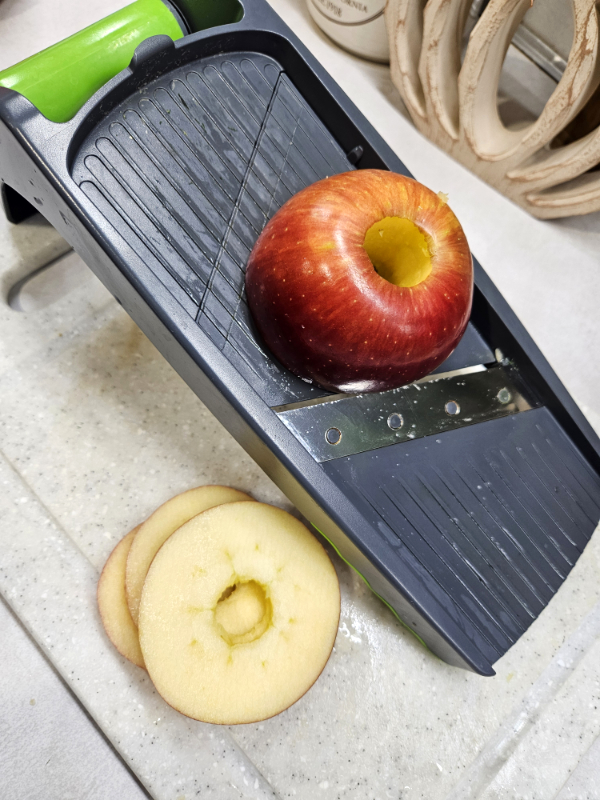
Once the apples are dry, you have a big decision to make: To peel or not to peel! I am team no-peel. Not only is it easier, but I actually like the chewier texture that the peel adds to the dehydrated slices. If you aren’t a fan, go ahead and peel the apples.
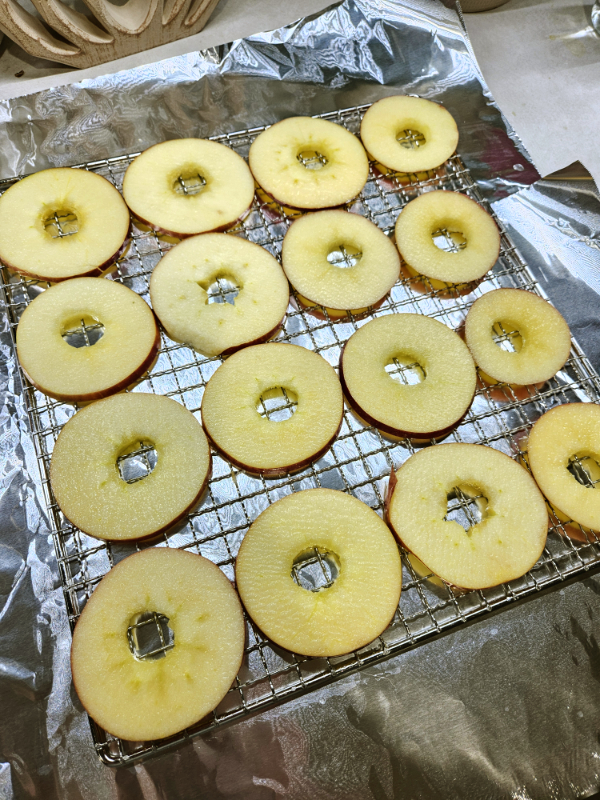
Next, core and slice the apples. (I use a pineapple corer. It’s not perfect, but it works.) Slicing is where you have a few more options. You can choose to cut the apples into rings or thin slices. The shape of the apple slice doesn’t really matter as much as the thickness does. Aim to get the slices around 1/8 to 1/4 of an inch thick. The thinner the slices, the crispier the apple slices will be once dried. (Thin ones become almost like chips.)
A mandoline or Johnny Apple Peeler (product link) is great for rings, but a sharp chef’s knife works well for slices. (The Johnny Apple Peeler can also core, remove the peels, and slice your apples in the same step to help you save time if you want to go that route.)
Optional: Prevent Browning
There are some apple varieties that tend to brown faster than others. So if I am working with a slow-browning variety, I tend to skip this step.

Typically, sweeter apples will brown quicker than tart ones. However, I’ve found that Cosmic Crisp and Pink Lady apples don’t brown quickly and often use those varieties for my dried apples. Using a dull blade can also cause browning to occur faster.
If you are worried about browning, simply soak your apples in a mixture of lemon juice and water. Use about 1 tablespoon of lemon juice per cup of cold water. Allow the slices to soak submerged for about 5 minutes, then dry them well before moving on to the next step.
Spice Options
Most apple varieties are excellent as-is with no additions of sugar or spices. However, for a bit of a treat, I like to season some of my apple slices.
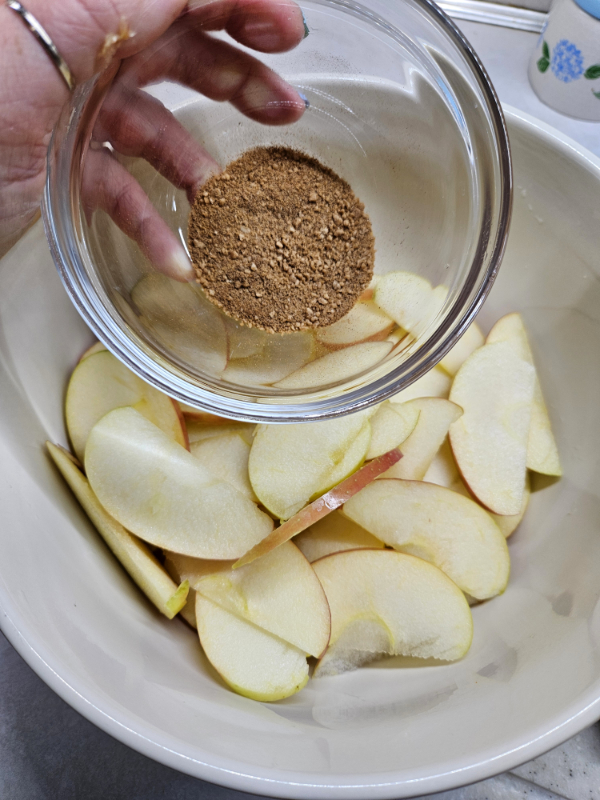
There are all sorts of different combinations you can use, and the amount needed varies based on your taste preference, the size of your apples, and what variety of apples you use. This is a place where you can experiment and play around to find the spices you enjoy best.
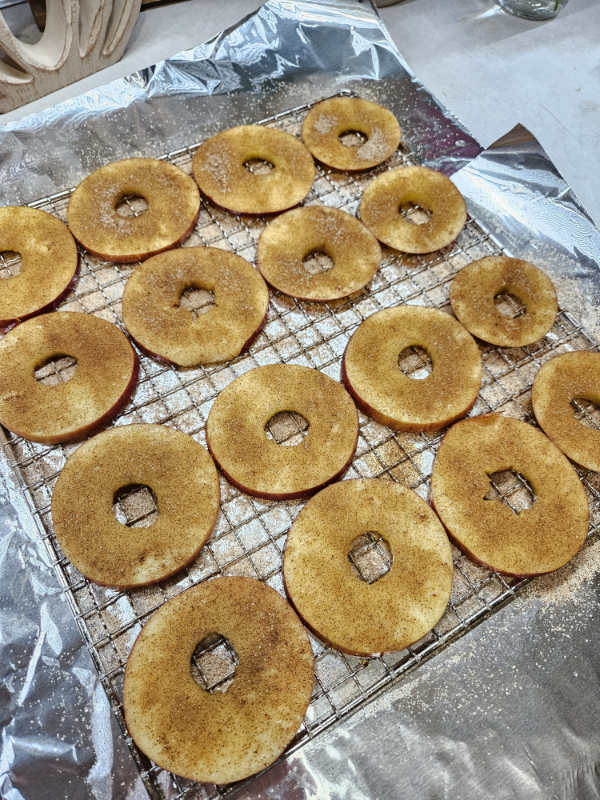
One simple way to lightly season the apple slices is to just sprinkle on a bit of cinnamon right before drying. There isn’t an exact measurement for this process; just sprinkle and go! You can also add a bit of apple pie spice with your cinnamon.
Another great option is to mix together about 1 teaspoon of maple sugar seasoning with 1/2 teaspoon of cinnamon. Maple sugar and cinnamon are an amazing combination for apple slices! Most stores carry maple sugar during the fall and winter months, but I love The Maple Dude’s sugar (product link).
Either add the spices to the slices in a large bowl and gently toss the apples to mix. Or, simply sprinkle the spices on top of the slices that you’ve pre-arranged on the tray.

Drying The Slices
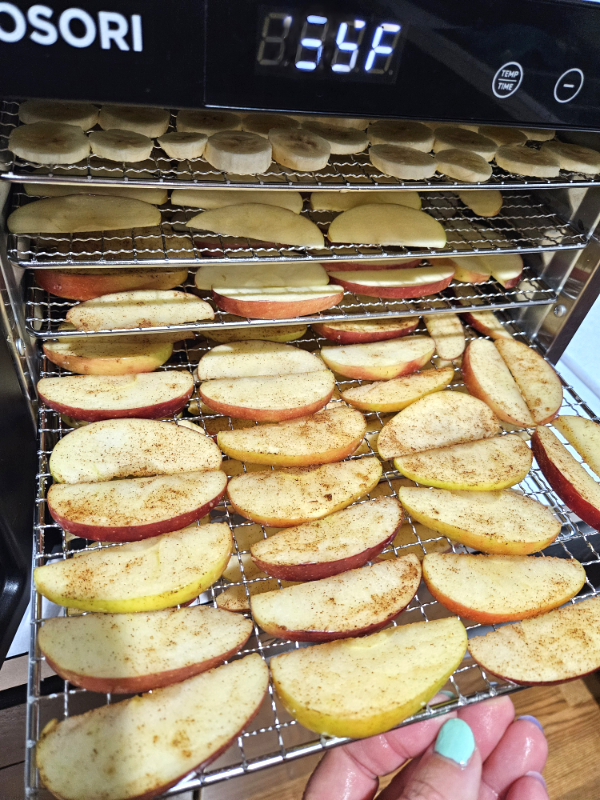
Once your apple slices are arranged on the trays and seasoned if desired, add them to your dehydrator. It’s ok if the apples touch since they will shrink quite a bit, but don’t overlap them.
Set the dehydrator to 135 to 145º Fahrenheit. As with all dehydrated recipes, there isn’t an exact timeframe that the drying out process takes. The amount of time varies based on the moisture content of your apples and how thick or thin you sliced them.
Typically, it takes between 6 and 12 hours. If you think the slices are ready, remove a couple and allow them to cool to room temperature. Then give them a good snap. Thinner slices get fully dry and will snap easily. Thicker slices will have more of a slight give when broken in half.
However, there should be no moisture when squeezed. If there is, pop them back into the dehydrator for another hour or more. Any moisture will cause spoilage.

Dehydrated Apple Slices Storage
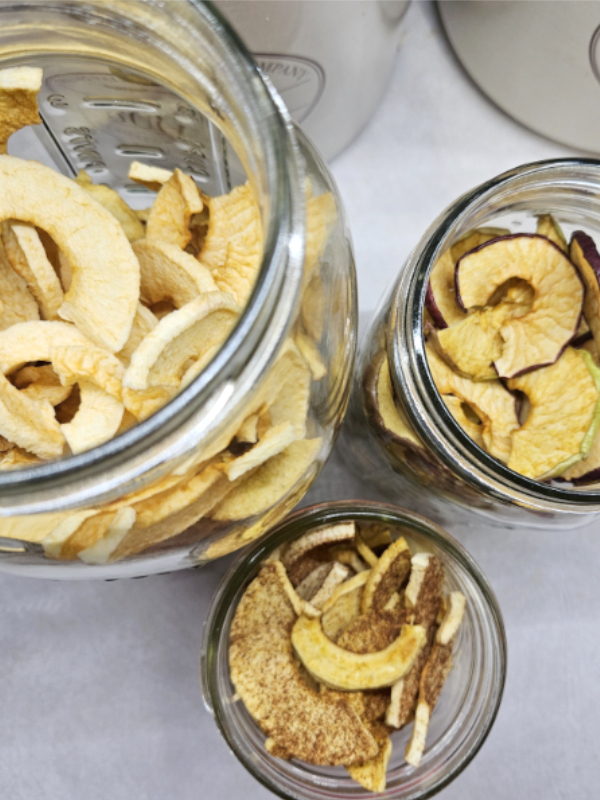
Store the completely dried apple slices in an airtight container. I like to use large mason jars with lids.
For extra insurance, I always add a couple of Desiccant Packets (product link) to the jar. The apple slices store up to a year, but those stored by vacuum-sealing with desiccant packets can last almost indefinitely.
Until next time, thanks for stopping by!
– Chelsea
*This post may contain affiliate links. These are products I have used personally and highly recommend. As an Amazon Associate, I may earn a small commission from qualifying purchases if you purchase items through my links. These links and the ads on this page help to support my family and our semi homestead, so Thank You!

Dehydrated Apple Slices
Ingredients
- Apples
To Prevent Browning
- 1 Tbsp lemon juice
- 1 cup cold water
Optional Spice Ingredients
- 1 Tbsp maple sugar
- ½ tsp cinnamon
Instructions
- Wash and dry apples. Remove the core and slice into ⅛ to ¼ inch slices or rings. Peel the apples if desired.
- Optional: To prevent apples from browning, soak the slices in a mixture of lemon juice and water for about 5 minutes. Remove and dry thoroughly.
- If Using Spices: Mix the maple sugar and cinnamon in a small bowl. Add apple slices to a large bowl and gently toss with the spices. Use as little or as much of the spices as you like.
- Arrange sliced apples evenly on dehydrator trays. It's ok if they touch slightly. (If desired, sprinkle on a bit of cinnamon at this time; otherwise, just leave them plain.)
- Dehydrate apples at 135 to 145º Fahrenheit for 6 to 12 hours or until the slices snap easily and contain no moisture. Allow them to cool to room temperature, then store in airtight containers.
Discover more from Semi Homestead Life
Subscribe to get the latest posts sent to your email.