
In order to take the stress and anxiety out of water bath and pressure canning, I’m putting together a simple guide that will cover the basics of each preserving method.
I love growing vegetables and fruit in my garden. Seeing those tiny plants sprout and turn into huge, producing plants is a natural process that amazes me each and every time. And while we like to eat as much fresh produce as possible during the short growing season, our family can only eat so much! That’s where canning and preserving come into play.
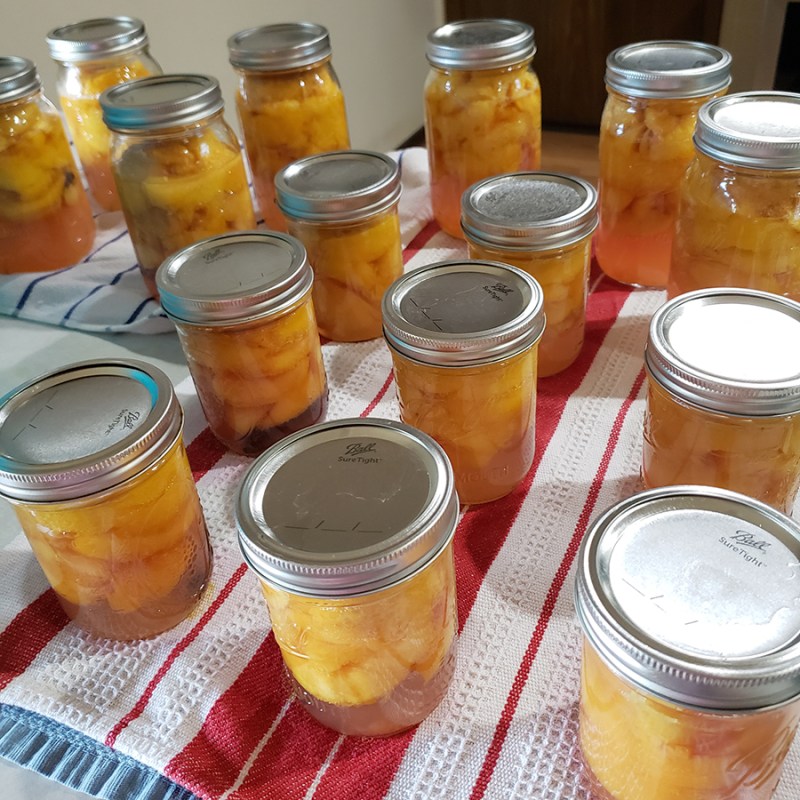
There’s nothing quite like that satisfying “pop” sound of a jar full of garden goodness sealing tight. It signifies that all that hard work you put into growing your vegetables from tiny seeds or transplants has been worth it!
There are many different ways to preserve your garden produce, and I like to use a combination of all of them depending on what I’m putting away. But two of my favorite methods are water bath canning and pressure canning. Both can seem extremely intimidating at first, but they are fairly simple once you break the processes down.
That’s what I’m going to do for you today! Hopefully, this article covering the basics will help take away a bit of the scare factor of canning and allow you to take a stab at it. Because trust me, that first time you open a jar of something you grew during the summer months to enjoy as the snow falls around your home in the middle of winter will leave you hooked on canning for life!
Going Back To The Basics With Canning
Two Types Of Canning Methods
There are two main ways to can your produce. The first is boiling water bath canning. As the name states, you are giving glass canning jars a “bath” submerged in boiling water in order to seal the produce inside the jars.

With water bath canning, you only need a large stockpot with a lid and a rack to set the canning jars on. (The jars should not actually touch the bottom of the pot or breakage could happen.) Beyond that, as long as the water is an inch above the top of the jar lids, you can water bath can.
The cooked or raw produce is put into warm canning jars and boiled for a specific amount of time. That time will vary depending on the item you are canning. Once the time is up, the jars are removed from the canner and allowed to cool for 24 hours. As the jars cool, a vacuum is formed, and the jars are sealed.
Pressure Canning
The second method is pressure canning. This method requires a special type of equipment called a pressure canner. This is not to be confused with a pressure cooker like your Instant Pot. A pressure canner is capable of heating foods higher than the temperature of boiling water.
Pressure canning is required for foods that have low acidity levels. This applies to all animal products, most soups, and any low-acid vegetables not pickled. This method uses built-up pressure and high heat to seal the jars.
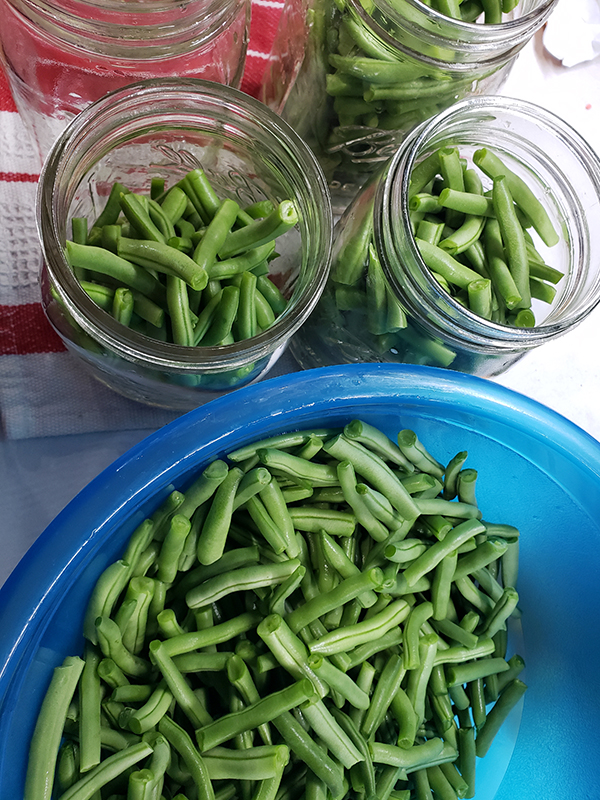
The reason you need to pressure can low-acid foods is thanks to botulism. This deadly bacteria produces spores that are only killed either by high pH levels (like what is in pickled foods) or by using the high heat that only pressure canners can provide.
Examples of high-acidic foods include pickled vegetables, fruits, sugar preserves, and tomatoes with a bit of acidity added. (Some tomato varieties are more acidic than others, so most canning recipes call for the addition of vinegar, citric acid, or lemon juice to guarantee they are safe for water bath canning.)
Pressure canning seems to be the most intimidating out of either method thanks to horror stories about canners exploding. The key is to make sure you check your canner thoroughly before each use, follow the instructions for your specific canner, and use safe and tested recipes. (This is a time when I wouldn’t use my grandma’s hand-me-down canner just for safety reasons.)
Canning Equipment – Canning Basics
I was going to go into the basic equipment you need to water bath or pressure can, but it started making this article WAY too long. Instead, I decided to make a separate article all about the equipment you might need to purchase to safely can your produce. You can read all about those items here: Basic Canning Equipment.

Canning Steps
The specific steps you take will depend on the food you are canning, what method you are using (water bath or pressure canning), and the specific recipe. However, there are a few basic steps that cover the main basics of canning.
I will make a note when the steps are different for water bath canning or pressure canning. However, most steps are fairly similar.
Step 1: Prepare The Food.
Prepare the food you plan on canning following a safe and tested recipe. I usually like to use Ball’s recipes so I know I am using a safe recipe. (Product Link: Ball Complete Book Of Home Preserving) At the same time:
Water Bath Canning: Start to heat up the water in the water bath canner. This is when I like to heat up my jars. I place my empty jars in the canner and fill them with water. I fill the canner up so the water reaches the top of the jars. This allows me to keep the jars warm
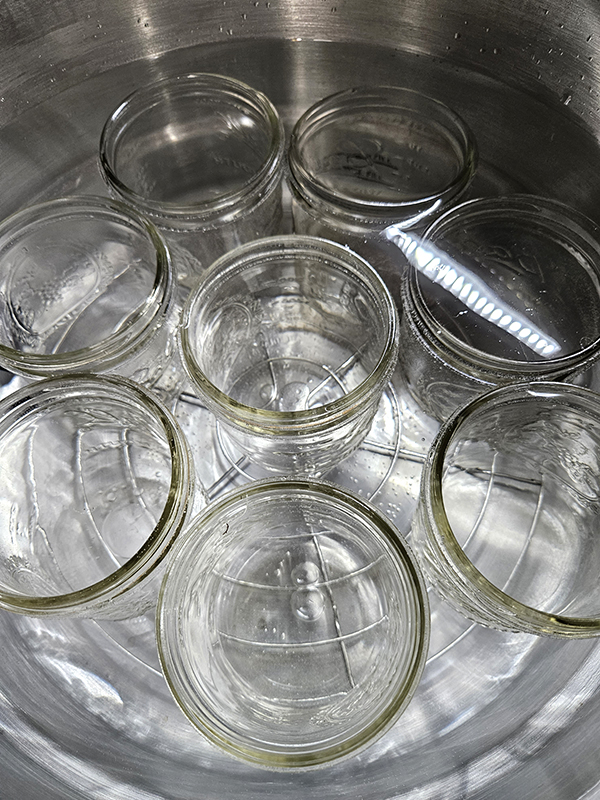
Pressure Canning: Fill your pressure canner with 2 inches of water (or what is required for your specific canner).
Both: Fill warm, sterilized jars with the prepared food and liquid (if required). Each recipe will require a certain amount of “headspace.” This is the amount of free space that is left between the product and the top of the canning flat. This spacing is very important so don’t try to cheat and over-add your product. You will likely end up with jars that don’t seal properly if you do.
Step 2: Prepare The Jars – Canning Basics
Once the jars are filled, remove any of the bubbles trapped in the food. Take a clean, damp cloth or paper towel to wipe off the top rim of each canning jar. This is to ensure that there isn’t any food or items that could mess up the seal.
Place the flats on top of the jars and add the bands. Only tighten the bands until they are finger-tight. What does that mean? Well, I just screw them on until I feel a slight resistance. Then I stop. The jars need a bit of space to allow excess air to escape the jars during processing.

Repeat steps 1 and 2 until you fill all of the jars or the food is gone. Carefully add the filled jars to the canner and place the lid on top.
Step 3: Process The Jars
The steps for processing will be different for each canning method:
Water Bath Canning: Bring the water to a boil, then start the processing time that is listed in your recipe. Please note that the processing time does not start until the water has reached a rolling boil. After the time is up, turn off the heat, remove the lid, and allow the jars to sit in the canner for 5 minutes.
Pressure Canning (from here until the end of this step): Leave the vent pipe open on the canner to begin with. Adjust the heat to medium-high and wait for steam to start to escape out of the vent. Once you see a consistent flow out of the vent, set a timer for 10 minutes. After the time is up, place the weight on the vent pipe.
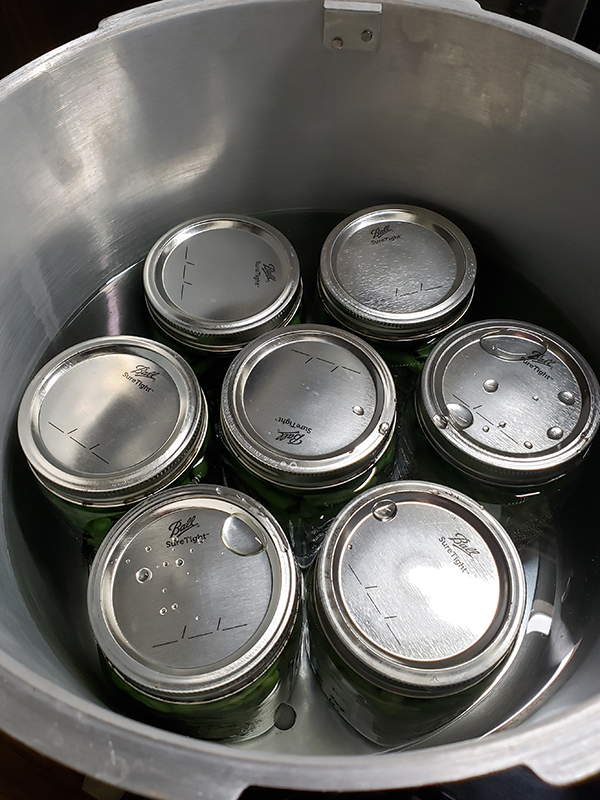
The pressure canner will start to heat up and build up pressure. Once the gauge is at the indicated pressure, adjust your heat to maintain that correct number and start the time for your recipe. The canner must stay at or slightly above the pressure in the recipe or else the processing time needs to start all over again.
After the time is up, turn off the heat source but do not open the lid!! The canner must naturally release the pressure while undisturbed. Wait until the pressure gauge reaches zero, then wait ten additional minutes. You can then safely remove the weight and the lid. Allow the jars to sit in the canner for 10 minutes before removing.
Step 4: Cooling The Jars & Checking Seals – Canning Basics
Remove each jar one at a time and place them on a clean dish towel. I use two to make it a bit thicker and protect my counter better. Leave space between each jar.
Allow the jars to sit undisturbed for 12 to 24 hours, depending on the recipe. After the time is up, remove the bands and test each jar for a proper seal. The raised bubble in the middle of the flat will be pressed in and the flat should be fully sealed to the jar rim. If you can press on the flat and the bubble moves, the jar did not seal even if the edges of the flat are tight against the jar.
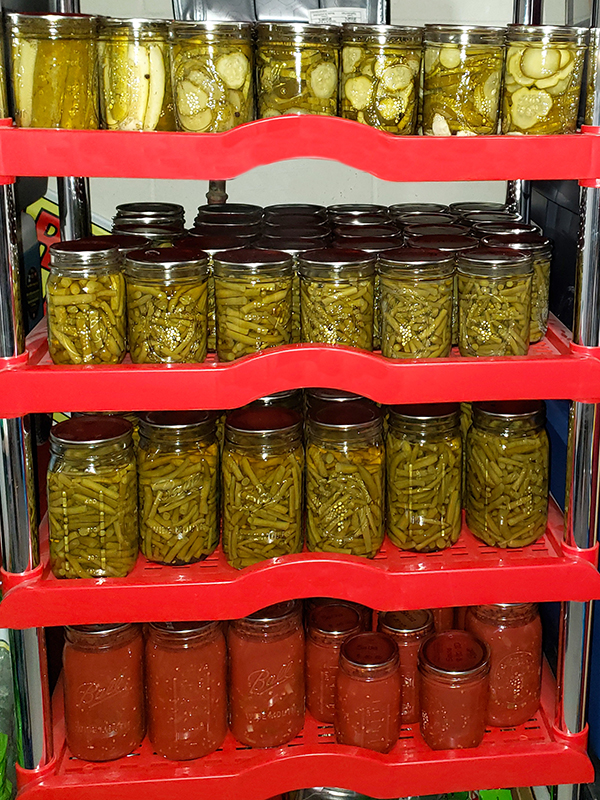
When a jar does not seal properly and you notice it before the 24 hours are up, you can reprocess it safely. If not, place the jars in the refrigerator and use them within a few days.
You can store most properly sealed jars for 12 to 18 months. While you can use sealed jars after that, the food quality, nutritional value, and flavor might be negatively affected.
I really hope you decide to give home canning a try! It really is so worth the time and extra effort to preserve all that garden produce you worked so hard to grow!
Until next time, thanks for stopping by!
– Chelsea
*This post may contain affiliate links. These are products I have used personally and highly recommend. As an Amazon Associate, I may earn a small commission from qualifying purchases if you purchase items through my links. These links and the ads on this page help to support my family and our semi homestead, so Thank You!
Discover more from Semi Homestead Life
Subscribe to get the latest posts sent to your email.