
Have you ever made pie dough from scratch and run into a few issues with the crust? Well, you aren’t alone! Thankfully, most of the common issues have simple fixes that will have you making the perfect pie dough in no time at all!
There is absolutely nothing wrong with purchasing pre-made pie dough. In fact, I’ve done it several times in the past, especially when I am in a time crunch.
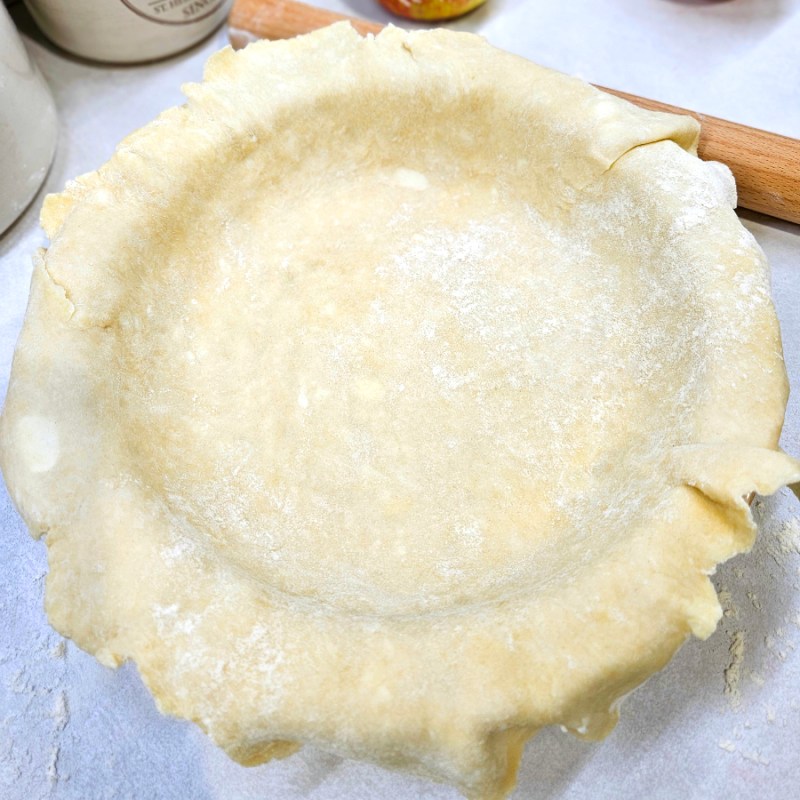
However, once I tried making pie from scratch, I realized just how simple it is to do and how much better the flavor and texture are! Yes, store-bought ones look beautiful and roll out easily, but there’s just something about those rustic crusts that makes the small amount of effort worth it.
But homemade pie dough can come with its share of challenges, especially if you are new to from-scratch crusts. Maybe you are struggling with dough that is too dry or too wet. Maybe you are having issues with rolling the dough out or having it shrink as it bakes? And what do you do with all that leftover dough that just isn’t large enough to make another full pie?
In this guide, I’ll walk you through some of the most common pie dough issues and what you can do to fix them.
Common Issues With Pie Dough
My Dough Is Too Wet
If your dough is too wet, chances are you are adding too much liquid. If your pie dough is too wet, the crust will end up chewy as opposed to flaky.
When measuring water or any type of liquid, make sure to get level with the measuring cup to get an accurate reading. If needed, cut back on the amount of water you add by 1 to 2 teaspoons. It’s always much easier to add more water later on than it is to take it away!
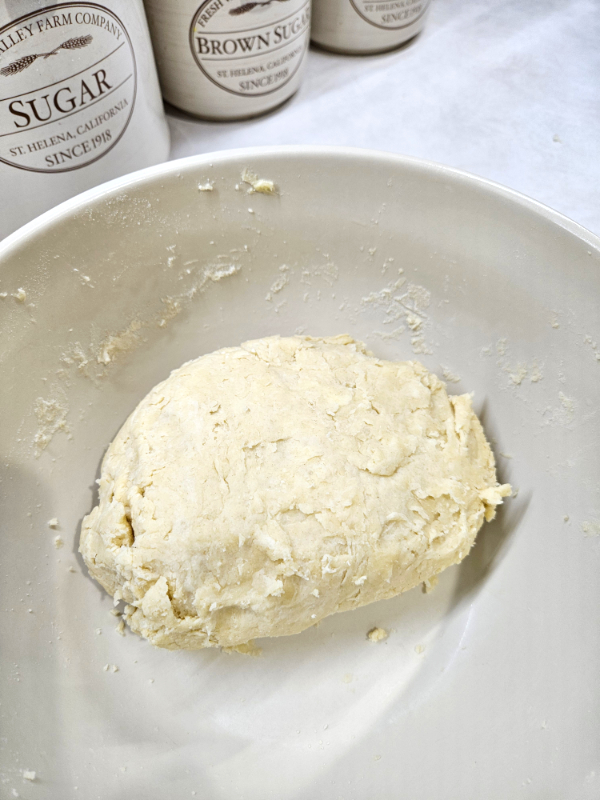
To help with slightly wet dough, add a bit more flour to your dough when you roll it out. Doing it at this point will help prevent you from overmixing the dough.
The Dough Sticks To The Counter – Common Pie Dough Issues
If you are running into issues with your dough sticking to your countertop, there are a few things you can try. Most often, it happens because your dough is too wet. Make sure you are adding the right amount of liquid to begin with.
In most cases, to prevent sticking, add a light dusting of flour to your counter or table before setting your dough on top. If needed, reapply more flour as you roll out the dough.
Be sure not to press down too hard on the dough as you roll it as well. This could also cause your dough to stick to your counter. Lightly add some flour directly onto your rolling pin as well as the top of your dough. Reapply as needed.
Alternatively, you can place the dough on top of a piece of wax or parchment paper. The paper will help to provide a bit of grip as you roll it out. Once you are done shaping the dough, you can simply lift the wax paper up, set the dough centered in the pie pan, and then gently peel the paper off.
Sticky dough can also happen if your butter has softened, making it hard to work with. If this is the case, cover the dough and pop it into the refrigerator to allow the butter to firm up again. It is especially important to allow the dough to chill for at least 20 minutes before rolling out.
Why Does My Dough Seem Too Dry?
On the flip side of being too wet, if your dough is crumbly, then it is too dry. With a lot of baking, you have to go somewhat by feel and look of the dough as opposed to the specific measurements given to you. It’s a bit of trial and error when you are first starting out baking, but you will eventually get the hang of it.
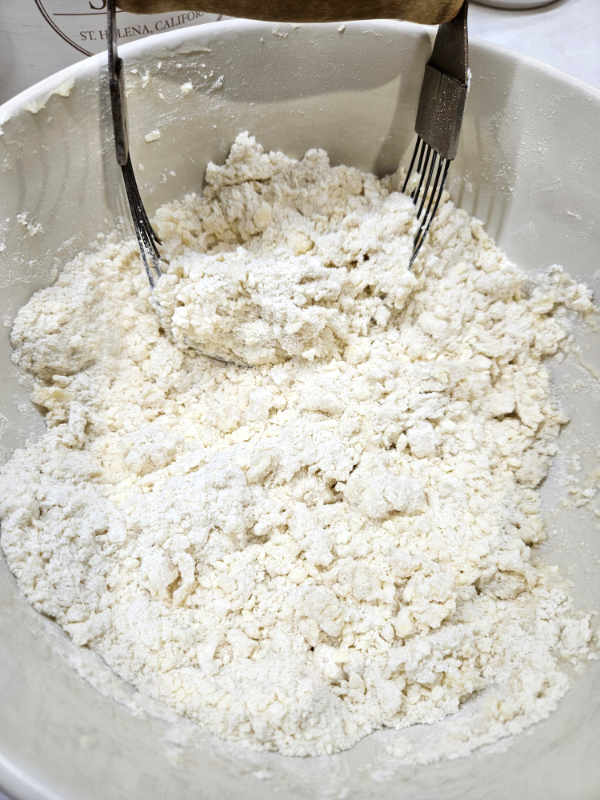
Make sure not to over-add the flour. Flour can become compacted when you use a measuring cup to scoop up the flour from your container or the bag. Instead, use a spoon to dump the flour into your measuring cup. This prevents the flour from getting too compacted and resulting in overly dry dough.
Don’t be afraid to add a bit more water if your pie dough isn’t acting the way you want it to. Start by mixing in only 1 teaspoon of water at a time to avoid getting too much liquid.
To check to see if your pie dough has the correct amount of moisture, do the squeeze test. Take a bit of the dough into your hand and give it a squeeze. If the dough sticks together and doesn’t crumble when lightly pressed, it has the perfect amount of moisture. If it starts to crumble, it needs a bit more water.
What To Do About Cracking Dough?
If your pie dough is cracking as you roll it out, the dough might be a bit too cold. Allow it to sit on the counter for a couple of minutes after removing it from the refrigerator and try again. It also could be that you didn’t add quite enough water when mixing the dough, so now it’s dry.
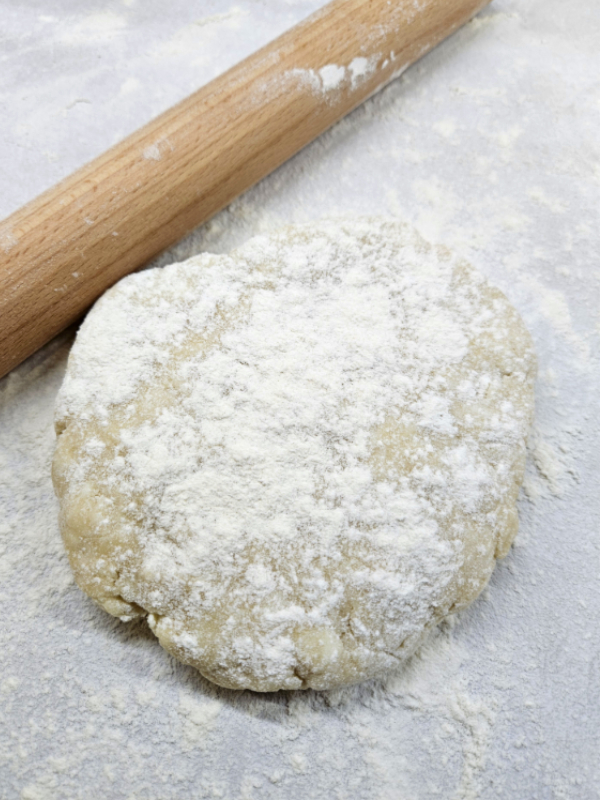
If that is the case, lightly wet your fingers with cold water and press down along the cracks to help “seal” or “melt” the dough back together. (If you’ve ever worked with clay, then you know what I mean about melding it together.) Wait a few minutes and then try rolling it out again.
Don’t be surprised if the dough cracks along the edges, though. That is completely normal and not really anything to worry about. Most likely, you end up trimming the excess off the edges anyway.
Wonky-Shaped Dough – Common Pie Dough Issues
Are you struggling to get that perfectly round dough as you roll it out? First off, don’t stress about it! More often than not, my dough isn’t perfectly round either. However, there is a bit of a technique to getting it as round as you can.
After you lightly flour your work surface, add your disk of dough. Lightly flour the top of the dough and your rolling pin as well.
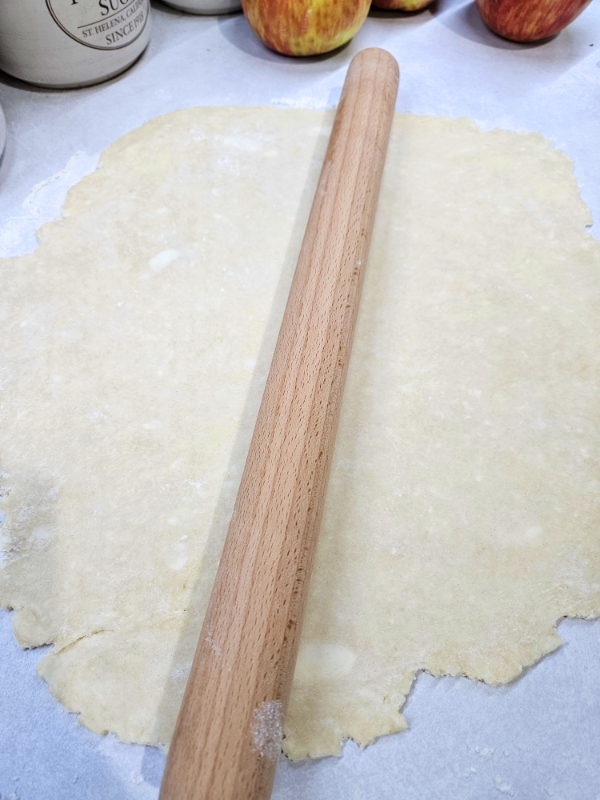
Start in the middle of the dough and roll toward your body. Then go back to the center and roll away from your body. Repeat this process a couple of times.
Then, rotate your dough so that the short sides are closest to you. If the dough sticks to the counter, add a bit more flour underneath the dough. Again, start in the middle of the dough and roll toward you, then away from you.
Continue rotating the dough and rolling it out, focusing on the sides that might need more stretch to help make it into a circle. Before long, you will have a dough that is mostly a circle in shape.
Issues Moving Dough To The Pie Plate
If your dough starts to crack and break the minute you try to move it to your pie plate, chances are the dough is too dry. This is another one of the most common issues with homemade pie dough. If this happens, add in a bit more water and see if that helps the situation.
One way I like to transfer the dough is to roll it up loosely on the rolling pin. Then, I bring it to the pie pan and start to unroll it directly over the top of the pan.
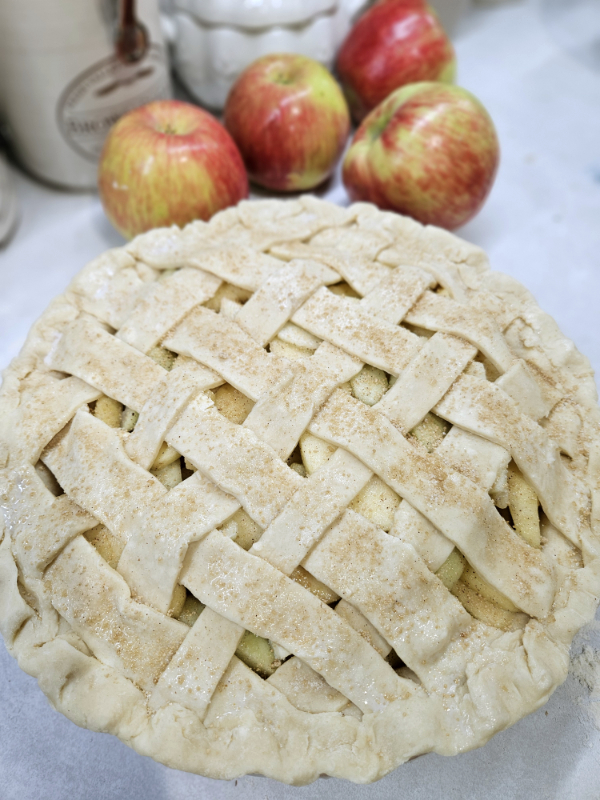
Another option is to fold the pie dough in half. Move the pie pan right next to the dough. Lift and place the dough over the pan. Work quickly and try not to lift the dough too high or risk tearing it.
The last trick is to roll the pie dough out directly on top of parchment paper. You can then lift up the paper and flip it over directly onto the pie pan.
My Dough Shrinks As It Bakes
This is a very common issue that bakers run into, especially if they are just starting out making pie dough from scratch. You’ve taken the time to make the perfect homemade dough, gotten it placed just so in the pan, only to have it shrink as it bakes. (We’ve all been there!)
There are actually a few reasons why this might happen. The first is that you stretched the dough too much as you were forming it into your pie pan. You want to gently lift and position the dough into place, not stretch it to make it fit. Pressing the dough into the pan is ok; stretching isn’t.
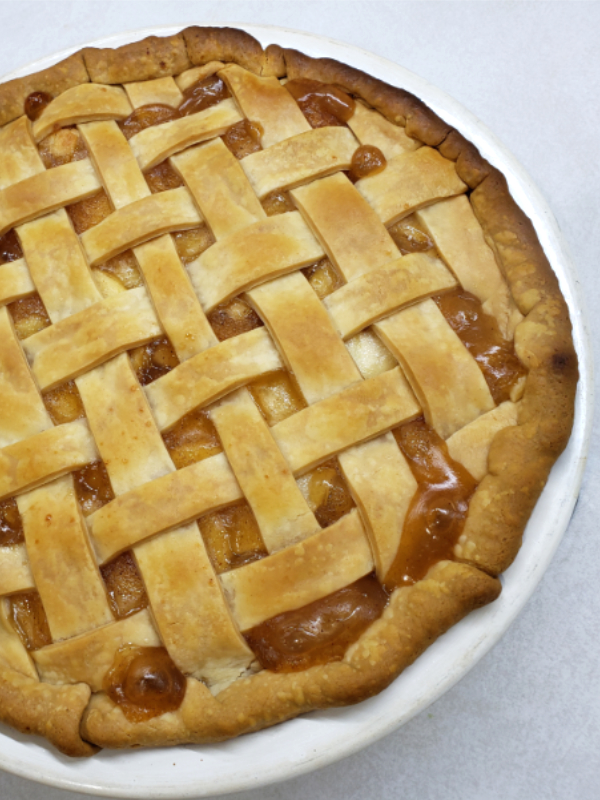
Next, shrinking dough often happens because your butter was heated up too quickly, causing the sides of the dough to shrink into the pan. You can prevent this by sticking the pie crust in the freezer for about 20 minutes before baking. Also allow the dough to chill in the refrigerator prior to rolling it out. This extra time also allows the gluten to relax as well.
Pie dough that is made using 100% butter as the only fat source tends to shrink more than a pie with shortening or lard included. This is because butter has a lower melting point, and it loses its structure more easily and faster than those other fat sources do. (This is also why my pie dough recipe includes a bit of shortening in addition to the butter.)
The Edges Always Burn Or Darken Too Much
Another common issue with pie dough is that the edges of the pie start to brown and darken way quicker than the rest of the pie does.
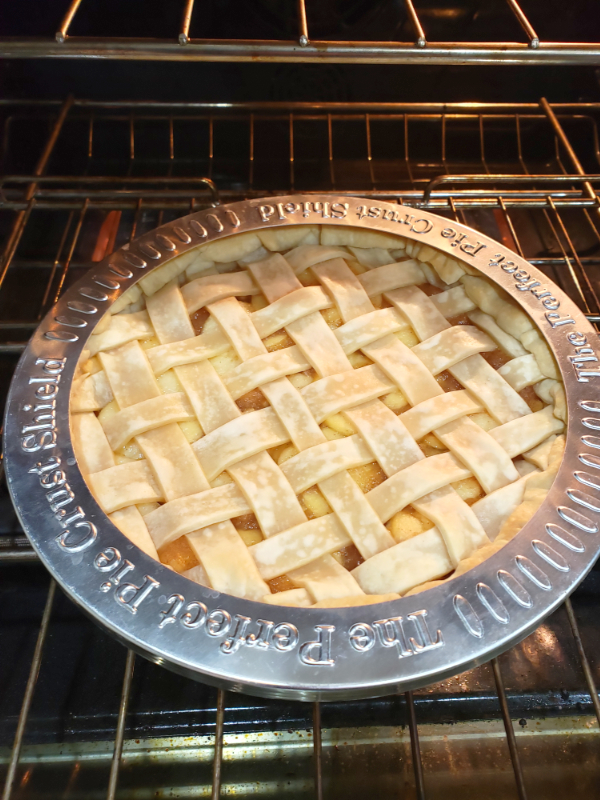
Since the edges are the most exposed part of the pie, they tend to cook the quickest. There are thankfully a couple of ways you can prevent this. The first is to place a bit of aluminum foil over the edges once they start to brown. Be careful not to burn yourself while doing this, though!
The next option, and my personal favorite, is to use a Pie Shield (Product Link). These are pre-made covers that you add to your pies as they bake. You can find both silicone and aluminum shields. The only issue with these is that you need to get the right size for your pie pan, but they work great to keep the edges from browning too quickly.
What To Do With Extra Dough
Lastly, what are you supposed to do with all of that extra dough? This is probably my favorite thing about baking pies: the leftover dough! Instead of tossing it into the trash, I turn it into a little mini treat for me and the kids. It’s something my mom always did when baking pies, and a memory I continue now with my kids.
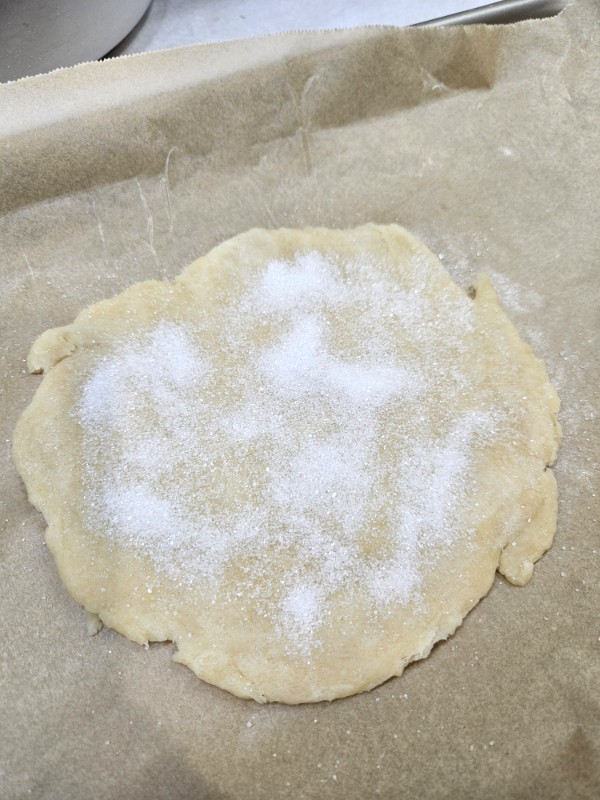
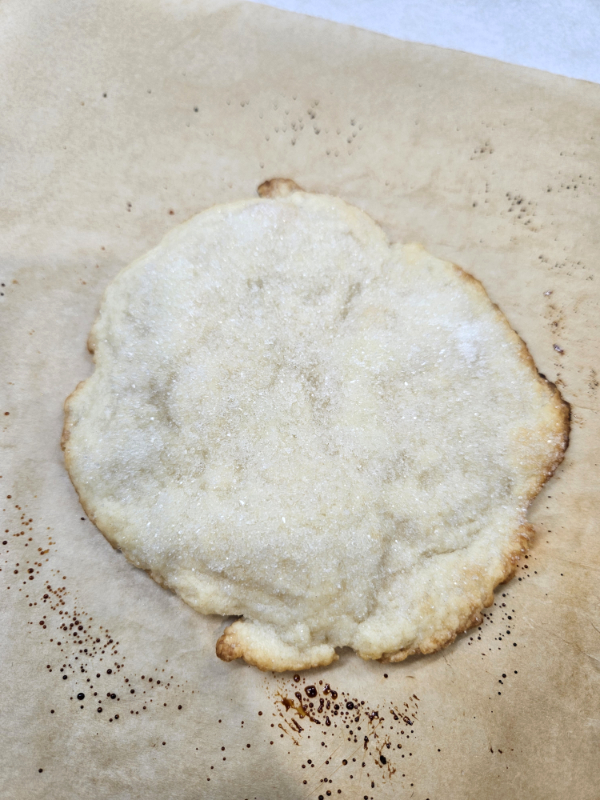
With the excess dough, roll or shape it into a flat disc. It definitely doesn’t have to be perfect here, but try to get it about the same thickness as normal pie dough. Sprinkle the top with a good amount of granulated sugar or finishing sugar.
Place the disc onto a piece of parchment paper. (It can snuggle in right next to your pie if there is enough room. Bake until the dough is nice and golden brown around the edges and the middle looks cooked through. The amount of time this takes will vary on how thick or thin your disc is, but usually around 10 to 20 minutes.
Remove the crust and allow it to cool slightly. You can now share it with your family as a pre-pie treat while you wait for the main pie to bake. Enjoy!
Until next time, thanks for stopping by!
– Chelsea
*This post may contain affiliate links. These are products I have used personally and highly recommend. As an Amazon Associate, I may earn a small commission from qualifying purchases if you purchase items through my links. These links and the ads on this page help to support my family and our semi homestead, so Thank You!
Discover more from Semi Homestead Life
Subscribe to get the latest posts sent to your email.