If you want a simple yet effective way to restore cast iron cookware, this is the article for you! Restoring your cast iron cookware can seem daunting and intimidating, but this method will allow even a novice to get their cast iron looking as good as new!
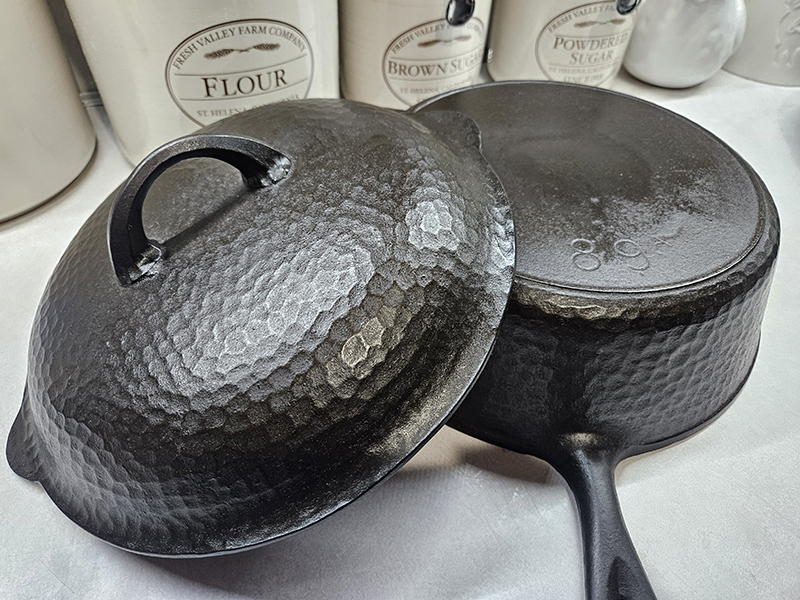
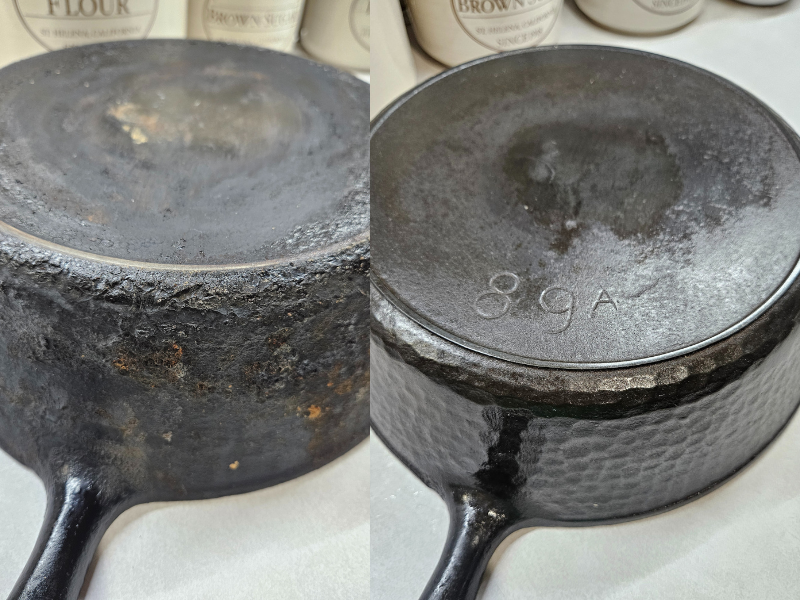
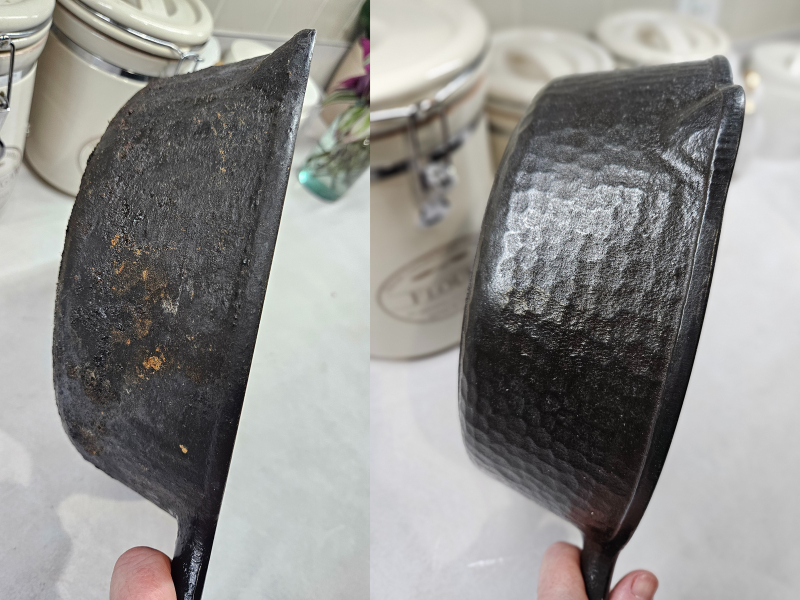
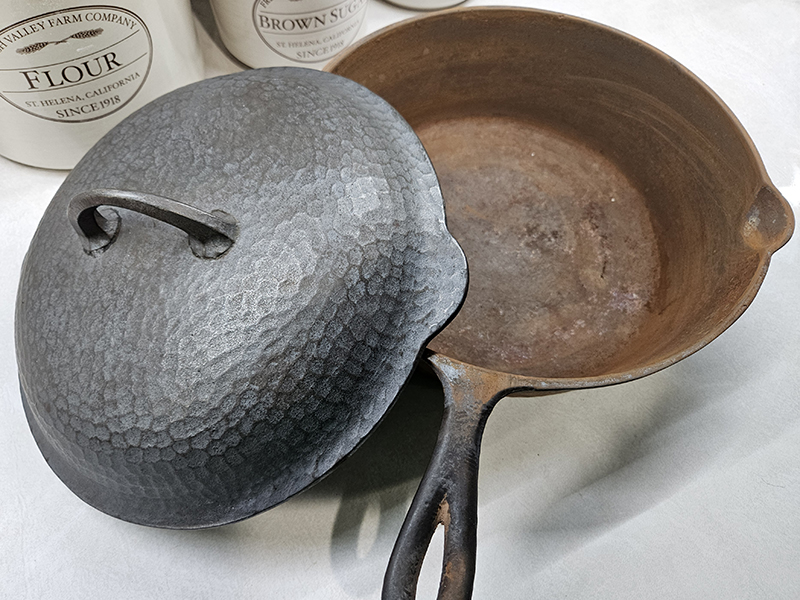
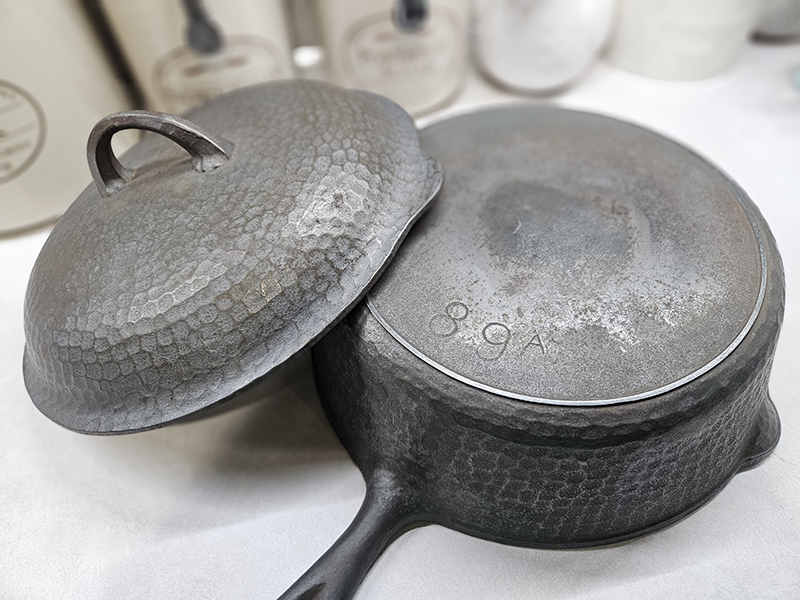
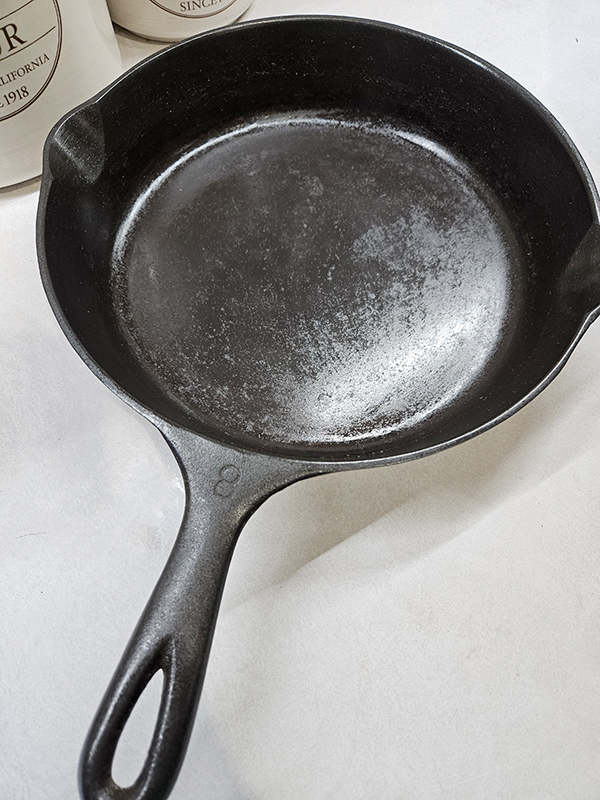
After my Grandma passed away (my Dad’s mom), I luckily inherited her cast iron cookware. I was given a #8 Wagner Ware cast iron skillet and a Chicago Foundry Hardware (CFH) hammered cast iron chicken fryer with a lid.
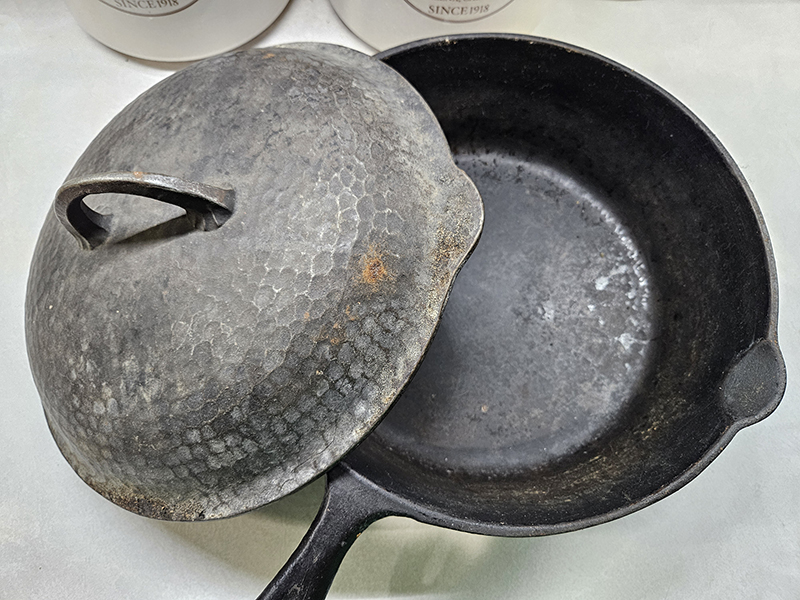
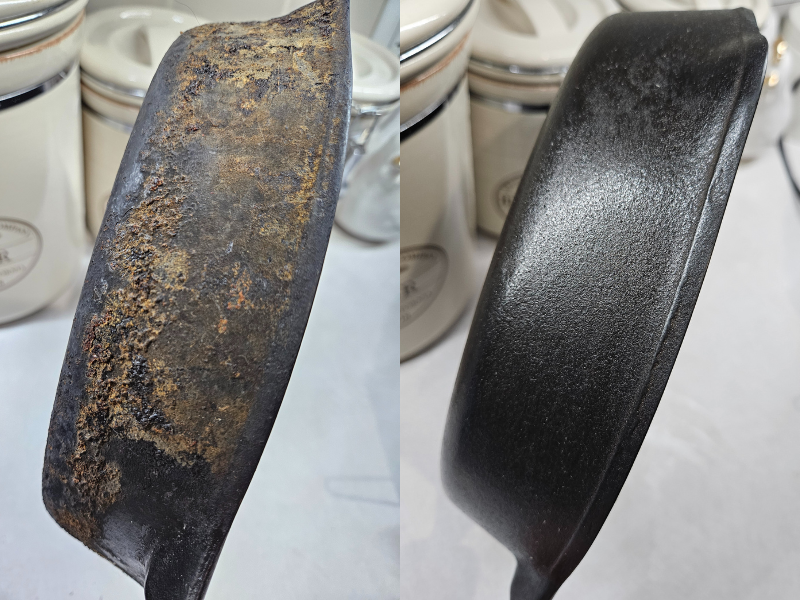
Unfortunately, these items had layers of old dried-on seasoning, food, and other unidentified substances, so I wasn’t able to use them. I knew that the only way I could ever properly use them in my kitchen was to restore them.
However, I don’t have an electrolysis tank or other items like a professional restorer would. I also didn’t have a ton of time to spend constantly scraping and scrubbing each item until my arms gave out (which honestly wouldn’t have taken very long). So that left me with an issue: How do I easily restore these pans without ruining them or paying an arm and a leg for products I’d only use once?
Finding A Good Solution To Restore My Cast Iron
After scouring the internet for hours looking for different “tried and true methods”, I finally came across one that I was willing to try. I’ll admit it: It scared the crap out of me because there were a few horror stories about fires and cracked skillets and other issues.
However, those were few and far between so I figured it was worth the gamble. It was better than just having the heirloom cast iron cookware sit on a shelf collecting even more dust and grime.
This method uses your oven and its self-cleaning cycle. Now, let me preface this article by saying that I am NOT an expert nor do I claim to know all the ins and outs of restoring cast iron. However, this method worked so well for me that I wanted to share it with all of you!
Seasoning, Reseasoning & Restoring
There is a big difference between seasoning, reseasoning, and restoring cast iron skillets. Seasoning is the process of adding some sort of cooking oil (or animal fat) to protect the metal of the pan. This oil fills in the pores of the metal and it causes the cast iron to become non-stick. It also prevents the cast iron from rusting.
Most modern-day cast iron cookware comes pre-seasoned. That means the manufacturer took the time to do the initial seasoning process. Both of my 8-inch and 12-inch Lodge cast iron skillets came preseasoned when I bought them (back before I inherited these pans). (Product Link: Lodge 12″ Cast Iron Skillet)
Reseasoning is the process of adding additional oil to the cookware after use. This needs to be done every time you cook with or bake with cast iron. It’s a quick process and only involves wiping the pans with a thin layer of oil after the pans are cleaned and cooled.
Restoring means that you are stripping off all of the old seasoning from the pan to bring it back to its natural metal state. Essentially, you are starting the cast iron over from scratch.
Restoring typically only needs to be done with pans that are rusty or have old, severely caked-on seasoning and food like mine. You might also want to restore a cast iron piece if you recently purchased it from an estate sale or somewhere where you are just more comfortable starting from scratch.
My items weren’t rusty at all. (I mean, there was so much baked-on goodness that the rust wouldn’t ever have been able to make it through the layers!) However, I wasn’t comfortable using them as-is and decided the best route for me was to totally restore them so I could actually enjoy cooking with them.
How To Easily Restore Cast Iron Cookware
This method of restoring cast iron involves using your oven’s self-clean feature. If you don’t have this option on your oven, there are several other ways of restoring cast iron. However, I tried a few of them and didn’t have the time or the right products to have good success. A quick Google search will bring you several alternative options to try.
If you’ve never used the self-cleaning mode on your oven, there are a few things to keep in mind. First, you want to make sure to do this on a day when you can either open up the windows or use an oven hood vent.
The gunk on the cast iron skillet and within your oven (e.g., little pieces of cheese that have fallen off your pizza) will start to smoke and make your house smell bad. Hence why I chose to do this in the middle of winter! I also have a hood over my oven that will help to expel most of the smoke.
Another thing to note is that once you start a self-cleaning mode, the oven door will shut and lock. You will not be able to open the door afterward. However, some ovens (mine included) have a way to cancel the cleaning if need be in case of a small fire or whatever.
Using The Self-Cleaning Oven – Easily Restore Cast Iron
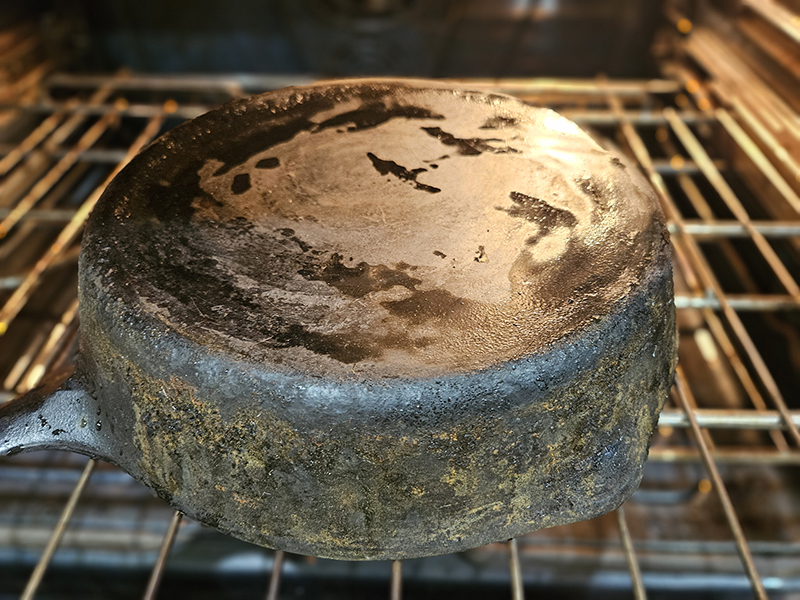
Set the cast iron pan upside down on your center rack. If you have a pan with a lid, you can do both at the same time as long as there is space between the two items. Since I had a chicken fryer with a lid as well as another skillet, I had to do this in two batches (I did the skillet one day and the chicken fryer and lid the other the next day).


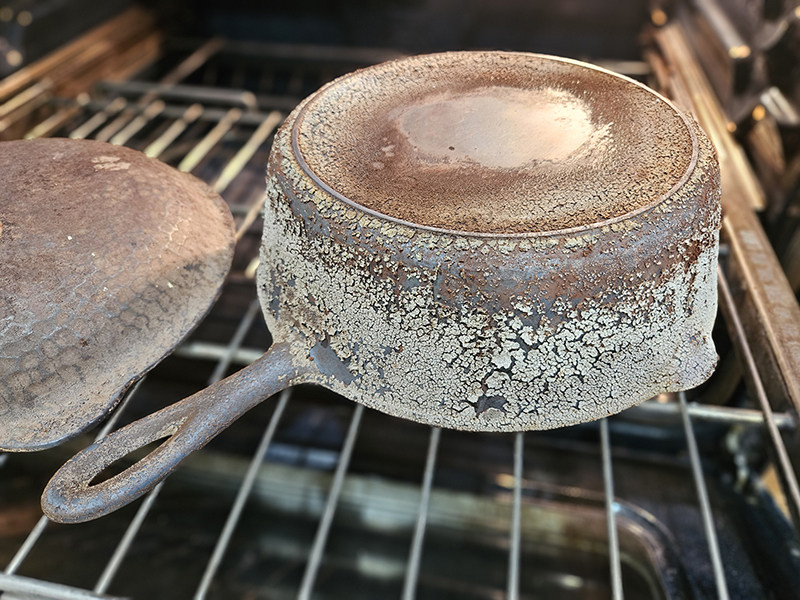
My oven has a few different options for self-cleaning. It can do 2, 3, or 4 hours of cleaning time so I chose the 2-hour cycle and hit start. Once the cycle begins, the oven door will lock and the oven will heat up to extremely high temperatures.
Then, you simply turn on your oven hood and/or open a door or window and let the oven do the hard work for you. I made sure to stick kind of close to the kitchen and peek at the oven every so often just to make sure nothing bad was happening.
Please Note:
There have been a few individuals who have experienced undesirable results using the oven self-clean mode. For example, one had a crack in her skillet afterward. However, there’s no way of knowing if that crack was previously there or if it was caused by the oven. Someone else mentioned a small fire in her oven. That is a risk you take any time you use your self-clean oven mode and it might’ve had nothing to do with the cast iron at all.
After The Self-Clean Process – Easily Restore Cast Iron
After the two hours are up, the oven will beep and shut off. However, DO NOT open the oven door yet. In fact, mine stayed locked until the oven dropped to a safe temperature. Once it unlocks, you can remove the cast iron piece.

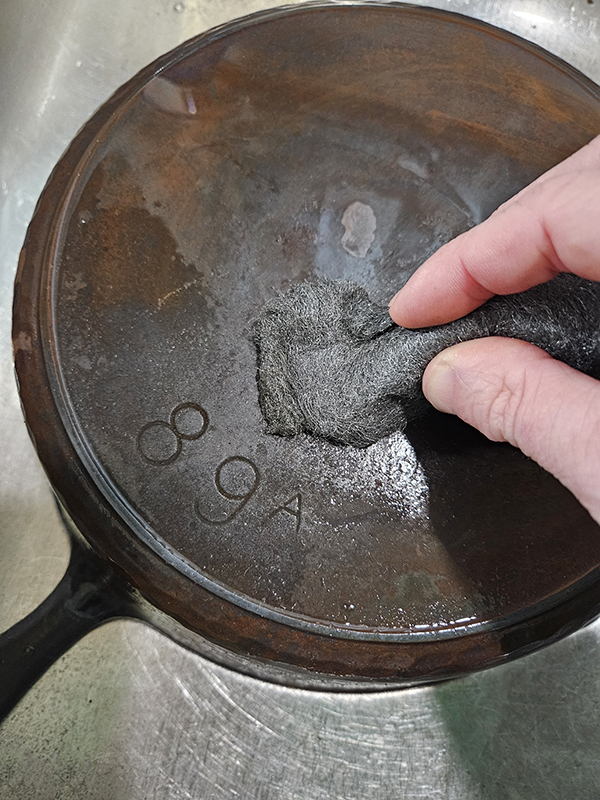
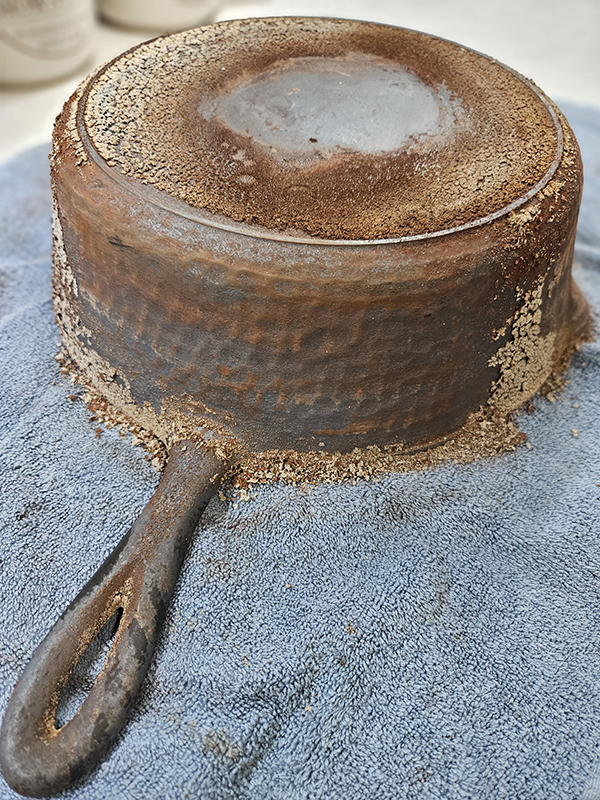
Using oven mitts (or in my case, Ove Gloves – I like being able to grip the items easier), remove the pan and set it on pot holders with a towel over it. Then, take 000-grade steel wool and lightly scrape off the dried bits of food and seasoning. They should come off really easily. Don’t be alarmed if your pan now looks extremely rusty. This is normal! (Product Link: The Ove Glove – I love these things!)
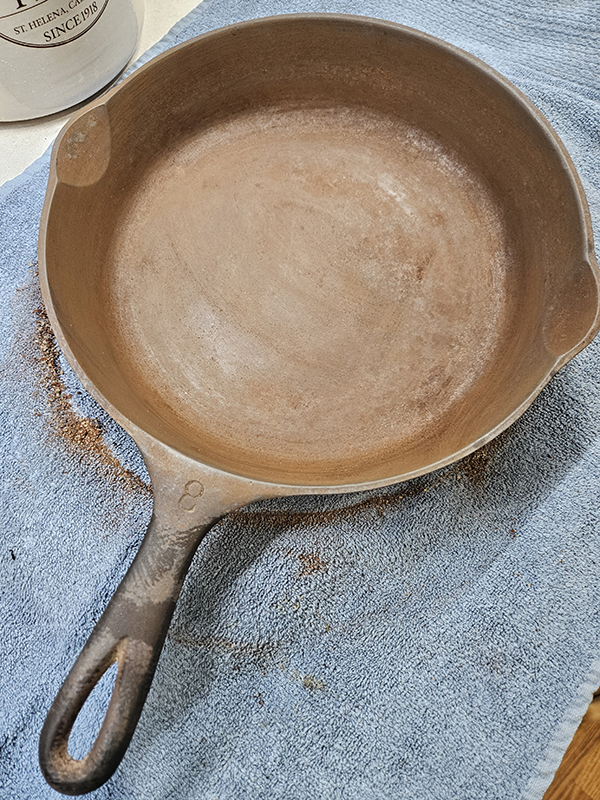
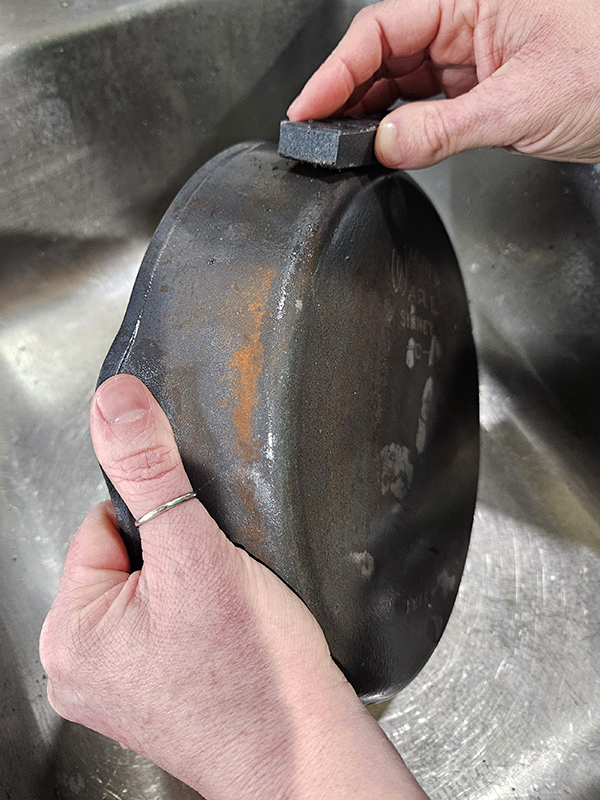
Next, rinse the pan off in the sink and use the steel wool or a Lodge Eraser to scrub off the rust. Really put some muscle into it. Once most of the rust is gone, wash the pan with soap and water. Repeat the process to ensure you get all of the rust and dried bits off. (Product Link: Lodge Rust Eraser – A handy little tool for removing rust)
Applying The Seasoning
Allow your cast iron to dry completely before starting the next step. You can speed up the process by wiping down any excess water.

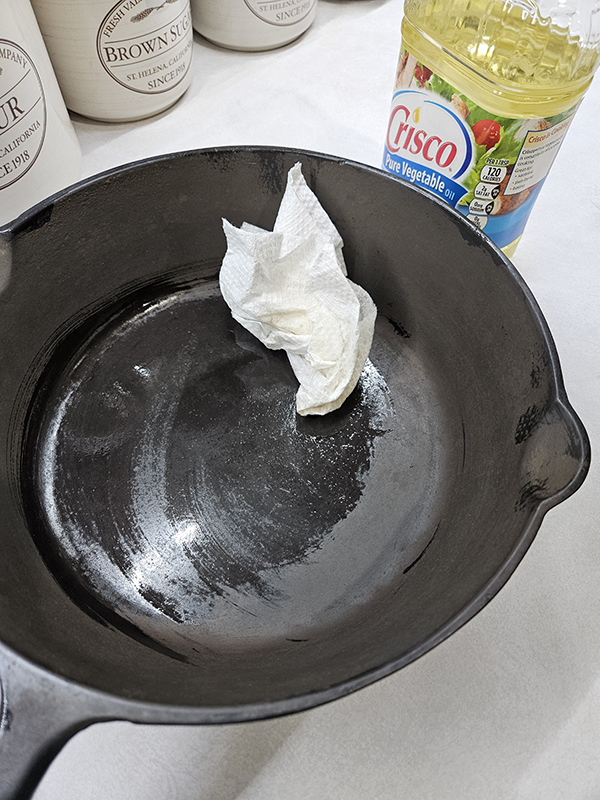
Once fully dry, add a thin layer of oil or fat. I used vegetable oil, but there are several different acceptable oils and fats you can use. Some choose to use tallow, bacon grease, grapeseed oil, or canola oil. Something that has a high smoke point is key, so avoid olive or flaxseed oils.
Put a thin layer over the entire surface of the cast iron pan – The handles, the rim, the edges, down into the stamped letters, etc. Wipe the excess oil off with a clean cloth or paper towel. You only want a thin layer of oil. Any excess will turn sticky and gummy and leave you with a mess to try to scrape off.
The last step is to bake the seasoning. To do this, place the coated pan upside down in your oven. Set the temperature to 400º. Allow the oven to preheat with the pan inside. Once it reaches temperature, bake the pan for an hour.
Repeat The Process To Easily Restore Cast Iron
After the hour is up, allow the bakeware to cool completely and then wipe it down with a clean rag or paper towel. Repeat the process with another light coat of oil and bake for an additional hour. The pan should be good to go after two coats, but it might take more.
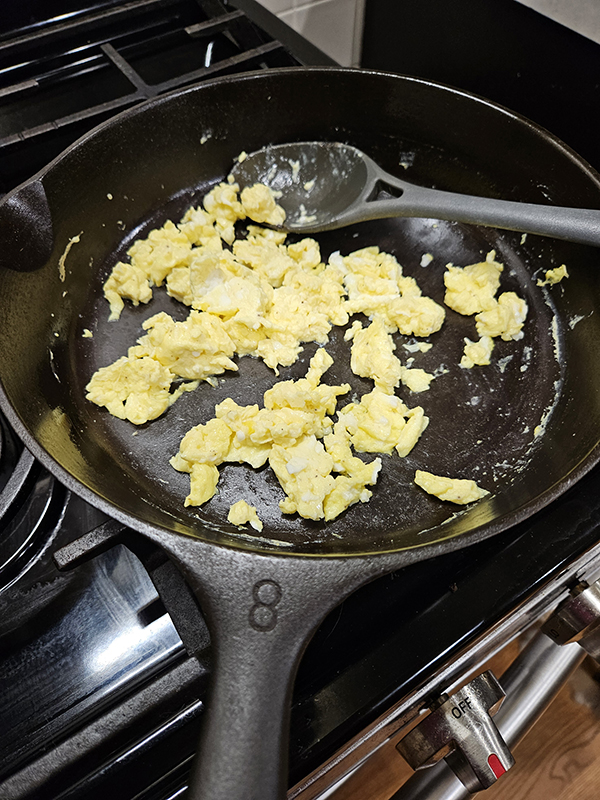
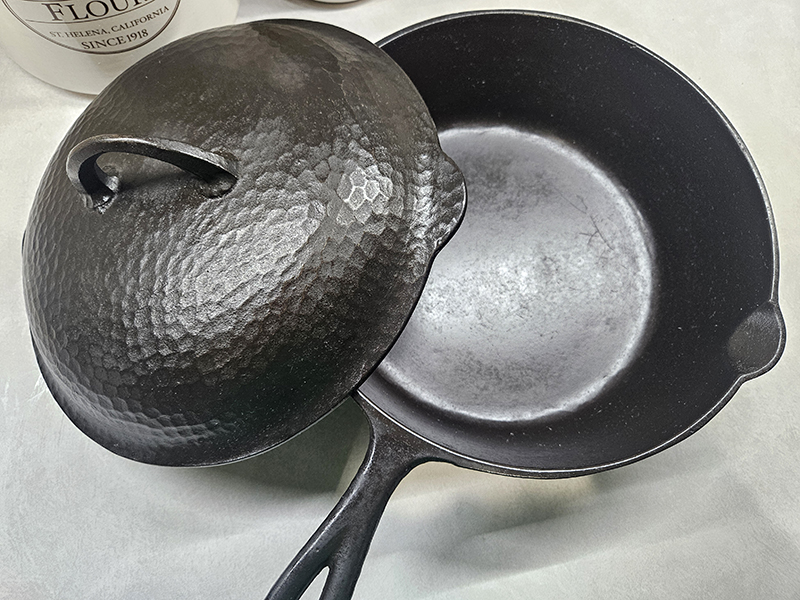
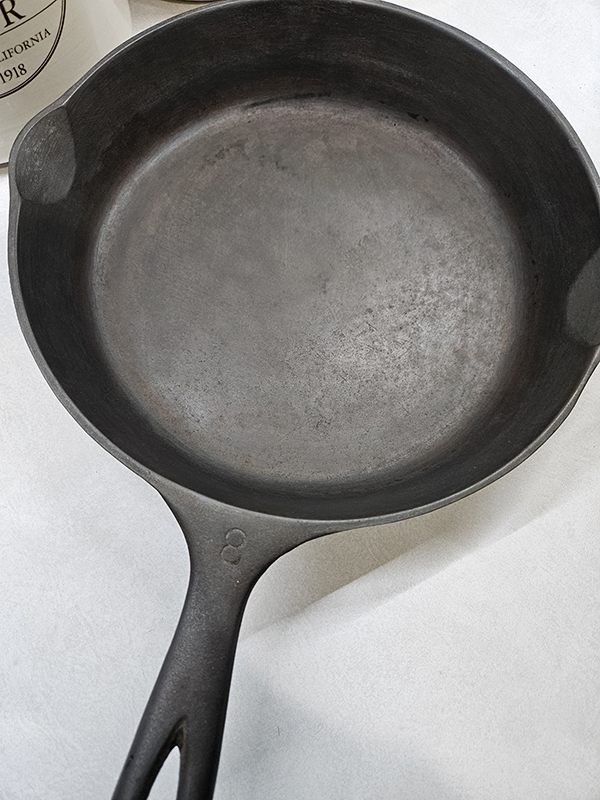
Now you have a beautifully restored cast iron skillet that is ready for whatever food you want to throw at it!
Until next time, thanks for stopping by!
– Chelsea
*This post may contain affiliate links. These are products I have used personally and highly recommend. As an Amazon Associate, I may earn a small commission from qualifying purchases if you purchase items through my links. These links and the ads on this page help to support my family and our semi homestead, so Thank You!
Discover more from Semi Homestead Life
Subscribe to get the latest posts sent to your email.