
Homemade soft and chewy peanut butter cookies that are full of flavor and melt in your mouth – made using my late Grandma’s recipe.

If you are looking for a cookie recipe that is super simple to make and only takes a few minutes to throw together, then you’ve come to the right place! The result is thick, chewy peanut butter cookies that are delicious fresh from the oven or stolen from the cookie jar the next day!
With seven simple ingredients, everything comes together quickly and can be baked immediately. No chilling the dough required! The addition of the peanut butter is what really makes these cookies shine. Whether you use store-bought or homemade peanut butter, you can’t go wrong with this recipe!
Don’t have the time for baking right now? No worries! You can easily freeze the cookies before baking to bake whenever the mood for some homemade cookies hits you!
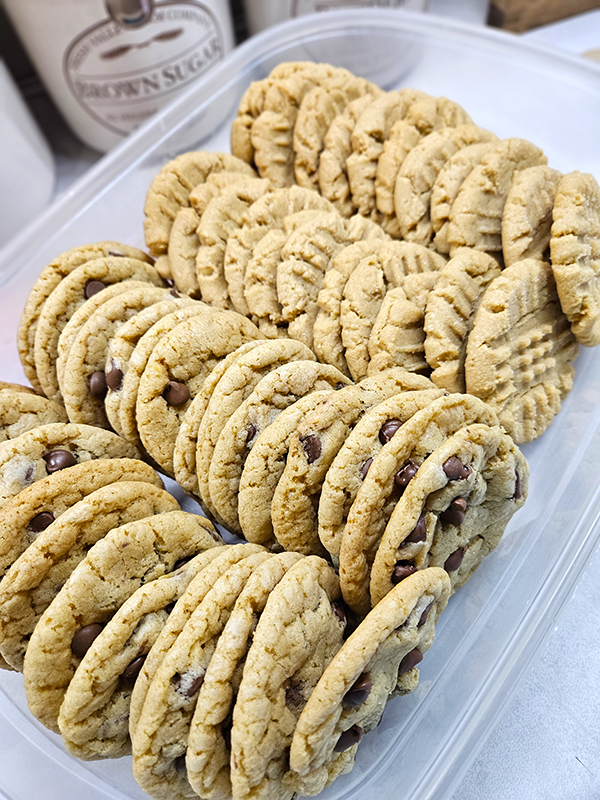
The traditional cross pattern on top of the cookies is just like grandma used to make – because this recipe comes right from my late Grandma’s kitchen, and I want to share it with you!
How To Make Grandma’s Peanut Butter Cookies
*Scroll down to the bottom of this post to see the full recipe, including exact measurements and amounts. You can also print out the instructions. I go into a bit more detail about the recipe here first, just in case you need it.
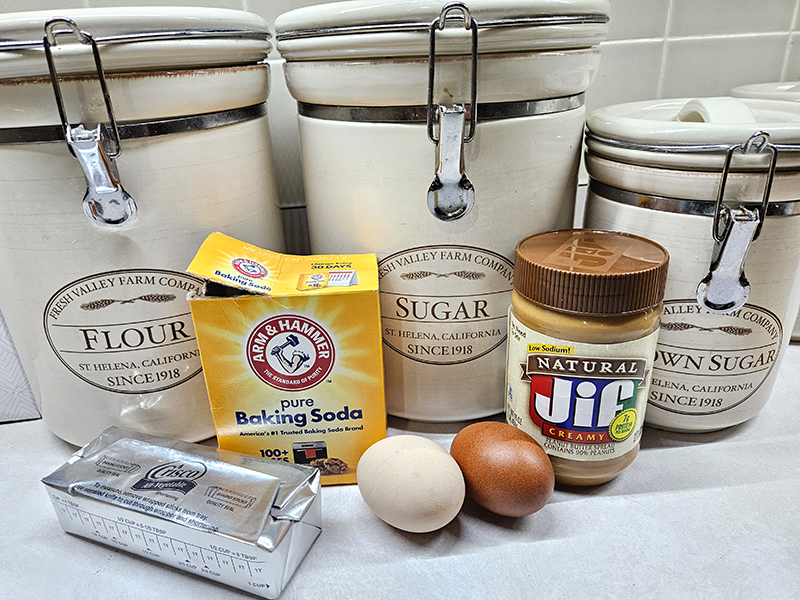
Ingredients
- Brown Sugar – You can use either dark or light brown sugar. I usually use light brown sugar, which provides the cookies with a subtle caramel flavor that doesn’t overpower the peanut butter flavor.
- Granulated Sugar – In addition to the brown sugar, this recipe also includes white sugar. The granulated sugar helps to add sweetness, of course, but it also helps improve the texture and moisture content of the cookies.
- Shortening – You know it’s Grandma’s recipe when shortening is included! I just use Crisco shortening. You can swap out the shortening for butter if you prefer. In general, the shortening will provide softer cookies that don’t spread as much. The result is thick, taller cookies. Butter, on the other hand, adds a richer flavor and might produce crispier cookies. It might be worth experimenting with, though.
- Eggs – Use large eggs that are at room temperature.
- All-Purpose Flour – Any type of all-purpose flour can be used.
- Baking Soda – The baking soda is used as a leavening agent, which also helps the cookies rise tall and thick.
- Peanut Butter – Last but not least is the peanut butter – the star of the show! You can use whatever brand of peanut butter you prefer. I’ve used regular old creamy Jif, Natural Jif, and homemade peanut butter, and all work well. Just make sure to use a creamy textured peanut butter and stay away from the crunchy style.
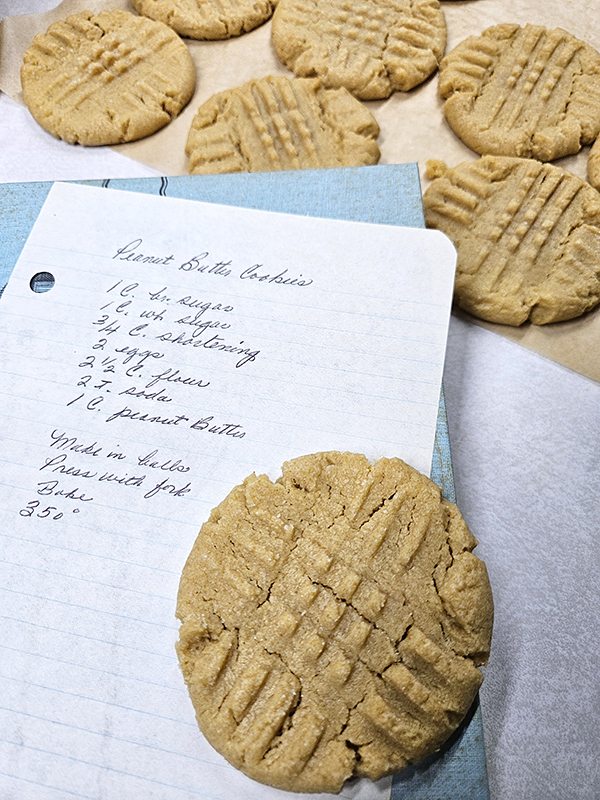
Instructions For Grandma’s Peanut Butter Cookies
To start off, preheat your oven to 350º Fahrenheit. Prepare a baking sheet or two by lining them with parchment paper. This recipe makes around 40 cookies, depending on how rounded you scoop your dough, so you will need to make a few batches. Set the baking sheets aside for now.
In a large bowl or a stand mixer, cream together both the brown and the granulated sugars, the shortening, and the eggs. The mixture should be light and fluffy when it is done, which can take a couple of minutes. It will take a bit longer if you aren’t using a stand mixer.
In a small bowl, whisk together the flour and baking soda. Add these dry ingredients to the creamed sugar in the mixing bowl. Before mixing, also add the peanut butter. Combine until everything is well distributed, but avoid overmixing the batter.
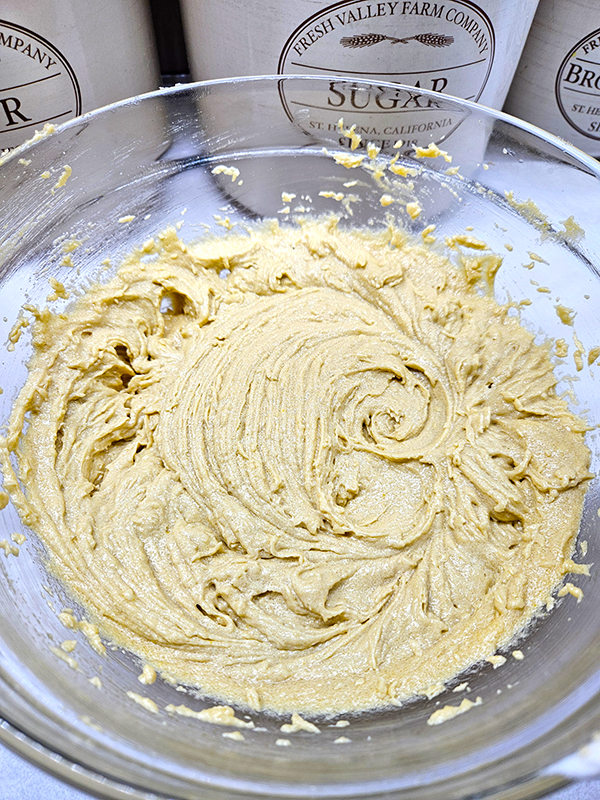
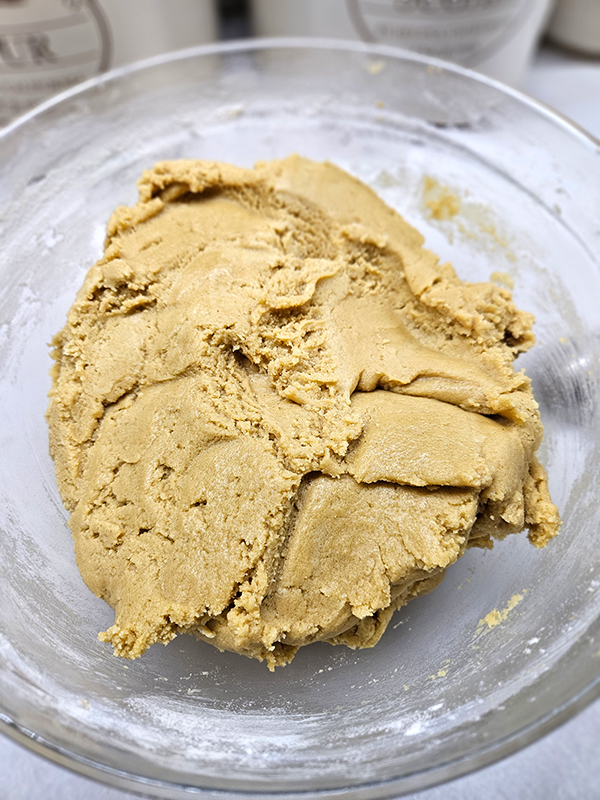
Don’t be alarmed if the batter is extremely thick and seems a bit dry compared to typical chocolate chip cookie dough. This is normal and completely fine. The thicker consistency allows you to immediately make the dough balls and prevents the dough from spreading while baking.
Shape The Cookies & Bake
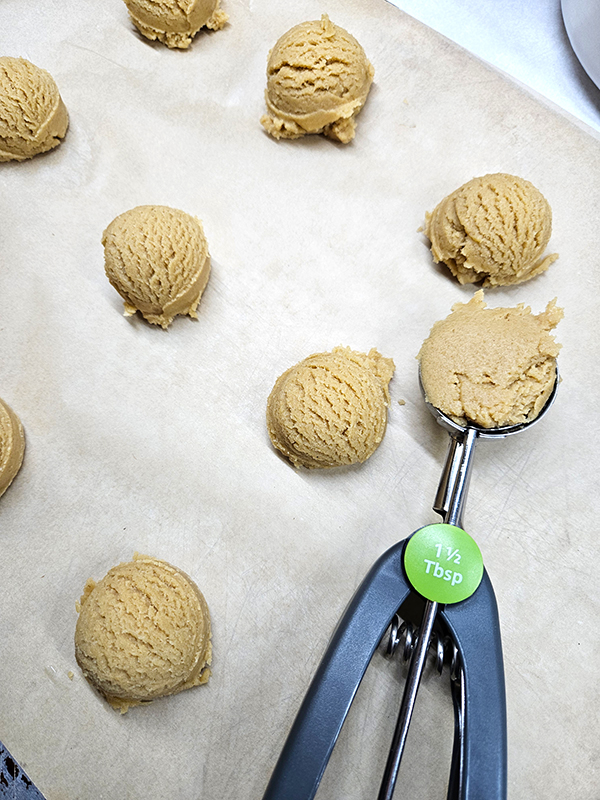
Once the dough is combined, use a 1 ½ tablespoon scoop and drop spoonfuls of dough onto the previously prepared baking sheets. You should be able to fit 12 cookies on each sheet (3 rows of 4). (Here is the cookie scoop I love – Product Link: Prep Solutions by Progressive Measuring Scoop.)
Take each scoopful of dough and gently roll it around in your hands. You want it to form a nice and smooth ball. Repeat with the rest of the dough.
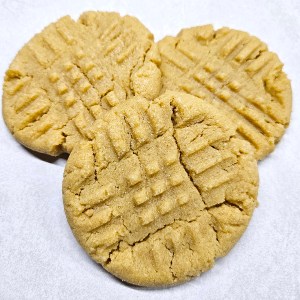
Now’s the fun part that gives Grandma’s peanut butter cookies their iconic crisscross pattern on top! Take a long-tined fork and dip the tines into the extra granulated sugar. (I usually just pour some into a shallow bowl.)

Press the fork tines parallel onto the top of each cookie. Repeat this step a second time, but press the tines in so they cross over the previous marks. It should form a “crisscross” of lines while also slightly flattening out the cookies. (See the photos above for a visual.)
Be sure to dip the fork back into the sugar each time so it stays coated. The extra sugar will prevent the tines from sticking to the dough as well as provide a bit of extra sweetness to the top of each cookie.
Bake the cookies in a preheated oven for 12 to 14 minutes. The edges will be just slightly brown while the inside will still be slightly gooey. They will set some while they cool.
Avoid overbaking since this can dry out the cookies and cause them to be overly crumbly. Store the cooled cookies at room temperature in a sealed container to avoid them drying out. Enjoy!

Looking For More?
Looking for other great cookies to bake and add to your cookie jar? Try some of my other favorite recipes:
- Butterscotch Oatmeal Cookies
- Old Fashion Oatmeal Raisin Cookies
- M&M Cookies With Chocolate Chips
- Sourdough Discard Chocolate Chip Cookies With Brown Butter
- Dandelion Shortbread Cookies
Until next time, thanks for stopping by!
– Chelsea
*This post may contain affiliate links. These are products I have used personally and highly recommend. As an Amazon Associate, I may earn a small commission from qualifying purchases if you purchase items through my links. These links and the ads on this page help to support my family and our semi homestead, so Thank You!
Grandma’s Peanut Butter Cookies
Ingredients
- 1 cup brown sugar
- 1 cup granulated sugar (Plus about 2 Tbsp more to make the cross pattern)
- ¾ cup shortening
- 2 eggs
- 2 ½ cup all-purpose flour
- 2 tsp baking soda
- 1 cup peanut butter
Instructions
- Preheat oven to 350º Fahrenheit. Prepare a baking sheet by lining it with parchment paper. Set aside for now.
- In a large bowl or using a stand mixer, cream together both the sugars, the shortening, and the eggs. The mixture should be light and fluffy when it is done.
- In a small bowl, whisk together the flour and baking soda. Add the dry ingredients to your mixing bowl. Into the bowl, also add in the peanut butter and combine until everything is well distributed. The batter will be thick and on the dryer side.
- Using a 1 ½ tablespoon scoop, drop dough onto prepared baking sheet. Roll each one around in your hands until they form into smooth balls. Space each cookie about 2 inches apart.
- Take a fork and dip the tines into the extra white sugar. Press the fork tines on the top of each cookie twice, forming a "cross" of lines and flattening out the cookies slightly. Dip the fork back into the sugar each time so it stays coated. (See the photos above for a visual of the crisscross pattern.)
- Bake the cookies in the preheated oven for 12 to 14 minutes. Avoid overbaking since this can dry out the cookies and cause them to be overly crumbly. Store cooled cookies at room temperature in a sealed container to avoid drying out. Enjoy!
Discover more from Semi Homestead Life
Subscribe to get the latest posts sent to your email.