
One of the most versatile and well-loved fall flavors is pumpkin, but did you know that it’s incredibly easy to make your own homemade puree from scratch?
All it takes is a couple of small pumpkins and about an hour (most of which is hands-off) and you have a delicious homemade pumpkin puree that you can use for all sorts of delicious fall treats! You can even freeze the pumpkin puree to use at a later date, which is especially nice in the dead of winter!
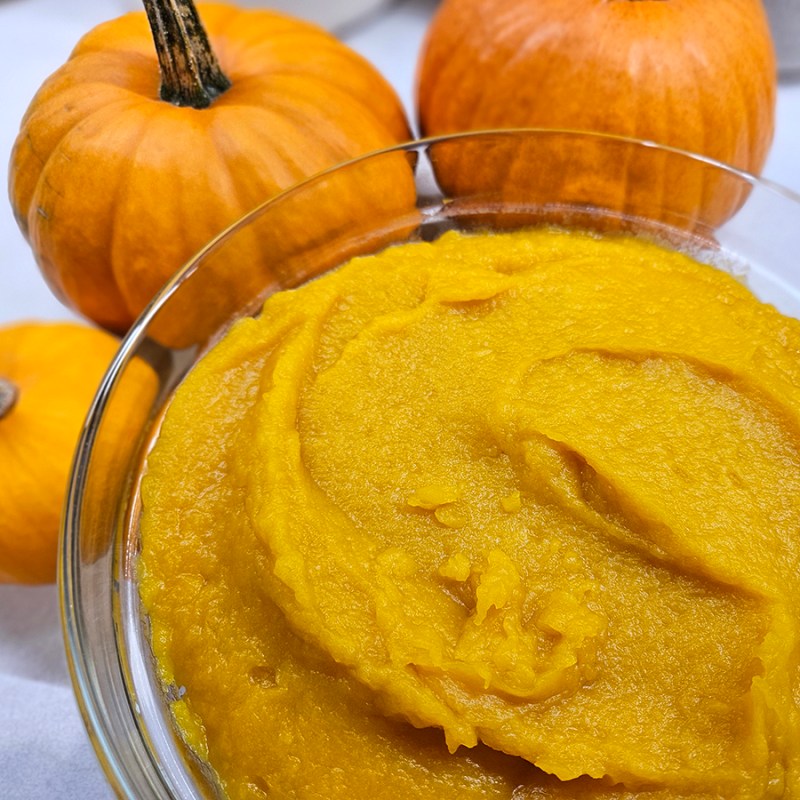
I’m sure you’ve seen row after row of canned pumpkin sitting on store shelves, especially this time of year. While there is nothing wrong with store-bought puree, it’s so easy to make it from scratch. And the flavors and texture of homemade pumpkin puree just can’t be beat!
Most local farmer’s markets, pumpkin patches, orchards, farm stores, and even grocery stores carry pie pumpkins during the fall months. Or, you can do like we try to do each year and grow a few pie pumpkins from seeds in your garden.
No matter how you source your pie pumpkins, consider giving this recipe a try and using it for all sorts of wonderful pumpkin dishes like cookies; cakes; donuts; and, of course, the infamous pumpkin pie!
How To Make Homemade Pumpkin Puree
*Scroll down to the bottom of this post to see the full recipe, including exact measurements and amounts. You can also print out the instructions. I go into a bit more detail about the recipe here first, just in case you need it.
Ingredients
The ingredient list for this recipe is super easy! All you need is pie pumpkins!
While it might be tempting to use your leftover pumpkin pieces after you get done carving a masterpiece in your jack-o-lantern, that really isn’t the best route to take. In fact, there are quite a few differences between larger carving pumpkins and smaller pumpkins that are used specifically for pies and baking.

The main difference is their size, flesh, and flavor. Pie pumpkins, also sometimes called “sugar pumpkins,” are much smaller in size than their carving pumpkin cousins. They typically range in size from 1 to 6 pounds. (Just don’t confuse them with the teeny tiny ornamental pumpkins.)
The flesh of pie pumpkins is also different. They usually have thicker walls, which provides more pumpkin to turn into a puree. In addition, the flesh of pie pumpkins has a much silkier texture, which will result in a smoother puree. If you’ve ever carved a large pumpkin, then you know just how stringy and tough the flesh can be.
Last but not least, pie pumpkins and sugar pumpkins tend to be a little bit sweeter. Most farm stands, orchards, or grocery stores will clearly label if the pumpkins are intended for pies or not.
You can also grow your own pie pumpkins, which is what we like to do. The vines don’t take up as much space as larger carving pumpkins. However, the seeds need to be planted in the middle of summer in order to have them ripening just in time for the fall.
Instructions
Before you begin, start by preheating your oven to 350º Fahrenheit. This will give your oven plenty of time to heat up while you prepare the pumpkins.
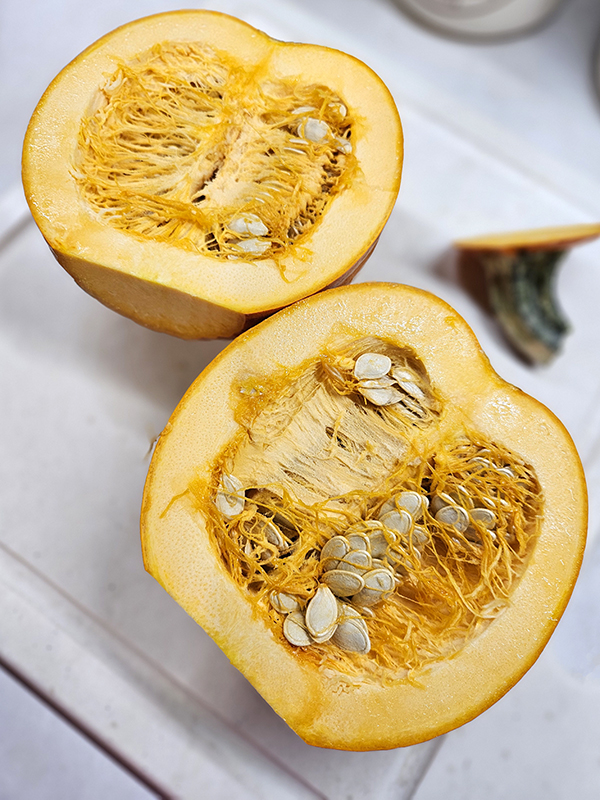
Whether you grew your own pie pumpkins or purchased them, I highly suggest you give them a good scrub before starting. Since pumpkins grow on the soil, they tend to have dirt on the outside. So better safe than sorry, rinse each one under water and give it a little scrub. Once the pumpkin is clean, dry it off as well as possible.
Preparing The Pumpkins – Homemade Pumpkin Puree
You can roast the pumpkin whole, but I like to chop them in half first. This makes the roasting process go a little faster.
First, cut off the stem of the pumpkin. You don’t need to go as deep as you would if you were creating a top for carving a jack-0-lantern. Just take off a tiny bit of skin and the stem. Next, chop your pumpkin in half from top to bottom.
This will give you two halves to work with. Here’s where you can get your kids involved because it’s time to scoop out the pumpkin guts! Take a large spoon and remove all of the seeds and the mushy wet middle part of the pumpkin. scrape the sides down to remove as much of the stringy pulp as possible.

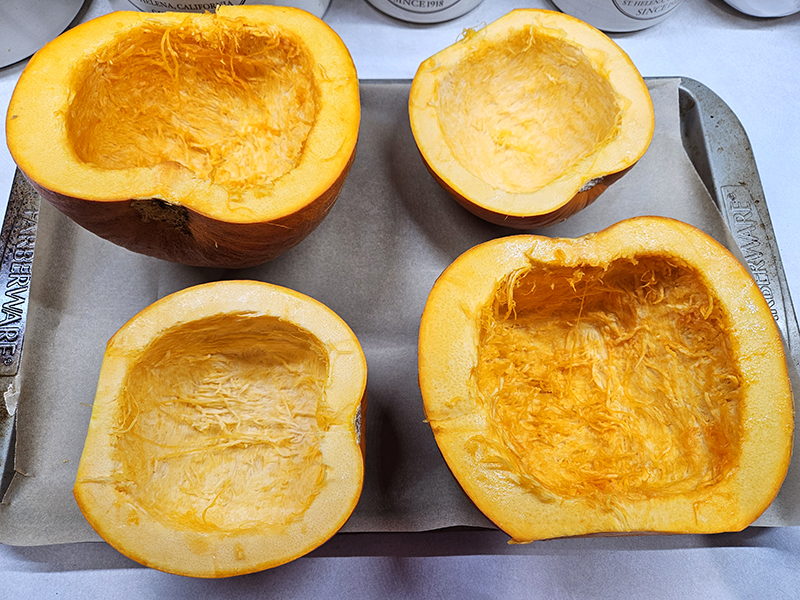
This should leave you with a hollowed-out pumpkin with plenty of flesh. It doesn’t have to be perfect, just try to remove as much of the guts as possible.
Don’t forget to save the seeds for either growing next year or for making roasted pumpkin seeds! It’s one of our family’s absolute favorite fall treats and another super easy recipe to do.
Roasting The Pumpkin Halves
Place each piece face up on a baking sheet lined with parchment paper. Once all of the pumpkin is gutted and on the sheet, it’s time for roasting. Place the sheet in the middle rack of your oven and bake for around 45 minutes. (Product Link: Reynolds Unbleached Parchment Paper)
The actual amount of time you need to roast the pumpkins will vary depending on the size and how much flesh there is on each pumpkin. The ones in these pictures took around 55 minutes. The goal is to be able to pierce a fork into the skin of the pumpkin and have it easily slide in. If you are roasting whole pumpkins, it might take up to two hours.
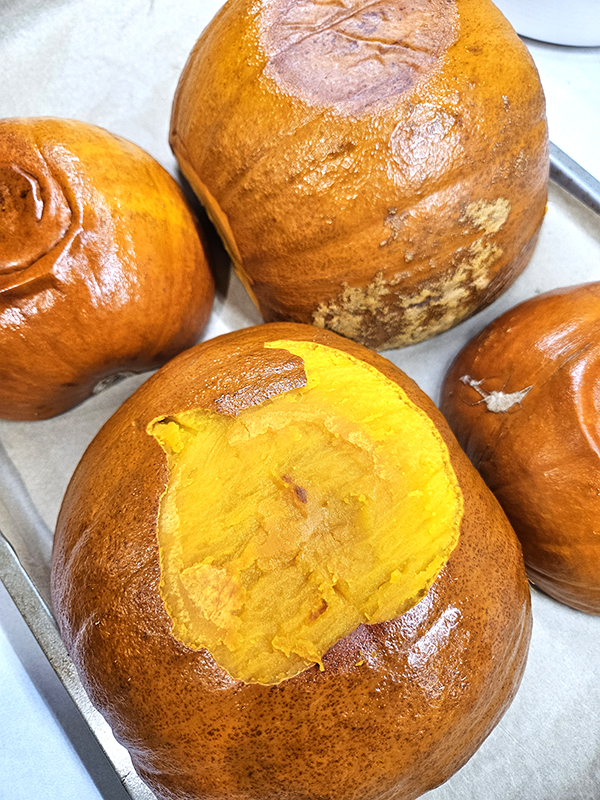
Remove the baking sheet from the oven and place it on your counter on hot pads. Carefully remove the skin from each pumpkin. Use caution because the pumpkins will be hot! The skin should peel off pretty easily though.
Time To Puree Or Mash
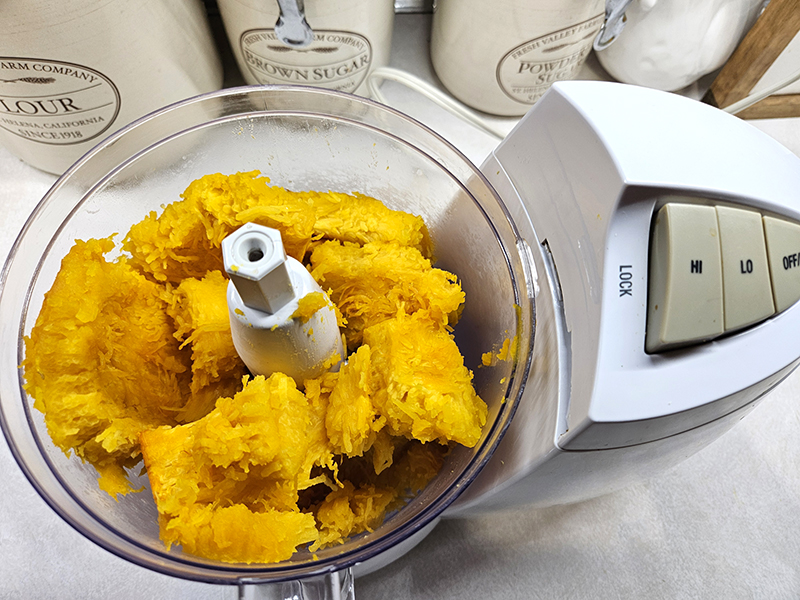
Once all of the skin is removed, it’s time for mashing or pureeing. You can use a simple potato masher or a food mill for this part.
I like to use a food processor though because it helps speed things up a bit. Also, the food processor allows me to get a super smooth and silky puree without any clumps. (I have an old food processor, but this is the revamped version of mine – Product Link: Hamilton Beach Food Processor)
If the pumpkin isn’t blending easily, add a tablespoon or two of water. This should allow the flesh to blend more smoothly. On the flip side, if your pumpkin is super moist after roasting, drain out the excess moisture through a fine mesh strainer or cheesecloth before blending or mashing.

Allow the homemade pumpkin puree to cool. You can then use it for recipes immediately or store it in freezer-safe ziplock bags. I like to store mine in one-cup increments to make it easy to add to recipes. Just add the puree to the baggy and smooth it out flat, removing all the air before sealing. Don’t forget to label each bag!
The Final Product
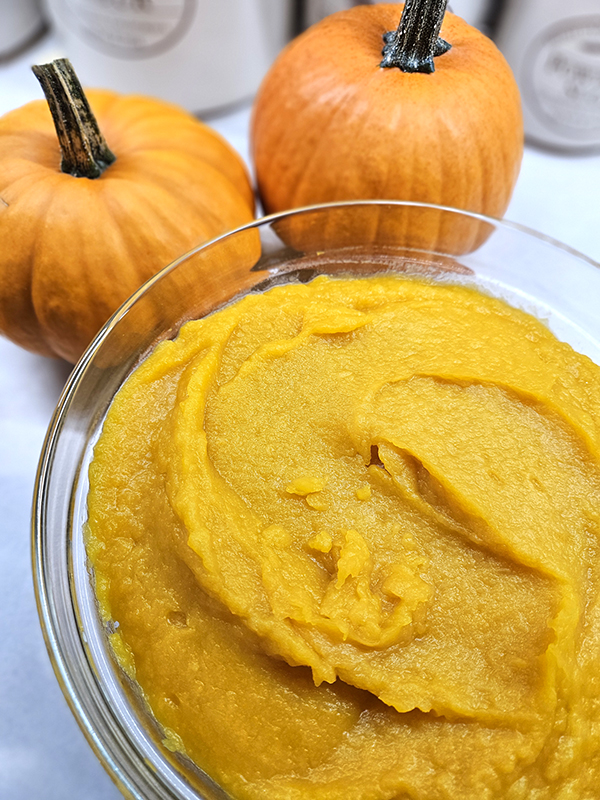
The size of the pie pumpkins will dictate how much pumpkin puree you end up with. In these photos, the larger pumpkin measured around 6″ by 7″ (measured after slicing in half) and ended up yielding about 4 cups of pumpkin puree. The smaller one measured around 5″ by 5.5″ and it yielded about 3 cups of pumpkin puree.
The homemade pumpkin puree will last about 5 days in your refrigerator or frozen for several months. Just thaw each bag on your countertop overnight or in your refrigerator when you are ready to use them. One can of 100% pumpkin puree equals slightly under two cups of homemade. Enjoy!
Until next time, thanks for stopping by!
– Chelsea
*This post may contain affiliate links. These are products I have used personally and highly recommend. As an Amazon Associate, I may earn a small commission from qualifying purchases if you purchase items through my links. These links and the ads on this page help to support my family and our semi homestead, so Thank You!
Homemade Pumpkin Puree
Ingredients
- 2 small pie pumpkins
Instructions
- Preheat your oven to 350º Fahrenheit. Wash and dry each pie pumpkin thoroughly.
- Cut off the stem and then slice the pumpkin in half from top to bottom. Scoop out any seeds and stringy pulp (save the seeds for roasting!)
- Place each half cut-side up on a baking sheet lined with parchment paper. Bake for 45 minutes to an hour or until the flesh is soft and the skin can easily be pierced with a fork. (See note below on cooking time and amounts.)
- Remove the pumpkins from the oven. Carefully peel off the skin, leaving behind the flesh. Blend or mash the flesh using a food processor, a food mill, or a potato masher until it is smooth and lump-free. If needed, add a tablespoon or two of water so the pumpkin blends easier.
- The pumpkin puree can be used immediately, stored in the refrigerator for about 5 days, or cooled and placed into freezer-safe bags and frozen. One can of 100% pumpkin puree equals slightly under 2 cups homemade. Enjoy!
Notes
Discover more from Semi Homestead Life
Subscribe to get the latest posts sent to your email.