If there is one thing you can do to benefit your garden this year, it’s to make and use compost! This one product is the best thing you can do not only for your vegetables and flowers but also for your garden soil as well – and you can easily make it at home!
Compost is the organic material that is created when different items break down over time. Once these materials are fully decomposed, the finished compost can then be used to provide loads of nutrients to your plants.
At the same time, it can also be used help to improve the overall composition of your soil. (It’s a must-have product when you have heavy clay-like soil like we do here.)
You might be amazed at just how many products can go into home compost piles. From food scraps to yard waste to livestock manure and paper products, all these materials contain nutrients and organic matter that will benefit your garden space once broken down. At the same time, you also help to keep these materials out of landfills.
While you can purchase finished compost in bags or bulk at garden centers, it’s super simple and easy to make yourself. But instead of getting wrapped up in complicated recipes and exact ratios, learn how to make an amazing, nutrient-packed compost pile the semi-homesteading way!
How Composting Works
All materials eventually break down – some just do so at a much faster rate than others. By placing certain materials together in a pile or a bin, you can help speed up that process naturally by using heat, water, and oxygen.
By combining specific types of materials together, you can create a pile that heats up fast and decomposes materials quickly. The finished product is a soil amendment that is loose, loaded with organic matter, and perfect for improving even the worst types of soil.
Not only that but compost is packed full of nutrients and trace minerals. You can use it to power your plants by acting like a natural fertilizer. Yet it’s gentle enough to even be used when starting seeds indoors.
While you can find all sorts of complicated formulas and “recipes” for home composting, I try not to go that route. Again, the goal of this website is to practice homesteading while staying practical and not be overwhelming.
However, there are still a few things to keep in mind when creating this amazing soil amendment and fertilizer right in your own backyard.
Making A Home Compost Pile Simple
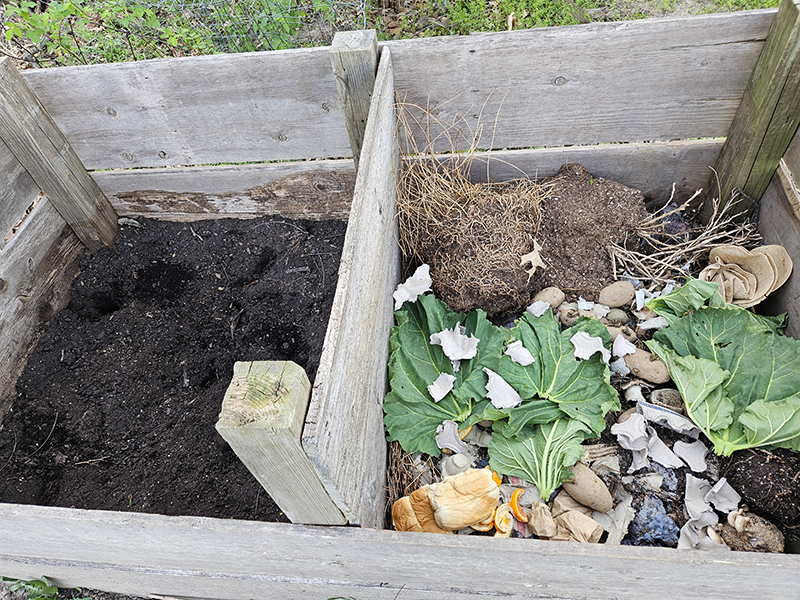
Brown & Green Materials
The best home compost piles have a good combination of both brown and green materials. Brown materials contain large amounts of carbon. This helps to increase oxygen in piles as well as break down the materials. Green materials have higher amounts of nitrogen, which helps to really heat up piles.
Ok, so what exactly are brown and green materials?

Brown materials are items like straw, shredded dead leaves, untreated woodchips, and dried grass clippings. Most of these items are brown in color and considered to be “dead”. They can also include household items like paper, cardboard, napkins, shredded newspapers, and even used tissues and coffee filters.
Green materials are items like egg shells, vegetable scraps, spent coffee grounds, tea bags, plant materials, green grass clippings, and even pet hair or fur. This category also includes livestock manure from animals like cattle, horses, rabbits, and chickens.
What Not To Add
There are some materials that you should not add to your home compost pile. Some of these materials attract wild animals while others can harbor harmful pathogens or bacteria.
Do not add any type of meat products as well as oils, butter-based items, or dairy products. These items cause bad-smelling piles that attract all sorts of pests and unwanted animals.
Avoid adding any plant materials that are diseased or that contain seeds. You might end up with some surprise plants growing in your home compost pile that you don’t want there (ask me how I know!). Or, those seeds sit dormant until you go to use the finished compost and you end up with tons of unwanted volunteer plants or weeds in your garden!

In addition, do not add any tomato plant materials. They are known for containing diseases that can then be spread to your new plants when the finished compost is used.
Lastly, even though livestock manure is an excellent addition, avoid using waste from pets like cats and dogs. Home compost piles just aren’t able to heat up enough to kill off the pathogens that those wastes contain.
Amounts To Use
When it comes to how much of each type of material to add to your pile, the goal is to get around one part green materials for every four parts brown materials. This doesn’t have to be exact by any means. However, this is the ratio that will allow you to have a pile that heats up fast and breaks down those materials easily.
Instead of weighing materials or making it that difficult, you can just picture those amounts in buckets. For every one bucket of kitchen waste and other green materials, try to add around four buckets of brown materials.
Again, I don’t measure anything or use actual buckets to get those amounts. I just try to think in my head that if I add a bunch of kitchen scraps one day, I need to add some dead materials like shredded leaves next time.

What To Use As A Composting Bin
The nice part about creating a home compost pile is that you can use almost anything to use as your composting bin. Or, you don’t have to use a container at all if you have the space for just a pile.
There are containers that you can purchase that make composting easy. Most of them are made out of plastic and allow you to easily mix and stir the materials. However, most of them are very limited in space and can be expensive.
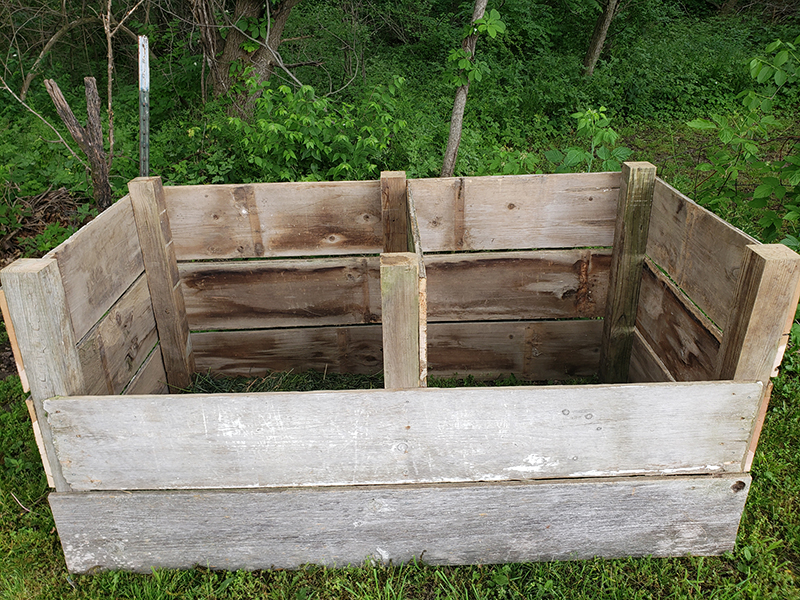
Instead, I highly suggest that you create a compost bin system using reclaimed lumber or even pallets. It doesn’t have to be anything fancy or special but aim for bins that are around 3 feet wide by 3 feet tall by 3 feet deep. This allows for a pile that is large enough that it can heat up while not being so big that it becomes overwhelming.
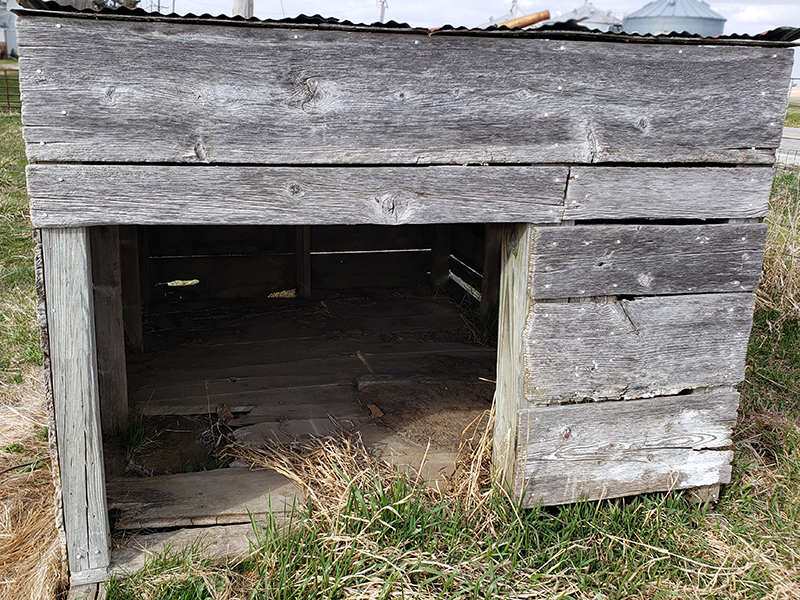
I created my compost bin using lumber from an old livestock shelter that my parents had. Once upon a time, this shed housed my show sheep but it no longer does this job. Instead, my husband helped me turn it into a two-bin composting system.
Speaking of two bins, I highly suggest you have two sides to your container. On one side, I have my already finished compost I can use immediately and the other side is where I put my current materials. Eventually, those sides will swap.
Maintaining A Compost Pile
To start, it helps to make the materials that you add to your home compost pile as small as possible. This allows the materials to decompose even quicker. This isn’t required, but will help speed up the process.
Turn the pile (or mix it up) often. At a bare minimum, turn the pile at least once a week during the spring through fall months. I don’t always get this accomplished, but that is the goal anyway. This helps all the material break down evenly since the middle of the pile gets much hotter than the outside.
And finally, compost materials need moisture in order to heat up and break down. If you reach into the middle of the pile, it should feel like a wrung-out sponge. If it is too dry, just give it a good drink of water using a hose or sprinkler.
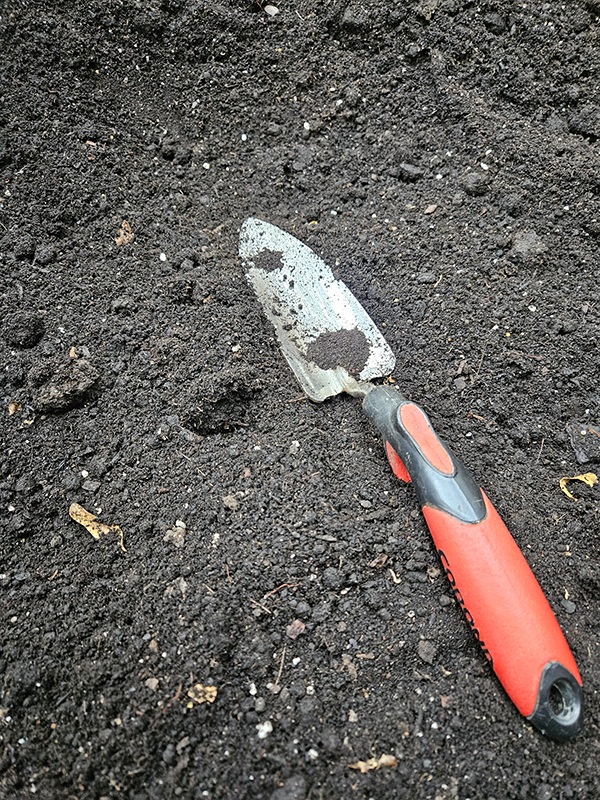
Before you know it, you will have amazing, nutrient-packed finished compost that you can use to power your plants and improve your garden soil!
Until next time, thanks for stopping by!
– Chelsea