
There’s nothing quite like the experience of making homemade apple cider. While you can easily use your crockpot or stovetop to create this simple beverage, we were lucky enough to use my late Grandpa’s antique apple cider press.
Since it’s fall, it means it’s the season for all things apples. Apple cider donuts, applesauce, dehydrated apples, apple butter – I love it all! But one of my favorite ways to enjoy apples is by drinking homemade apple cider.
We used to have a pumpkin patch/apple orchard that we visited as a family each fall. They had the best apple cider I’ve ever had. Sweet, tangy, and a perfect blend of apple varieties. After having their homemade cider, nothing the grocery stores carried even came close in flavor.
Unfortunately, this pumpkin patch has become rather commercialized and is not as fun as it used to be. And since it is over two hours away, it was not worth the drive to go that far just for apple cider.
After trying multiple different brands and local blends, I pretty much gave up on having great cider again. That is until we made it ourselves! Using old methods that had now been passed down through generations, our family created the best homemade apple cider this year!
Apple Juice Vs Apple Cider
So what’s the difference between apple juice and apple cider? Basically, apple juice is the liquid pressed from apples that has been filtered, pasteurized, and sweetened. It normally contains preservatives which gives it a much longer shelf life. Apple juice is also typically more transparent than apple cider.
Apple cider, on the other hand, is unfiltered, raw, and freshly squeezed. You can find it pasteurized or unpasteurized depending on where you purchase it. Apple cider is normally darker than apple juice, is more opaque, and has sediments at the bottom of the container.
Tip: If you ever get homemade apple cider (or even store-bought for that matter), you need to make sure you shake it up well before pouring and drinking. A lot of the sediments will settle to the bottom so you have to mix those back in every once in a while.
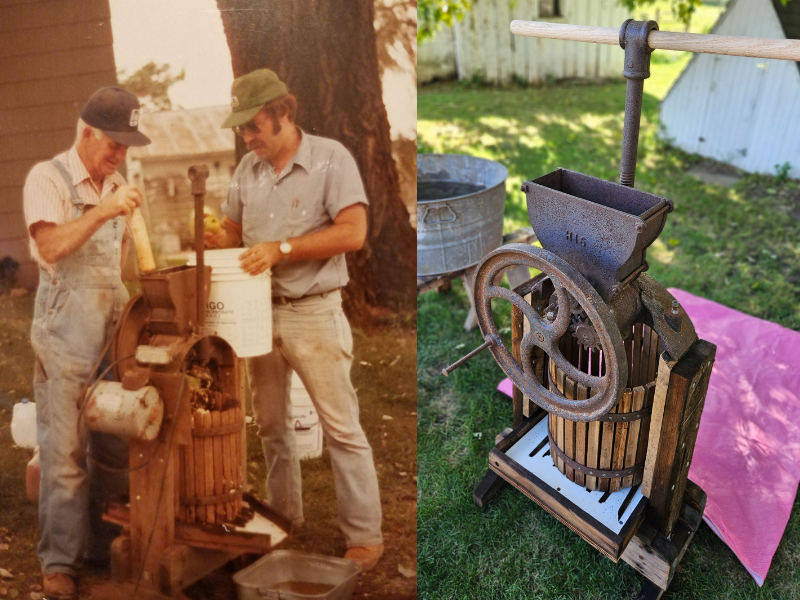
Grandpa’s Old Cider Press
My parents used to make homemade apple cider with my mom’s parents long before my brother and I came into the picture. This is the same set of grandparents that I got the windmill from that is the basis for the Semi Homestead Life logo. (See “The Story Of The Windmill“)
My grandpa altered the apple cider press a little bit, removing the original hand wheel and adding a motor to the press. It definitely made the process go a lot quicker, that’s for sure!
He also had to update some of the wood pieces because age and use had broken them down over time. He did an excellent job at keeping its original appeal and look. I just wish we knew how old the press was and the story of how he got it, but unfortunately that information is gone.
Before my grandpa passed, he handed down the cider press to my parents. It took several years before we made time to put it to use. Because you know, kids and life tend to get in the way. We did use it a few times when I was really young, but I don’t have any memory of it.
Setting A Date To Make It Happen
Finally, my parents made a plan to get the antique cider press out so we could get to making homemade apple cider. They picked a day and us kids put it on our calendars so that we could actually make it happen.
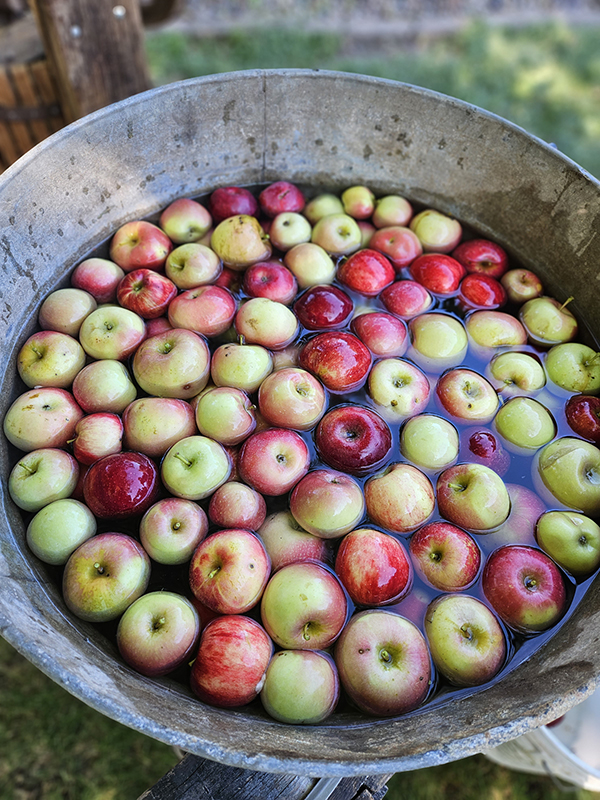
Thankfully, the apple trees that were growing on my parents’ farm were producing loads of delicious apples this year. We had already taken a huge laundry basket full to make homemade applesauce and frozen apple pie filling but the trees were still covered.
My parents brought the old press out of storage and cleaned it up really well. My dad also worked to remove the motor and added the old wheel back on. Thankfully, my grandpa kept the wheel. Now, the press looked as good as new!
Making Homemade Apple Cider Using An Antique Cider Press
The first step to making homemade apple cider is to pick apples of course! It’s best if you choose at least three different varieties of apples to create a more flavorful and unique cider. My parents had two different varieties of apples growing on their farm and I brought a few apples of a third variety.
Earlier that morning, we purchased several gallon-sized water jugs. We dumped the water into a large galvanized tub and used that to wash the apples. We would use the empty jugs to bottle up the finished cider.
If you know your apples are free of chemicals and are clean, you could really skip the washing step. However, we just washed them to be on the safe side since my parents’ mini orchard is next to a cornfield.
We then set up a little assembly line. The first two people washed the apples. The younger kids really enjoyed doing this task the most, of course!
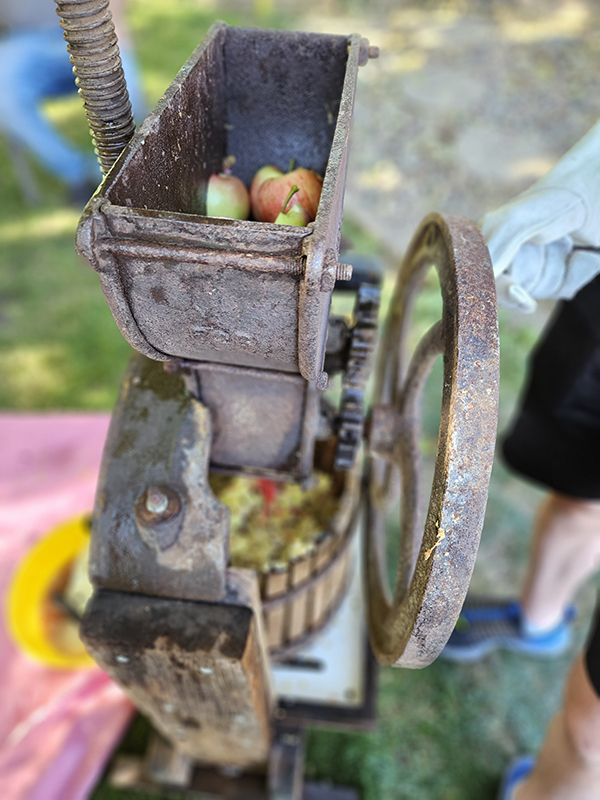
The next two would cut the apples in half and drop them into the holding container. While the cider press can make pulp from whole apples, we found it much easier to turn the wheel when the apples were cut in half.
Finally, someone would turn the wheel and the apples would get pulverized by the machine. It was a pretty slick setup and we had a full basket of pulp in no time at all. All of the grandkids got a chance to turn the wheel, which I think made for some great memories for my parents!
Pressing the Pulp – Making Homemade Apple Cider
Some of the juice does start to flow immediately just by the apples getting broken down into smaller pieces. However, most of the juice comes when you press the pulp down. (Hence the name “apple press”!)
After the wooden basket was filled with apple pulp, my dad put a large wooden disc on the top. Then, he used the attached crank to slowly compress the apple pulp down.
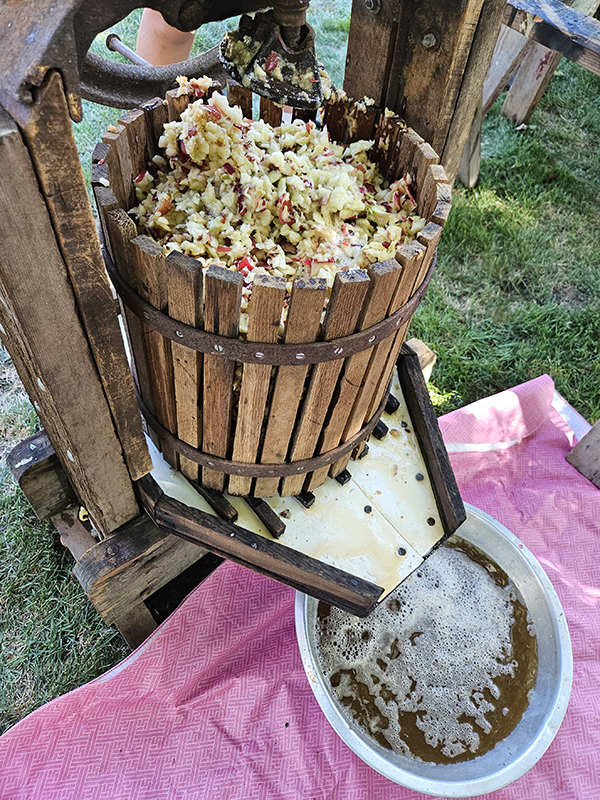
This act caused the rest of the liquid to be squeezed out of the apple pulp and down into the bowls we had waiting at the bottom of the press (see the video of it in action below). It didn’t take too long to fill a huge bowl with fresh apple cider, so we had extra bowls on hand to swap out usually halfway through.
While most of the pulp pieces stay in the basket, some of it does pass down into the bowl with the juice. For this reason, the next step is to strain the cider.
The Final Step In Making Homemade Apple Cider
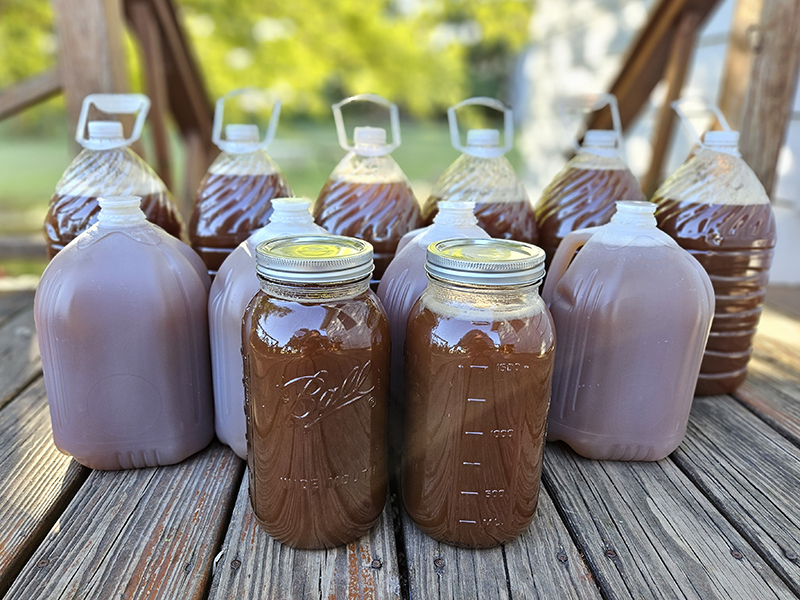
The final step was to filter and bottle the cider. My mom used cheesecloth to help filter the cider and remove any pieces or impurities. After all of the cider was strained, it was time to finally pour it into gallon-sized containers for storage.
We all kept one gallon to drink fresh and the rest we froze. If you ever want to freeze apple cider, remove a few inches of the liquid and replace the lid. Cider will expand in the freezer and can leak out of the lid if you skip this step (ask me how I know!).
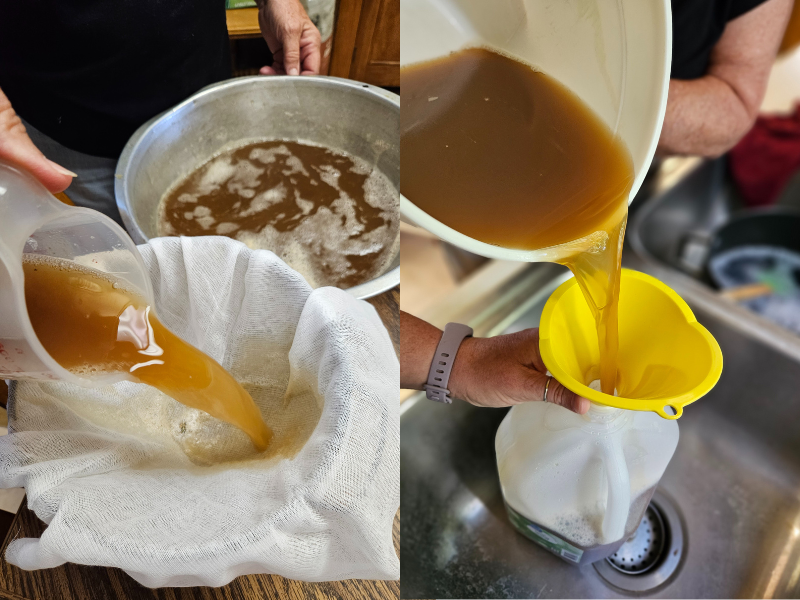
We filled all of the empty water jugs and a couple of half-gallon mason jars I had brought just in case we ran out of jugs. Thankfully I did because we would’ve been just a little short! (I love those half-gallon jars. I use them for everything from storing dehydrated foods to making sun tea! Product Link: Half-Gallon Ball mason jars)
You need to put homemade apple cider in the refrigerator or freezer as soon as possible. Since there are no preservatives, the cider will start to ferment if it is left at room temperature for too long. However, you can keep it for up to two weeks in the refrigerator and up to a year when frozen.
I’m so thankful that my grandpa passed down his old antique cider press to my parents. It was so nice to be able to share this experience with my kids, all the while making delicious homemade apple cider that we will be able to enjoy long through the winter months! Cheers!
Until next time, thanks for stopping by!
– Chelsea
*This post may contain affiliate links. These are products I have used personally and highly recommend. As an Amazon Associate, I may earn a small commission from qualifying purchases if you purchase items through my links. These links and the ads on this page help to support my family and our semi homestead, so Thank You!
Discover more from Semi Homestead Life
Subscribe to get the latest posts sent to your email.