One of the most popular vegetable garden staples for planting and growing is peppers. With so many varieties and flavor profiles, there’s definitely one that you and your family might enjoy!
Peppers are annual plants that have a long growing season. Because of this, most gardeners either start the seeds indoors in early spring or purchase the peppers as seedlings and transplant them into the garden once the temperatures warm up.
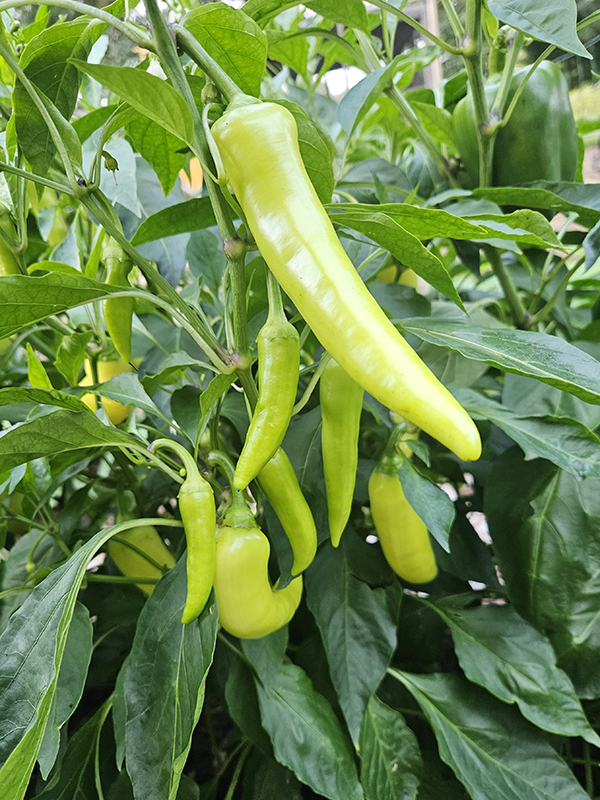
Despite the huge variety of different peppers, they are normally grouped into two main categories: hot or sweet. Hot peppers would be varieties like jalapenos, seranos, and habaneros. Sweet peppers include bell peppers, banana peppers, and pepperoncini peppers.
Freshly harvested peppers can be enjoyed raw in salads or on sandwiches, they can be cooked down in recipes like stir fries and stuffed peppers, or they can even be turned into delicious preserved goods like salsas or cowboy candy. We also like to dice up fresh peppers from the garden each year to freeze so we can add them to meals all winter long!
I’ve put together a little guide that will walk you through the entire growing process. From starting your pepper seeds indoors or purchasing transplants to planting and growing – all the way until harvesting. Hopefully this guide will help convince you to try growing peppers this year!
All About Planting And Growing Peppers
Starting Pepper Plants By Seed Indoors
As stated earlier, pepper plants are slow-growing, which means you need to start the seeds indoors or purchase transplants from a garden center.
If you are able to do it, I highly suggest trying to start seeds indoors. It is a great way to have total control over how the plants are grown and what type of products are used with the seedlings.

In addition, growing plants by seeds opens you up to a wider range of different varieties and types that you might not be able to find if you are only purchasing seedlings locally. When purchasing transplants, you can only buy what is available on store shelves.
Oh, and let’s not forget that starting plants by seeds also saves you money in the long run. But probably my favorite reason is it allows me to get my hands into some soil long before I can work the ground outside here in chilly Illinois!
If you want to go more in-depth about starting seeds indoors, check out my three-part series starting here, “Starting Your Garden Seeds Indoors Series – Part 1: Sowing”.
Steps On Starting Seeds Indoors – Planting And Growing Peppers
To grow pepper seeds indoors, you are going to need a few things. First, you need some type of container with drainage holes. Next, you are going to need seed starting soil. Finally, you are going to need some type of light source. We usually just use inexpensive LED shop lights.
You will need to start pepper seeds about 8 to 10 weeks before your last frost date. Plant a couple of seeds about a quarter inch deep into your seed starting containers. Keep the containers in a warm location and the soil moist by covering the containers with plastic lids or even plastic wrap.
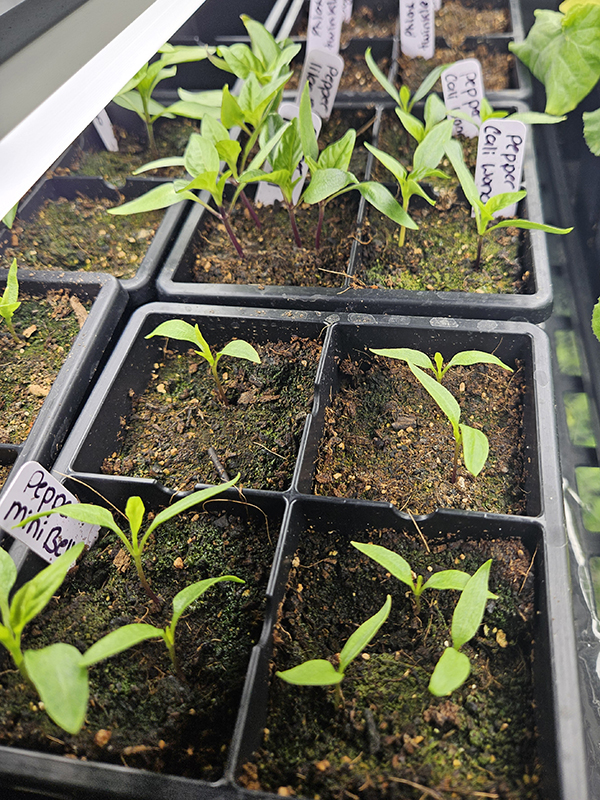
Pepper seeds can germinate in as little as two weeks. However, some varieties can take as long as six weeks. When I start my seeds indoors, the peppers always seem to be some of the last plants to come up.
Once they start to germinate, remove the plastic covering and turn on your grow lights. After the seedlings have one or two sets of true leaves, thin them so you have only the strongest seedling in each container. (This amount may vary based on how large or small your containers are.) Continue to bottom water the plants, keeping the soil moist but not overly saturated.
You will need to harden off the plants for about two weeks before planting them in the garden. This allows the plants to toughen up a bit and get used to the elements. Then you are ready for transplanting outside once the soil is warm enough.
Planting Pepper Transplants – Planting And Growing Peppers
Whether you are planting pepper seedlings you started yourself or purchased, the same planting guidelines apply. Wait to plant them outside until the soil reaches about 65º Fahrenheit and the threat of frost has long passed. Pepper plants are warm-weather-loving crops, so planting too early can result in stunted growth or worse.
Pepper plants require a growing location that receives full sun of at least 6 to 8 hours of sunlight each day. The soil needs to be well-draining and rich in organic matter.
Prepare the planting location by loosening up the soil about 8 to 10 inches deep. Mix in several inches of aged compost. The compost will help to improve drainage, add in loads of organic matter, and provide plants with easily absorbable nutrients right from the get-go.
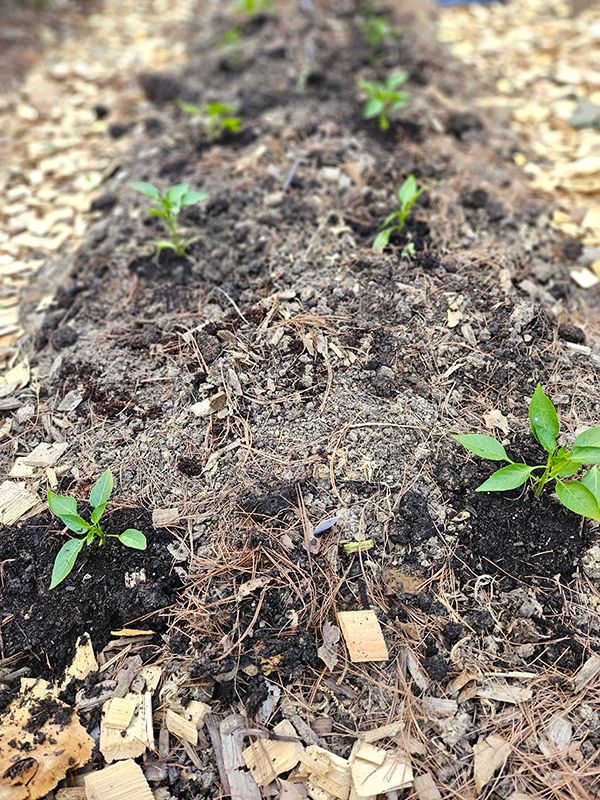
Create a hole that is about two inches deeper and wider than the transplant’s rootball. Gently place the pepper plant into the hole, burying the stem as deep as the first set of leaves. This will provide the plant with more roots and stability.
Backfill with additional soil and water well. Space any additional plants about 18 to 24 inches apart, depending on the variety.
If you are using supports or stakes with your pepper plants, add those now. Adding them later on might risk damaging their established root systems.
Long-Term Care For Pepper Plants
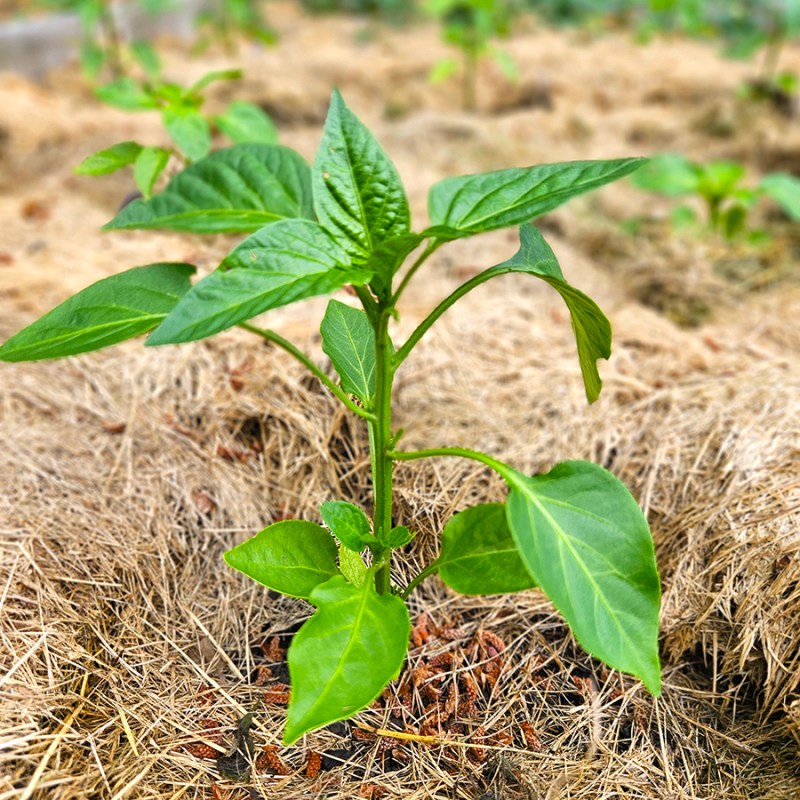
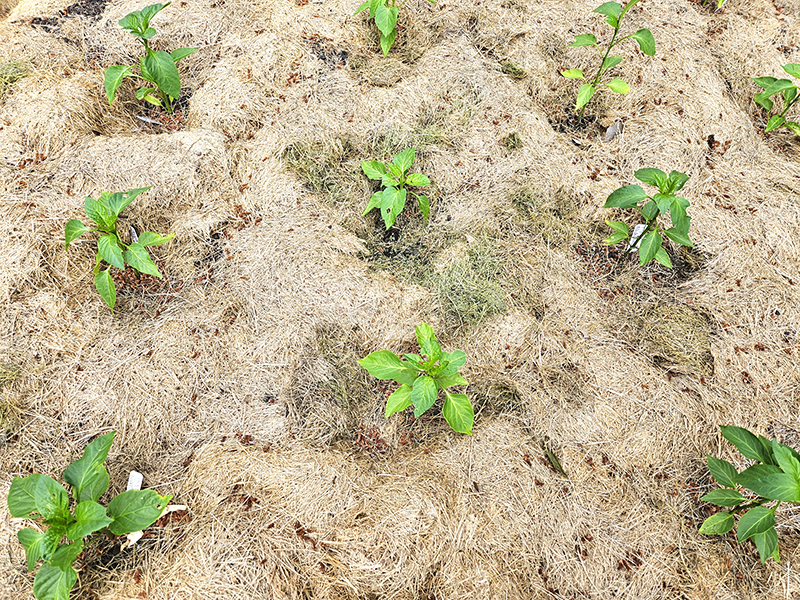
I always encourage gardeners to mulch around all their garden plants right after planting. The mulch will help to reduce the amount of weeding required as well as maintain moisture in the soil.
Continue to water the plants regularly. Pepper plants need about an inch or two of rainwater or hand watering weekly. Instead of giving them light drinks here and there, provide plants with one or two deep, long drinks weekly. This will allow the soil to dry out slightly in between waterings and encourage the roots to grow down deep in the soil. Also, water plants at the base as opposed to overhead whenever possible.
When the plants reach about 8 to 12 inches tall, you can pinch off the top growing points. This will help the plants to become bushier and thus produce more fruit. We don’t always do this step but it can be fun to experiment with and see how your harvests vary.
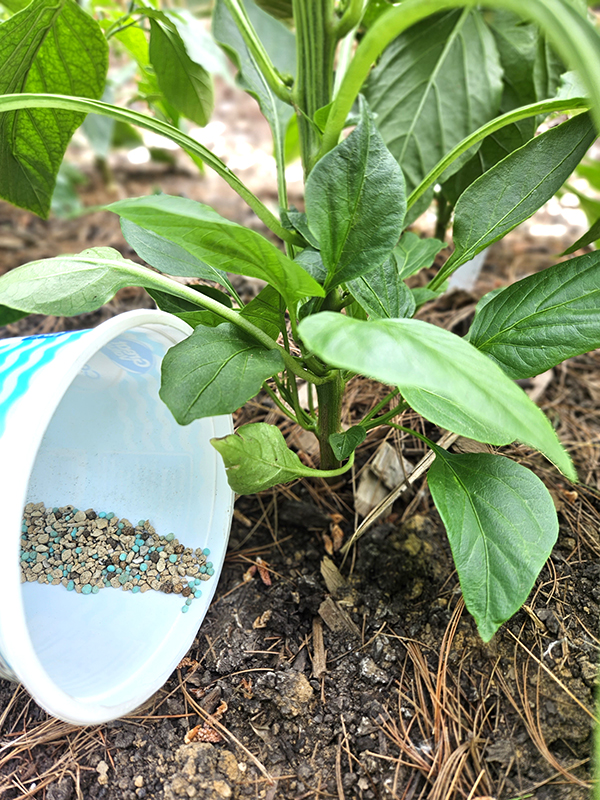
Once the pepper plants start to produce buds, begin providing them with a fertilizer that is high in potassium. Avoid using fertilizers with a higher amount of nitrogen as this will encourage plants to produce more foliage as opposed to fruit.
As the weather starts to cool down in the fall, the plants will slow down on production. Any frost will kill plants, so be sure to cover them up with a sheet if an early-season frost is predicted. Remove the plant material from your garden when the growing season is up. Do not compost the plant matter.
Harvesting Peppers – Planting And Growing Peppers
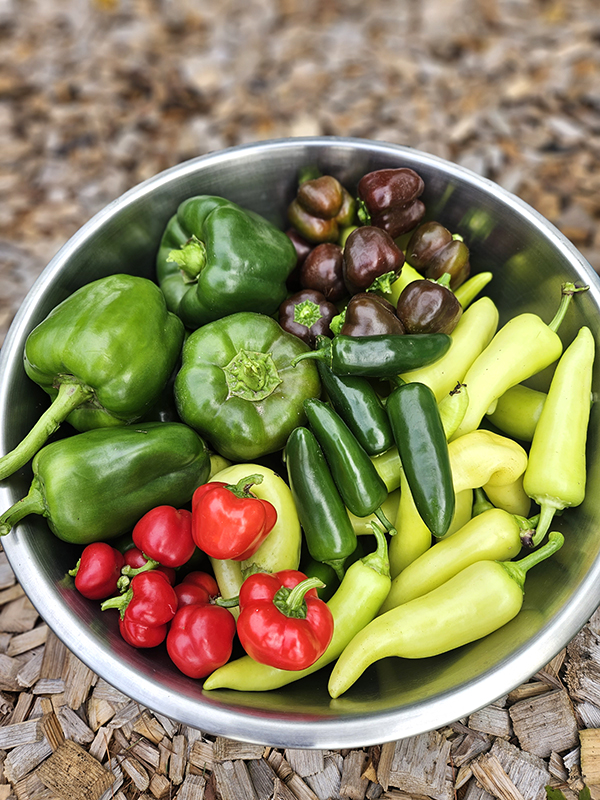
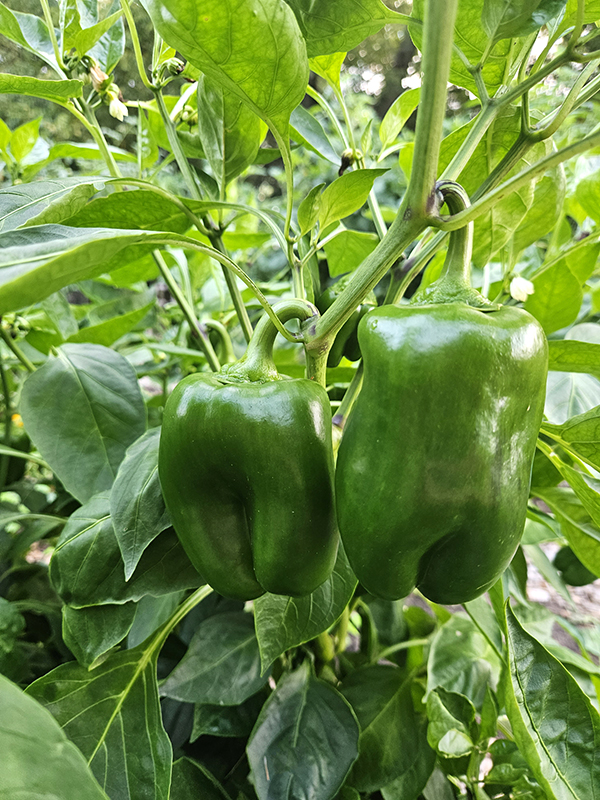
Did you know that as most peppers mature, they change colors? Most pepper varieties all start out as green. As they mature, they can change to yellow, orange, or red. Some pepper varieties are even purple!
The key to getting the color that you see on your seed packet or plant tag is to have patience. It can take the pepper a long time to change to its final color. As this happens, the flavor of the pepper may also change.
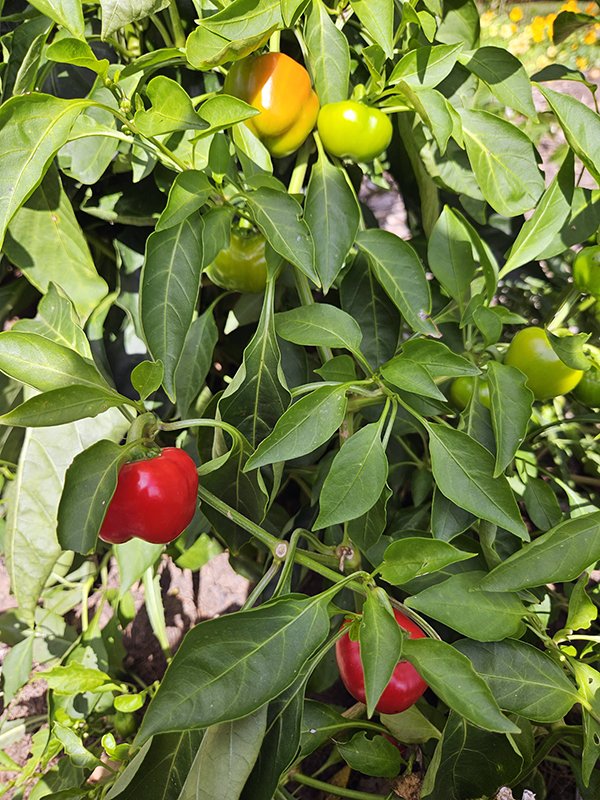
Mild papers like bell peppers usually become sweeter the longer they are left on the plant. In addition, their Vitamin C content also increases. (That is really the only difference between those green and red bell peppers you see on store shelves believe it or not!) In regards to hot peppers, the hottest, ripest ones are usually the ones that are bright red – so watch out for that!
To help keep your pepper plants producing all growing season long, pick the fruit as soon as it has reached its mature color and size. Cut the stem off with a pair of clean pruners or scissors. And ALWAYS wear gloves when handling hot pepper varieties. This goes for harvesting and cutting! (Product Link: Fiskars Bypass Pruning Shears)
Storing Harvested Peppers
As soon as you harvest the peppers, pop them into a sealed plastic container or bag and place them in your refrigerator. They should stay fresh for up to 10 days. When you are ready to use them, give them a good wash first.
You can also easily freeze peppers for later use, too. First, wash and dry the peppers thoroughly. Remove any seeds and stems and then dice or slice them into whatever size you want.
Next, add them to freezer-save ziplock bags in specific quantities and store them in your deep freeze until you are ready to use them. I’ve found that thawed-out peppers are best used in cooked dishes.
Peppers can also be dried or pickled. Don’t forget about adding peppers to your other canned products like salsas, cowboy candy, and chili. There are several different recipes and ways to use garden peppers if you just search online.
I hope this guide helps you a little bit when it comes to planting, growing, and harvesting peppers this summer!
Until next time, thanks for stopping by!
– Chelsea
*This post may contain affiliate links. These are products I have used personally and highly recommend. As an Amazon Associate, I may earn a small commission from qualifying purchases if you purchase items through my links. These links and the ads on this page help to support my family and our semi homestead, so Thank You!
Discover more from Semi Homestead Life
Subscribe to get the latest posts sent to your email.