
A rustic apple crisp that features tender and juicy warm cinnamon sugar apple slices covered with a crispy and buttery brown sugar oat topping that’s perfect for enjoying with vanilla ice cream! The best part of all is that you can make it using only 7 simple ingredients!

One of my favorite desserts to make in the fall and wintertime is homemade apple crisp. It’s a delicious way to use up some of those freshly-picked apples as the weather starts to cool down. However, we actually enjoy making it year-round using a wide variety of different apples.
Much to my family’s enjoyment, I have tested so many different variations of apple crisp and toppings over the years. (Some with great success and some not so good.) Finally, I’ve gotten the right combination of ingredients so that it’s warm and sweet yet with a perfect tartness as well. The best part is that it is simple to make with just seven ingredients!
In fact, we love this topping recipe so much that I use it when I make our rhubarb crisp in the spring as well! Both desserts are favorites for anyone who has ever tried them before.
Another great advantage of making this apple crisp is that you can freeze it to enjoy later on. I like to make a double batch since I have all of the equipment and ingredients out and ready to go. One crisp goes right into the oven while the other gets wrapped and stored in the freezer to enjoy whenever we need a delicious dessert without the work!
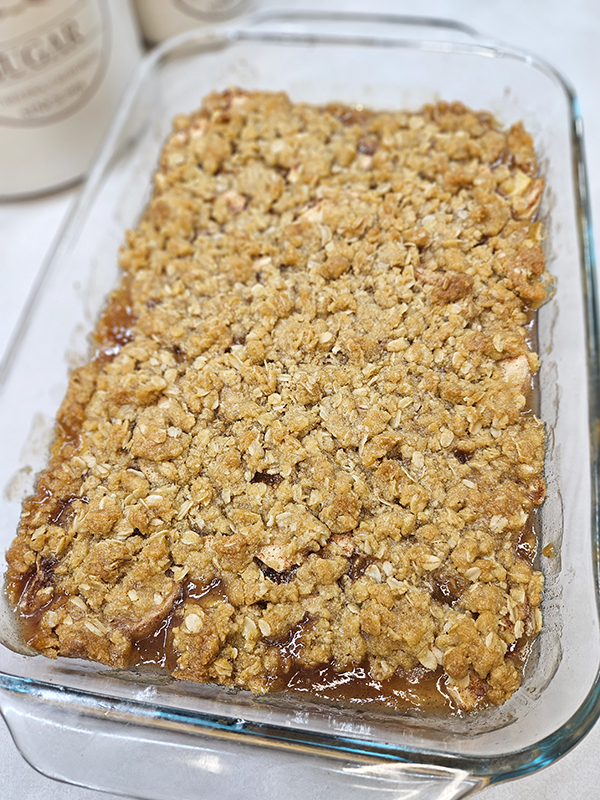
How To Make Rustic Apple Crisp
*Scroll down to the bottom of this post to see the full recipe, including exact measurements and amounts. You can also print out the instructions. I go into a bit more detail about the recipe here first, just in case you need it.
Ingredients
There are only seven ingredients required for the rustic apple crisp. But trust me, it tastes like there are so many more when the finished product is done! Most of these ingredients can be found already in your pantry.
Since the recipe is broken down into two separate parts, the apples and the topping, I’ve grouped the ingredients that way as well. There is only one ingredient that overlaps in both: the flour.

The Apple Mixture
- Apples – You want to pick apple varieties that can stand up to baking for this recipe. Baking apples hold their shape when cooked down compared to softer varieties that wind up turning to mush. Look for apple varieties that have firm, crisp flesh and a combination of tart and sweet flavor. (I actually like to do a mixture of apple varieties if possible.) My usual go-tos are Granny Smith, Honeycrisp, Cosmic Crisp, or Yellow Delicious apples. You can also try Braeburn, Fuji, and Pink Lady apples, among a few others out there.
- Sugar – It wouldn’t be a sweet dessert if we didn’t add sugar to the mix! Use granulated sugar for this part of the recipe.
- Cinnamon – The cinnamon helps to add warmth and spice to the apple crisp. Some recipes also include nutmeg, but I’m not a huge fan of that particular spice. If you are, feel free to add 1/4 to 1/2 teaspoon.
- Flour – The flour acts as a thickening agent, so the juices from the apples don’t just run out all over the place after baking.

The Buttery Brown Sugar Oat Topping
- Brown Sugar – Brown sugar helps to add a rich, caramel or toffee-like flavor to the topping. It pairs so well with the butter to make a decadent topping. (I could honestly eat the topping as-is without the apples. It’s the same exact recipe I use when making Rhubarb Crisp.)
- Old Fashioned Oatmeal – Make sure you aren’t grabbing the quick oats for the topping. While I have used it when I ran out of the Old Fashioned variety, it didn’t give the topping quite the crunchy texture I get when using the original oats.
- Flour – Once again, the flour helps to add body to the topping and helps hold it all together.
- Butter – The key here is to make sure your butter is cold. Otherwise, you will have a gooey, melted mess on your hands instead of a crumbly, crunchy topping! I use salted butter for this recipe. If you are using unsalted butter, add a pinch of salt to the topping when mixing.
Instructions For Rustic Apple Crisp
Prep The Apples
Start by preheating your oven to 350º Fahrenheit (F). By the time you get the apple crisp prepped, the oven should be ready to go.

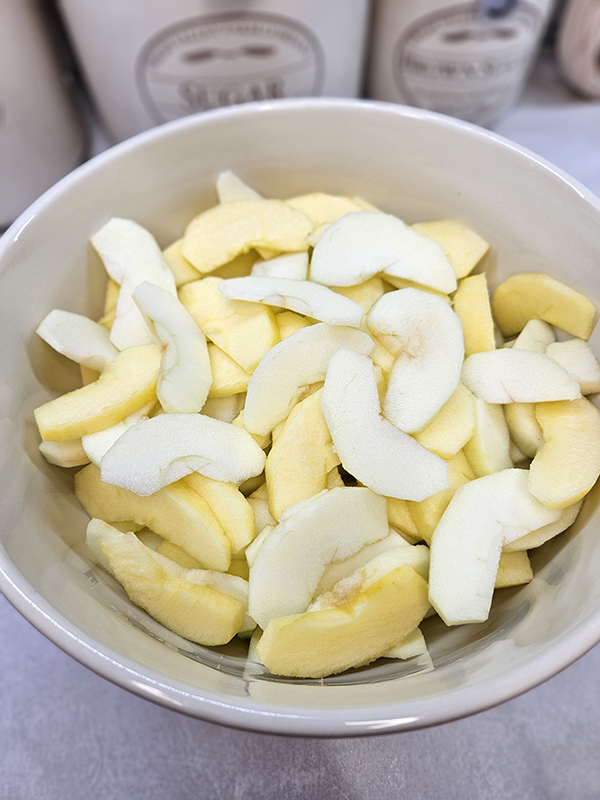
Next, it’s time to prepare the apples, and that starts by peeling them. While some people don’t mind leaving the apple peels in their apple crisp or pie recipes, I am not one of those people! I prefer to peel my apples and leave the crunchy texture to the topping!
Either way, core the apples and cut them into thin slices. Aim for around 1/4 inch thick or so. They don’t have to be perfect, but you do want them somewhat similar in size so they can all cook down at the same time.
If I am doing only one batch of apple crisp at a time, I usually just use a handheld peeler and a large knife for this process. If I am batch-making apple crisp so I have some ready to go in the freezer (instructions for this later on), then I use my Johnny Apple Peeler. (It also comes in clutch when making homemade applesauce, crockpot apple cider, or anything that requires loads of apples. It can quickly peel, core, and slice apples all at the same time.) (Product Link: Johnny Apple Peeler – Heavy Duty Cast Iron Peeler, Corer, and Slicer)
Coating The Apples & Making The Topping
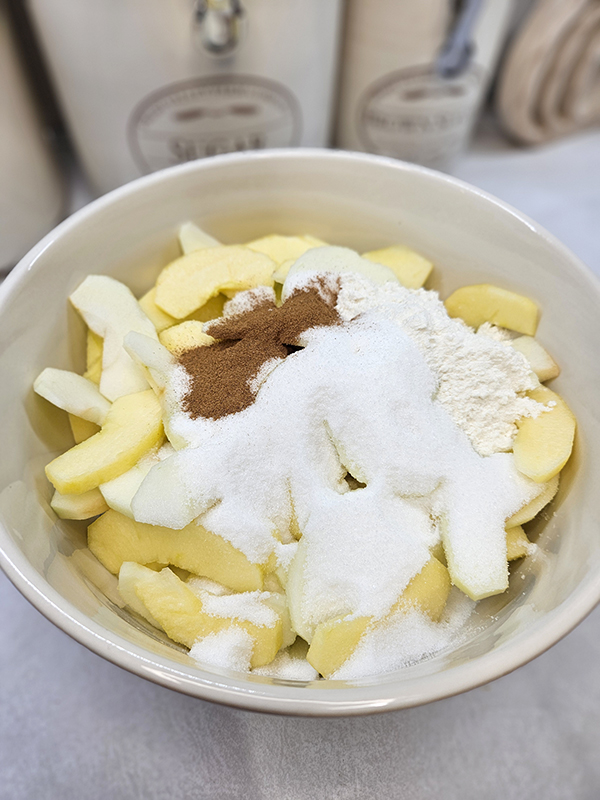
Add the apple slices to a large bowl. You don’t have to worry about the apples browning since they will when they cook down anyway.
Toss the apple slices with the granulated sugar, cinnamon, and 2 tablespoons of flour. (You can mix the dry ingredients in another bowl prior to adding them to the apple slices, but I like to do it all at the same time to cut down on dishes!)
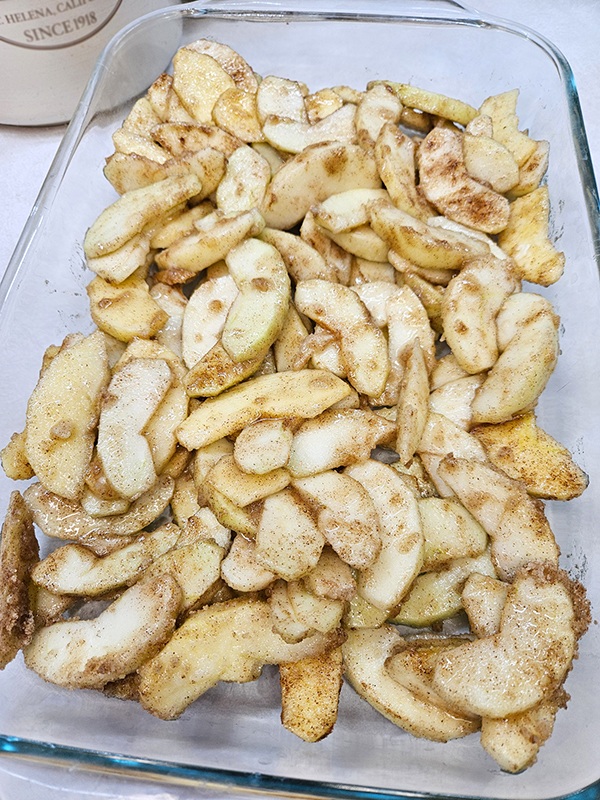
Mix gently until all the apple slices are evenly coated with the cinnamon sugar. Pour the slices into a 9×13″ baking dish. If there is any cinnamon sugar left in the bowl, add that on top of the slices. We don’t want to lose any of that goodness! Set the baking dish aside for now.
In another bowl (or the same one wiped down), mix together the brown sugar, old fashioned oats, and flour until the three ingredients are well combined. (Note: If you are using unsalted butter, add a pinch of salt to the dry topping ingredients now.)
Cut the butter into small cubes and add them to the bowl with the dry topping ingredients. Using a pasty knife or your hands, cut in the cold butter until the mixture is nice and crumbly. The goal isn’t to get a completely cohesive topping but a crumbly one that doesn’t have any dry ingredients left behind.


Baking & Serving
Bring back the 9×13″ baking dish with the seasoned apple slices. Sprinkle the topping evenly over the apple slices. You don’t need to completely cover the top of the apples; just distribute the topping as evenly as you can. We aren’t looking for perfection here!
Bake the rustic apple crisp uncovered in a preheated oven for 45 minutes. You want the apples around the edges of the dish to be nice and bubbly, and the topping to be lightly toasted golden brown. Set the baking dish somewhere to cool.
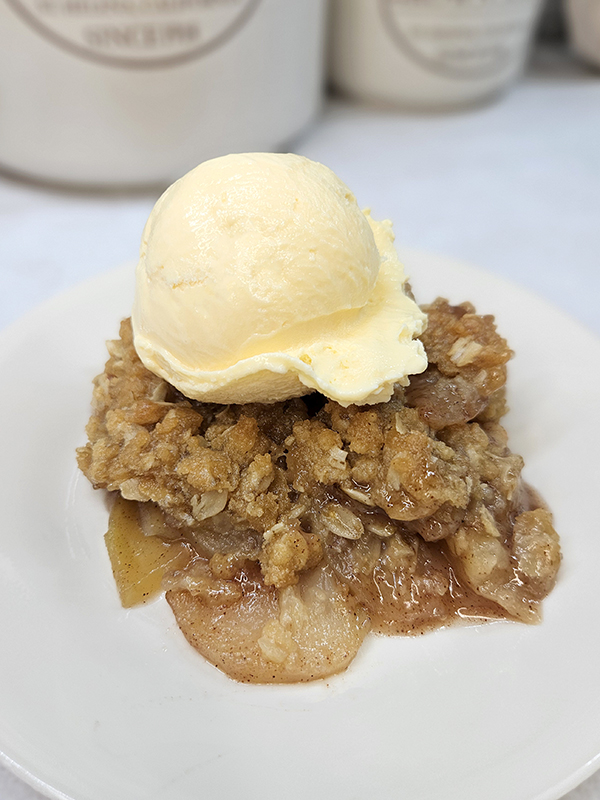
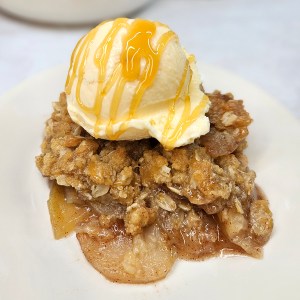
As hard as it might be, you now need to let the apple crisp sit for about 30 minutes before cutting and serving. This allows the liquid to thicken slightly so it won’t be a runny mess when serving. Once cooled slightly, top the serving of apple crisp with ice cream and a little caramel drizzle if you’d like for the perfect fall or winter treat!
Store any leftovers in a closed container in your refrigerator. I actually enjoy eating the cold apple crisp just as much right from the fridge the next day as I do freshly baked!

Freezing Instructions – Rustic Apple Crisp
This apple crisp recipe is perfect for freezing as well! I usually like to make a double batch so I have one to bake immediately and one to freeze to enjoy later!
To freeze, I suggest using a heavy-duty, disposable 9×13″ aluminum pan instead of a baking dish. Prepare the apple mixture and topping as described, but stop right before you put it in the oven.
Instead, cover the entire dish tightly in plastic wrap, then wrap the dish in foil. If desired, place the entire dish into a 2-gallon freezer-safe ziplock bag. Remove all of the air, label, and freeze. Enjoy the apple crisp within 3 to 4 months.
Before baking, allow the rustic apple crisp to thaw overnight in the refrigerator if you have time. Uncover the thawed dish completely and bake at 350º F for 45 minutes or until bubbly.
To bake the apple crisp directly from frozen (something I’ve often done), uncover the dish and bake at 350º F for 60 to 70 minutes or until the apples around the edge are bubbly and the top is golden brown. Your time might vary, so be sure to check the apple crisp every 5 minutes or so.
I hope you enjoy this rustic apple crisp recipe as much as my family and I do!
Until next time, thanks for stopping by!
– Chelsea
*This post may contain affiliate links. These are products I have used personally and highly recommend. As an Amazon Associate, I may earn a small commission from qualifying purchases if you purchase items through my links. These links and the ads on this page help to support my family and our semi homestead, so Thank You!
Rustic Apple Crisp
Ingredients
Apple Mixture
- 5-6 large baking apples (around 8 to 10 cups sliced)
- 1 cup granulated sugar
- 1 tsp cinnamon
- 2 Tbsp flour
Buttery Brown Sugar Oat Topping
- 1 cup brown sugar, packed
- 1 cup old fashioned oats
- 1 cup flour
- ¾ cup cold butter (1 1/2 sticks)
Instructions
- Preheat oven to 350º Fahrenheit. Peel, core, and cut the apples into thin slices. In a large bowl, toss the apple slices with the sugar, cinnamon, and 2 tablespoons flour. Combine until all the slices are evenly coated.
- Pour the apples and any remaining sugar into a 9×13" baking dish. Set aside for now. (*Read Notes below for freezing instructions.)
- In another bowl, mix together the brown sugar, old fashioned oats, and flour until well combined. (If you are using unsalted butter, add a pinch of salt to the topping now.)
- Cut the sticks of cold butter into cubes, then add them to the bowl. Cut in the butter using a pastry knife or your hands until the mixture is nice and crumbly and there is no dry flour left.
- Sprinkle the topping evenly over the apple slices in the baking dish. Bake uncovered in a preheated oven for 45 minutes or until the apples around the edges are nice and bubbly and the topping is lightly toasted golden brown.
- Allow to cool for 30 minutes or so before cutting and serving. Top with vanilla ice cream and a drizzle of caramel, if desired!
Notes
Discover more from Semi Homestead Life
Subscribe to get the latest posts sent to your email.