A light and fluffy homemade French bread with a soft crust that is simple to make and creates two beautiful loaves.

When I first started making bread at home, French loaf recipes were the first ones I tried. The recipes were simple, required few ingredients, and always turned out delicious every time, no matter which recipe I tried! (Just make sure not to forget the salt, as I’ve done before! It’s amazing how much of a difference salt makes!)
After lots of trials and errors, this is the recipe I ended up adapting and using time and time again, and I wanted to share it with you! It only requires 5 simple ingredients and doesn’t take all day to make.
The result is two large loaves of French bread. If you don’t need two full loaves, allow one to come to room temperature and then wrap and freeze it for future use. Some loaves might have more of a golden crust than others. Some loaves turn out a bit wider than taller. But they all taste delicious!
Use the French bread as a perfect side dish for your homemade soups and stews like Bacon Cheeseburger Soup or Vegetable Beef Soup. Slice it up and make mini sandwiches topped with your favorite cheeses and lunch meats. Or, turn it into toasty crostinis or even a delicious garlic bread (recipe for that coming soon!). It’s one of the best do-it-all bread recipes and so easy to make that you will likely be making it on rotation!
How To Make Simple Homemade French Bread
*Scroll down to the bottom of this post to see the full recipe, including exact measurements and amounts. You can also print out the instructions. I go into a bit more detail about the recipe here first, just in case you need it.
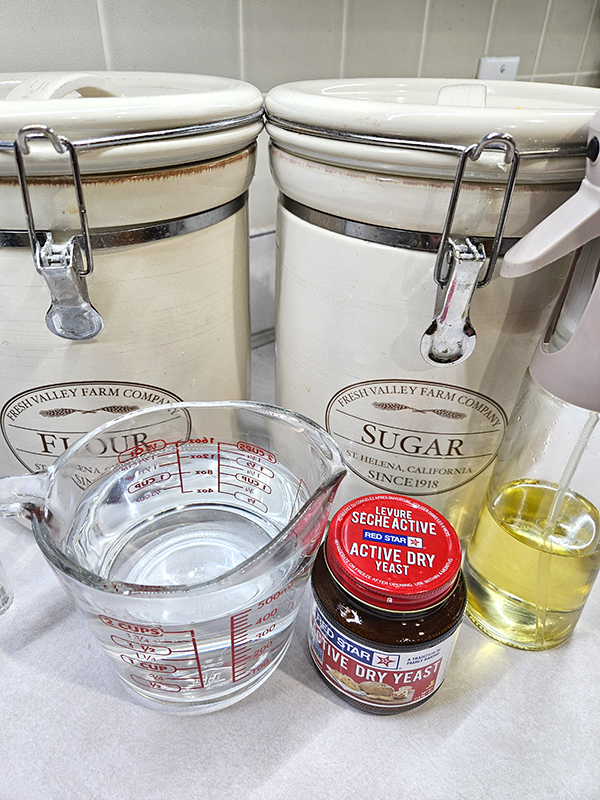
Ingredients
- Warm Water – In order to activate your yeast, you need to use warm water. Aim for a temperature of around 110º Fahrenheit (105 to 115º Fahrenheit). Anything much hotter might end up killing your yeast.
- Active Yeast – You can use either instant yeast or active yeast. If you use instant, you can skip the part about allowing the yeast to get foamy. Most often, I use active yeast.
- Granulated Sugar – The sugar helps to add a slight sweetness to the bread without making it overwhelmingly sweet.
- Flour – Use an all-purpose flour for this recipe.
- Salt – Our favorite go-to table salt is Redmond’s Real Salt, but any variety will work. (Product Link: Redmond’s Real Salt). Whatever you do, just don’t forget to add the salt! (Just ask my kids about that one!)
- Olive Oil and/or Melted Butter – This isn’t really an ingredient that goes into the bread itself. Instead, it is used both to grease the bowl while the dough is rising. In addition, you can brush the top with a bit of melted butter to turn it a light golden brown color while helping to keep the crust nice and soft.
Instructions For Simple Homemade French Bread
Get Your Yeast Foamy
In a mixing bowl or the bowl from your stand mixer, add the warm water and yeast. Make sure the water is between 105º to 115º Fahrenheit.
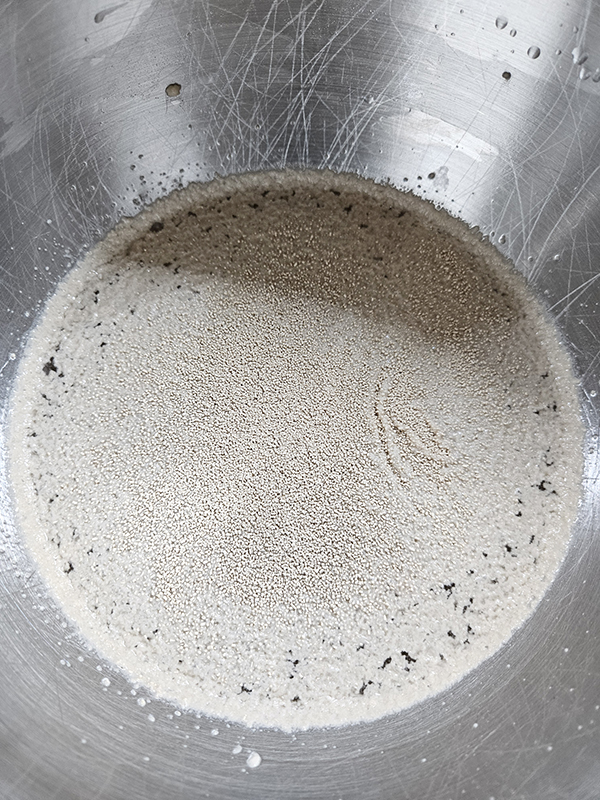

Next, add in 1/2 teaspoon of sugar and stir. Allow the yeast to sit for 5 to 10 minutes, or until it is nice and foamy. (Skip waiting the 10 minutes if you are using instant yeast.)
If your yeast does not foam after 10 minutes, it could be for a couple of reasons. First, your yeast may be old and no longer viable. Second, your water could be too hot and ended up killing the yeast. Toss the first batch and try again with either new yeast and a bit cooler water. Use a thermometer to make sure the water is at the ideal temperature. (Here is the thermometer I use – Product Link: Lavatools Javelin Ultra-Fast 3-Second Digital Instant Read Thermometer.)
Incorporate Other Ingredients
After the yeast is nice and bubbly, add four cups of flour, as well as the salt and the remaining 2 teaspoons of sugar. Using the dough hook on your mixer, knead the dough on a slow speed.
Once the flour is all incorporated, the dough will most likely still be pretty wet. Add 1/2 cup of flour, mixing well after. Continue adding flour at 1/2 cup intervals until the dough pulls away from the edge of the mixing bowl.
When it is done, the dough should be nice and smooth. If you touch it, it should not be sticky and should bounce back slightly when pressed.
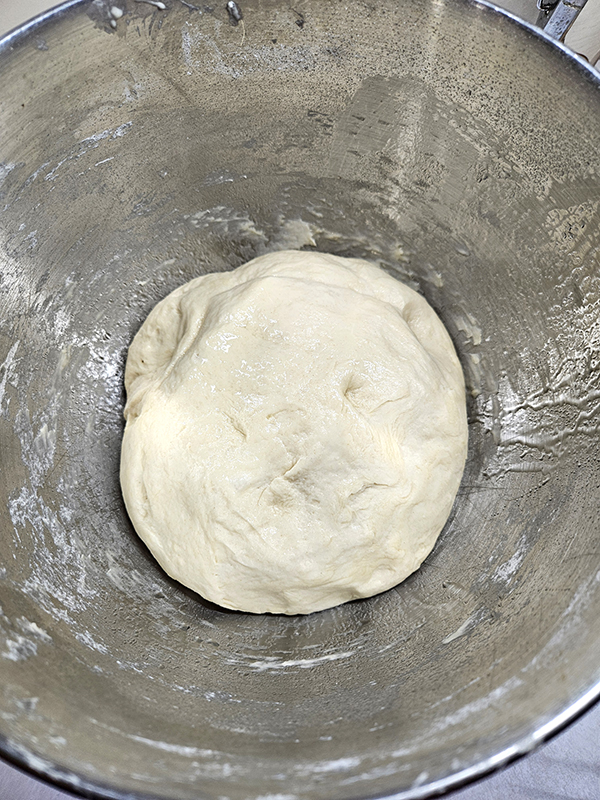
When working with dough, it’s best to go by the look and feel of the dough as opposed to the quantity of flour used. Variations such as the humidity levels in your home or even how you measured your flour can all come into play with the amounts needed.
First & Second Rise
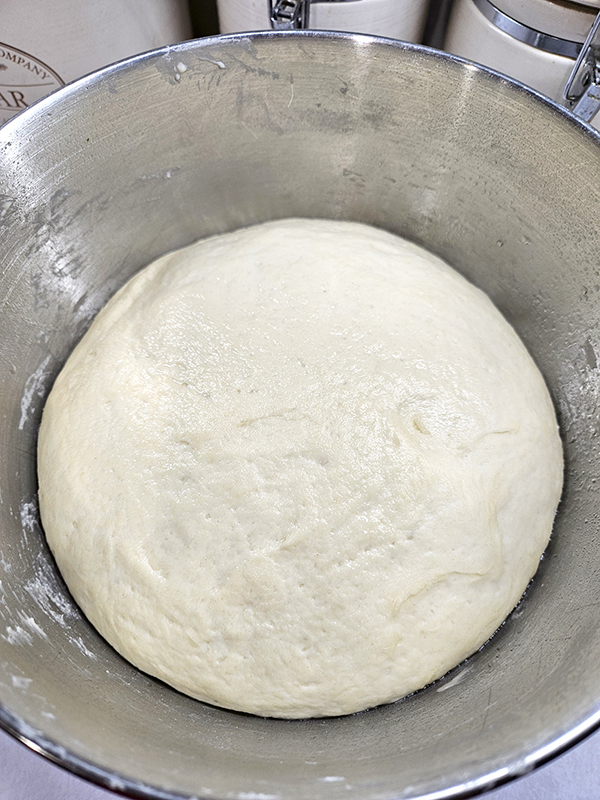
In the same bowl or using another clean bowl, lightly spray or grease with olive oil. You want just enough to lightly coat the sides and bottom. Place the dough inside, flipping it over once to coat the top and bottom of the dough with oil. Cover the bowl with plastic wrap or a tea towel and allow to rest for 15 to 30 minutes.
After 15 to 30 minutes, remove the dough and place it on a lightly floured surface. Divide the dough into equal halves, setting one chunk aside for now.

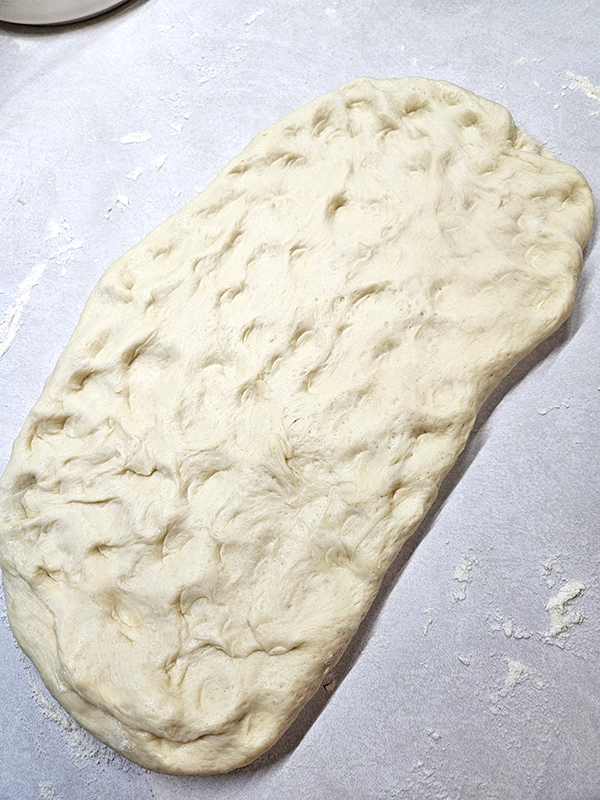
With the other half, gently press the dough into a rectangle. You don’t need a rolling pin for this step; just light pressure from your fingers works fine.
Starting along the long side, tightly roll the dough into a long log. Tuck the sides underneath at the end. Carefully place it onto one side of a baking sheet lined with parchment paper. Repeat with the other chunk of dough.
Cover the loaves again and allow them to rest for 30 to 60 minutes. Meanwhile, preheat your oven to 400º Fahrenheit.
I like to place my baking sheet on the stovetop away from the back of the stove while it is preheating. This helps to quicken the length of the second rise. Just be sure to rotate the tray after about 15 minutes so both sides of the bread get the benefit of the heat.

Baking Time
Once the time is up, use a serrated knife to cut a couple of slits in the top of each loaf, or make one long slit right down the middle. You don’t have to cut down deep, just enough to give the dough a place to separate as it bakes and rises some.
If you want a crispier crust, mix together one egg white with about a teaspoon of water. Brush this mixture onto the bread after adding the slits.
Bake the loaves in the preheated oven for 15 to 20 minutes, or until the tops are lightly golden brown. If desired, brush the tops with melted butter after you pull them out of the oven. Allow and leftover bread to cool to room temperature, then store in a plastic bag or container on your kitchen counter for up to three days.
Baked loaves can also be frozen. Place the loaves into freezer-safe bags. Remove any air, label, and freeze. To thaw frozen bread, allow the bread to sit out overnight or for about 4 hours on your countertops. To reheat, place thawed bread in the oven for 5 minutes at 300º Fahrenheit.


Simple Homemade French Bread
Ingredients
- 2 cups warm water
- 1 Tbsp active yeast
- 2 ½ tsp granulated sugar (divided)
- 5 to 6 cups all purpose flour
- 2 ½ tsp salt
- Olive oil and/or melted butter
Instructions
- In a mixing bowl or the bowl from your stand mixer, add the warm water and yeast. Add 1/2 tsp of sugar and stir. Allow the yeast to sit for 5 to 10 minutes, or until it is nice and foamy.
- Add four cups of flour, as well as the salt and remaining 2 teaspoons of sugar. Using the dough hook of your mixer, knead the dough on a slow speed.
- Once the flour is incorporated, add 1/2 a cup of flour at a time until the dough pulls away from the edge of the mixing bowl and is smooth. The dough should not be sticky and should bounce back slightly when pressed.
- In the same bowl or another bowl, lightly spray or grease with olive oil. Place the dough inside, cover with plastic wrap or a tea towel and allow to rest for 15 minutes.
- After 15 minutes, remove the dough and place on a lightly floured surface. Divide the dough in half, setting one piece aside. Gently press the dough into a rectangle. Starting along the long side, tightly roll the dough into a long log. Carefully place it on half of a baking sheet lined with parchment paper. Repeat with the other piece of dough.
- Allow the two loaves to rest for 30 to 45 minutes. Meanwhile, preheat your oven to 400º Fahrenheit. Once the time is up, cut 3 to 4 slits in the top of each loaf or one long slit down the middle using a serrated knife.
- Bake for 26 to 20 minutes or until the tops are lightly golden brown. If desired, brush the tops with melted butter. Store leftover cooled bread in a plastic bag or container.
Discover more from Semi Homestead Life
Subscribe to get the latest posts sent to your email.