Now that the weather is starting to cool off and fall is right around the corner, what do you do with the growing rows in your garden? The fact of the matter is, the work you do now to prepare your garden and soil will make a huge difference in how successful your harvest will be when next spring comes around.
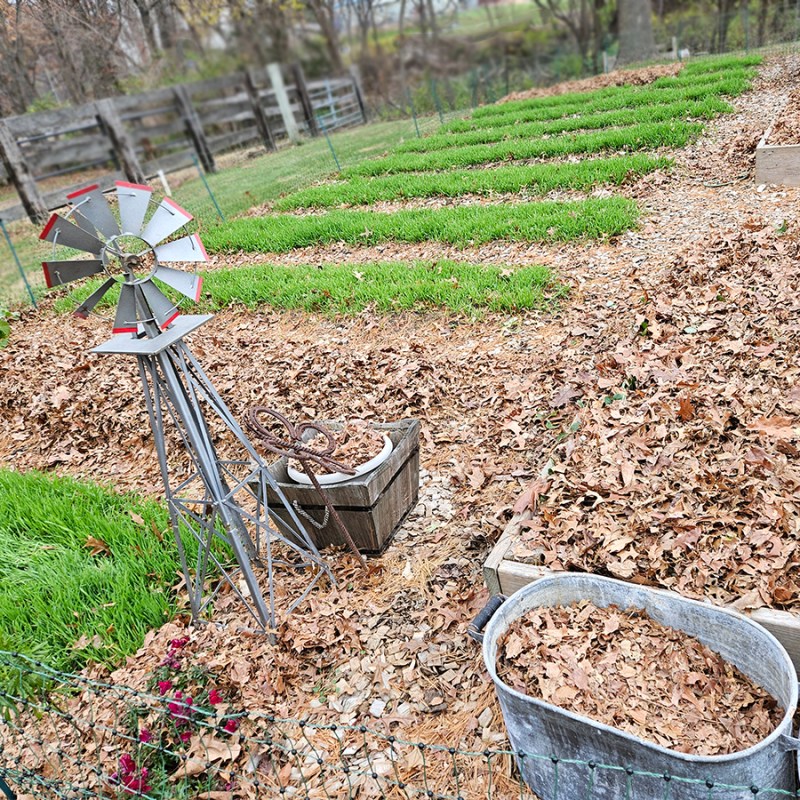
Using growing rows in your garden is a great way to create happy, healthy soil. With this method of gardening, you have dedicated areas for growing plants and dedicated areas for walking and moving around. It’s a method I converted to several years ago and haven’t looked back!
This means the soil in the growing areas can stay light and fluffly and full of organic matter. Meanwhile, the walking areas can get as compacted as can be without any harm done. It’s a method that comes with a whole host of other benefits and advantages.
However, what do you do with those growing rows now that the growing season is almost over? Hopefully, you had a wonderful spring and summer and were able to harvest all kinds of yummy produce and beautiful flowers. But now it’s time to take action to prepare the garden for the next growing season.
I’ve put together a little list of the XXX things you should consider doing with your growing rows so that once spring arrives, you and your garden will be ready to go!
3 Things You Should Do With Your Growing Rows This Fall
1. Clear Out Plant Matter
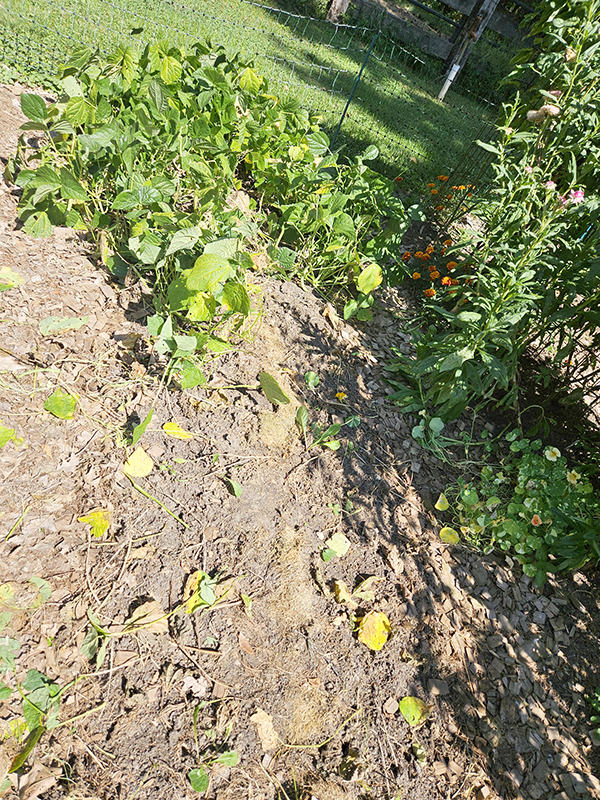
The first step involves clearing out the growing rows. That means all the dead or dying plant matter, fallen fruit, and rotten vegetables. Get this material out and away from your garden.
This also includes any weeds that may have been allowed to grow during the last few weeks of the gardening season. (I don’t judge. I know personally just how out-of-hand those last-season gardens can get by September and October!)
If you have perennial plants growing in your rows, research what you need to do for those specific plants for the fall and winter months. But for annual plants, get that material out of the growing rows when fall comes around.
But What About The Bugs?
Now, this is always one of those tips that creates all sorts of controversy and gets people sending me messages or making mean comments. Some people are “team bugs and insects,” while I tend to lean a bit more on the practical side.
Yes, there are some bugs that like to overwinter in your dead plant matter. And yes, some of those are beneficial insects. However, most of those bugs are pests like Asian beetles and aphids that will cause all sorts of havoc in your garden come next year.
Pulling the plant material gives these pests no place to hide. Besides, we live right by a bunch of wooded land. This gives the bugs and insects plenty of space to go hang out overwinter if needed. I just don’t want them doing it in my garden, just like I don’t want them overwintering in my home either!
Those Nasty Diseases
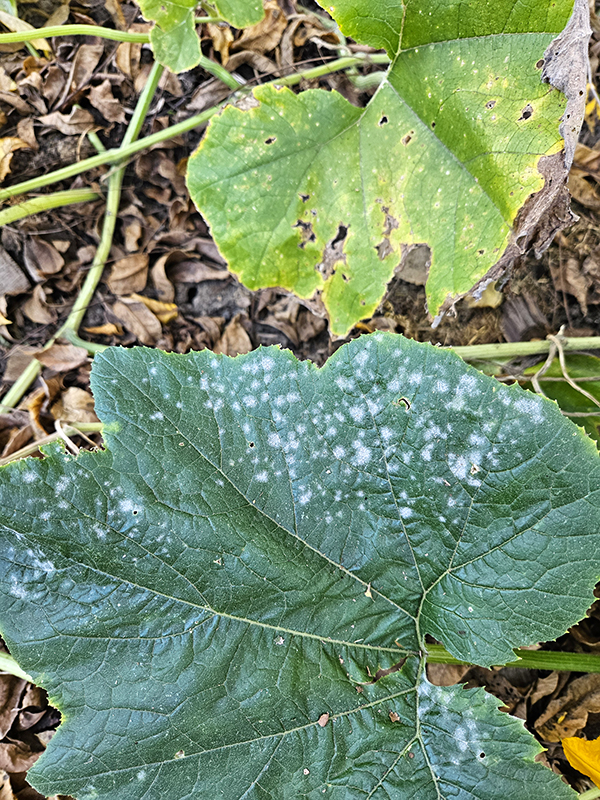
Decomposing diseased plant matter is another issue. As plants decompose and die, the diseased plant matter crumbles and heads right for the soil – As do the pathogens, spores, and bacteria.
Unfortunately, a lot of pathogens overwinter in the soil and are ready to take hold of your new plants once spring arrives. The sooner you get diseased plant matter out of your garden, the better! (Ideally, it should be removed at the first sign of disease. Don’t wait until fall to arrive!)
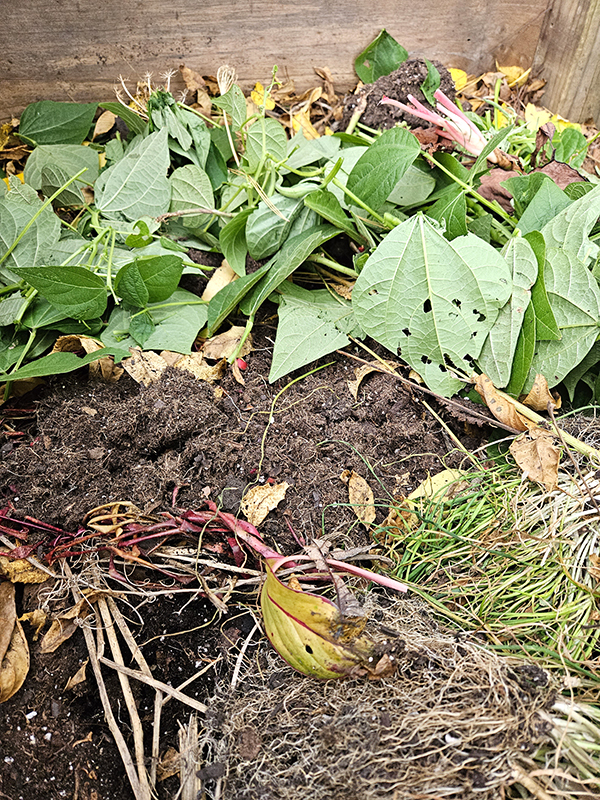
2. Compost What You Can – Growing Rows In The Fall
The good news is that a lot of that plant matter from your garden can go into your home compost pile. Just be sure to chop it up into smaller pieces so it can decompose faster.
There are, however, a few exceptions to the rule. First, do not compost any diseased plant matter or fruit. This also includes plants that have been invaded by pests. The reason is that home compost piles just don’t heat up to high enough temperatures to kill off these pathogens and pests.
Along the same note, you also don’t want to compost any plant matter or fruit from tomato or pepper plants. Unfortunately, these crops tend to come with all sorts of different diseases and issues. Even healthy plants should be left out of home compost piles.
Also, don’t compost any seeds or flower heads. The same reasons why you don’t want to add diseased plant matter apply. Home compost piles just can’t heat high enough to kill off those seeds. Then, when you go to use the finished compost next year, some of those seeds are still viable. You can wind up unknowingly “planting” those seeds wherever you use the compost.
What Can You Do?
You can create a separate compost pile far away from your garden for these undesirable materials. You can also see if your local community has a composting facility. Most commercial composting facilities can heat up to high enough temperatures to kill off pathogens as well as seeds.
Even if your community doesn’t have a composting facility, it might have a service or location for yard waste and plant materials. It’s an extra step, but worth it to keep the materials out of the landfills.
You can also burn the dried plant matter. Do this in a location away from your garden. Just be sure to look up your local rules and regulations on burning if you live in city limits.
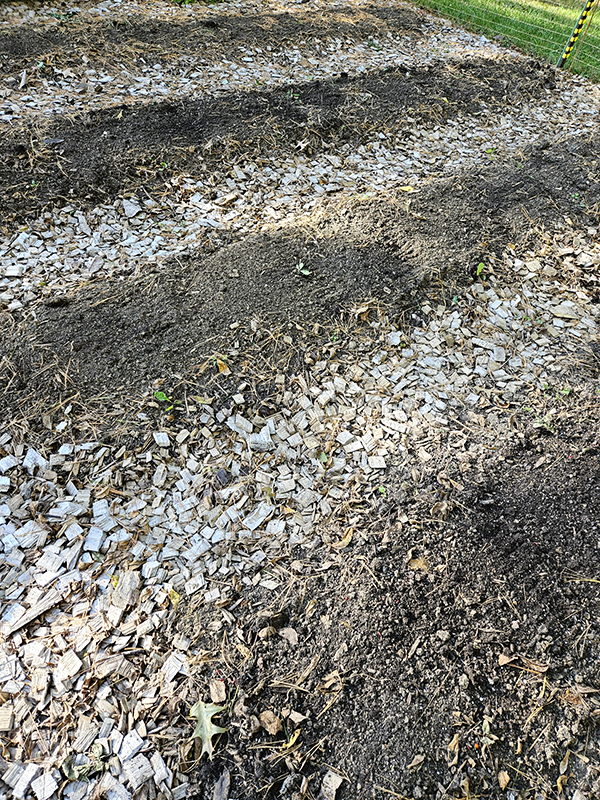
3. Prepare Your Soil
Once your garden is empty with no plant matter other than perennials, it’s time to prepare your soil for the spring. There are a few different ways you can go about doing this. These options depend on your personal preferences and how you want to cover the soil over winter.
At the very least, don’t just pull the plants and go about your day. Bare soil is just an open canvas for weed seeds to take hold. Then once spring arrives, you will spend so much of your time weeding before you can even think about getting a seed or plant into the ground.
The way I go about covering the bare soil is by growing a cover crop or mulching. First, you can either till the soil to make it light and workable, or you can go the no-till route. This kind of depends on which method of covering you chose.
If you want to plant a living cover crop, then tilling – or at least a light raking of the first few inches of soil – is beneficial. If you are covering the soil with mulch, then no-tilling is possible.

Cover Crop Or Mulch
If you want to plant a cover crop (also called a living mulch), choose one that is specific to your location and the needs of your growing rows. Here in the Midwest, that usually means winter rye or oats. There are a few other options, but those are two I have personally used.
As the cover crop seeds grow, they fill in the soil and prevent weed seeds from taking hold. Some have other benefits like loosening up tough soils, adding nutrients, and so forth. (You can read more about cover crops here, “Planting A Garden Cover Crop – Protect And Improve Your Soil”.)
If you aren’t doing a living cover crop, then lay down a few inches of organic mulch. Grass clippings (if your yard is still growing in the fall), straw, shredded dead leaves, and so forth are all great options. The mulch will help protect the soil during all those days of freezing and thawing, as well as prevent any weeds from taking hold.
Then you can follow my tips on taking care of growing rows in the spring for what to do once winter says “goodbye!”
Until next time, thanks for stopping by!
– Chelsea
*This post may contain affiliate links. These are products I have used personally and highly recommend. As an Amazon Associate, I may earn a small commission from qualifying purchases if you purchase items through my links. These links and the ads on this page help to support my family and our semi homestead, so Thank You!
Discover more from Semi Homestead Life
Subscribe to get the latest posts sent to your email.