Are you curious about what you need to do with your growing rows and the walking rows once spring rolls around to prepare the garden for planting? Well, this article has you covered!
So you made the commitment to switch your traditional garden over to growing rows! Welcome to the club! I’m glad you’re here and decided to make the switch! (Although I still love all your traditional growers just as well!)
Hopefully, your first year was a great success and you were able to enjoy all of the benefits that come along with having dedicated spots for growing vegetables and dedicated spots for walking/harvesting. (If you have no idea what I’m talking about, head over to my article, “Converting A Traditional Garden To A Raised Row Garden”.)
But what do you do with the garden now that the growing season is over and it’s once again spring? Do you have to start all over from scratch and go through the whole design process again?
Not to worry, because this article will walk you through what to do with both the growing rows and the walking rows to prepare your garden for planting in the spring so you can enjoy another great year of growing vegetables and flowers!
Caring For Your Growing Rows In The Spring
For the most part, getting growing rows ready for planting is a lot like how you would care for a traditional garden setup. With both situations, the steps you take in the spring will depend on what you did in the fall when you closed out your garden for the season. (See my article, “Growing Rows In The Fall – Prepare The Garden For Winter”.)
Because of this, I am going to break the process down so you know exactly what to do based on what you did in the fall (well, most likely did). The three main ways you could’ve prepared your growing rows in the fall are 1: doing nothing at all, 2: laying down mulch, or 3: planting a cover crop.
I will also talk about how to care for your walking rows. So let’s get started!
The 3 Methods You Did In Fall
For each of these scenarios, I’m going to assume that you properly cleared out your garden in the fall. This includes pulling out any dead or dying plants as well as picking up any leaves, fruit, or vegetables that might have fallen onto the soil.
You may or may not have tilled the growing rows at the end of the season. You also may or may not have weeded one more time. Neither of those chores really matters when spring comes around, as far as this article is concerned. (Although I do highly suggest weeding at least.)
However, what else you did to the soil in the fall does matter. These three tips only pertain to the growing rows. I’ll get to the walking rows later on in the article.
1: Nothing At All
The first thing you might have done with your growing rows in the fall is nothing at all. While this wouldn’t be my first choice or what I would recommend, a lot of people don’t do much with their gardens after the growing season is over.
There are several reasons why I am not a huge fan of not protecting the soil in one way or another. The main reason, however, is that you are more apt to get weed seeds to land on the bare soil and germinate.
So once spring rolls around, the first step you need to take is to pull all the weeds that might have started growing in the rows. You can also till the soil if you so choose. (I am personally ok with tilling, but I know some people try to avoid that when possible.) The ground needs to be workable in order for you to plant new seeds and seedlings, so however you need to get to that point is great.
Tilling Side Note
Depending on the width of your growing rows, you should be able to use a regular-sized tiller. However, you can also get what’s called a mantis tiller. That is what we use if I need to till the garden in my rows.
It’s smaller, narrower, and easier to maneuver in only the growing rows. Yes, it is a bit pricey, but it’s well worth it in my opinion! We’ve even used it to loosen up the soil in our raised beds before. (We have an old tiller, but here is a newer, similar one – Product Link: Mantis 7920 2-Cycle Plus Tiller)
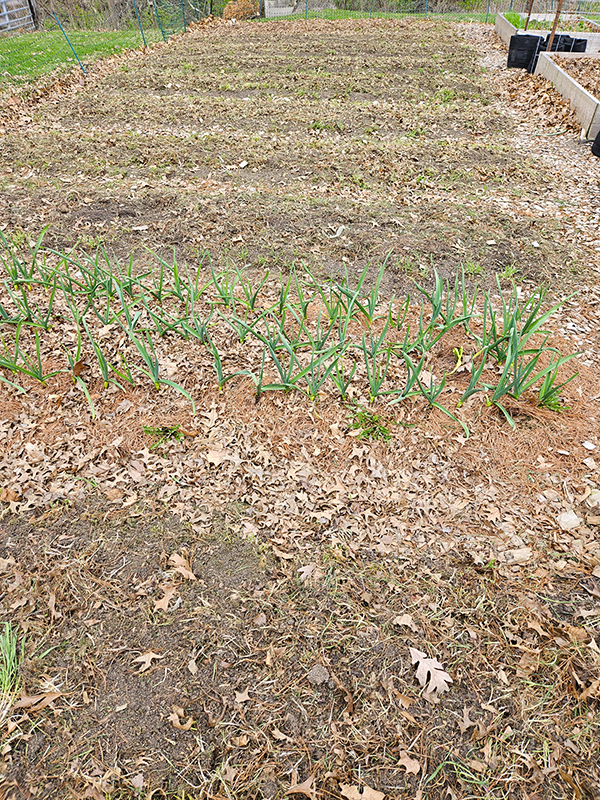
2: Laid Down Mulch – Growing Rows In The Spring
The second thing you might have done when turning your garden to bed in the late fall or early winter is lay down a few inches of organic mulch.
While grass clippings work well in the summer as garden mulch, shredded leaves and pine needles are in abundant supply in the fall months. We use both to cover any growing rows that have crops planted.

For example, our garlic cloves need to be planted during the fall months. So after planting those in the ground, we lay down a few inches of shredded leaves and pine needles on top of those rows. That helps to insulate and protect the cloves while keeping weeds at bay.
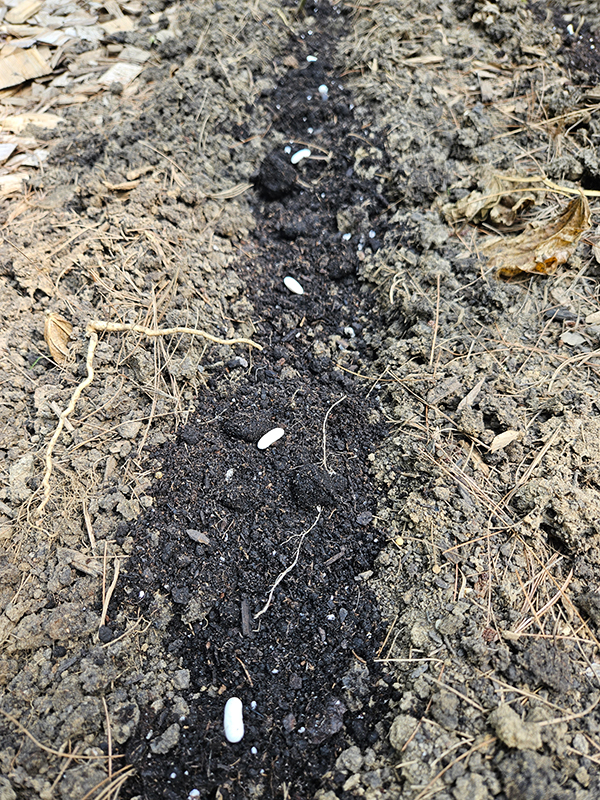
In the spring, you can leave the mulch as is and then just plant through the mulch. That is really only an option if you have loose, workable soil underneath. (#soilgoals)
However, if your soil is like ours (heavy clay-like), you will likely need to till the mulch into the soil. Tilling it in helps to add loads of organic matter to the growing rows, thus improving your soil over time.
Other than that, you shouldn’t have any weeds to get rid of thanks to the mulch. But if you do, pull any of those, and you are ready for planting!
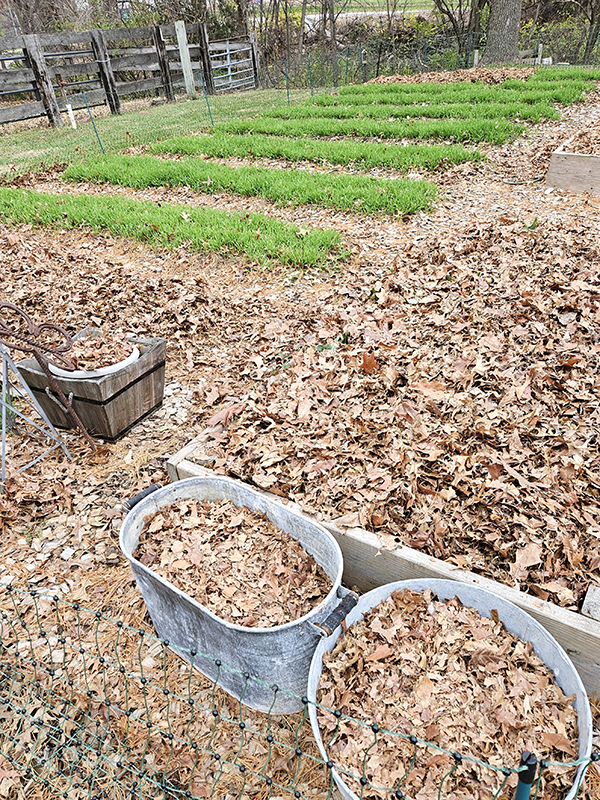
#3: Planted A Cover Crop
The next option is usually what we do with the rest of our growing rows that don’t have fall-planted crops in them. That is to plant a cover crop in the fall. (If you want to read all about why and how we do this, read “Planting A Garden Cover Crop”.)
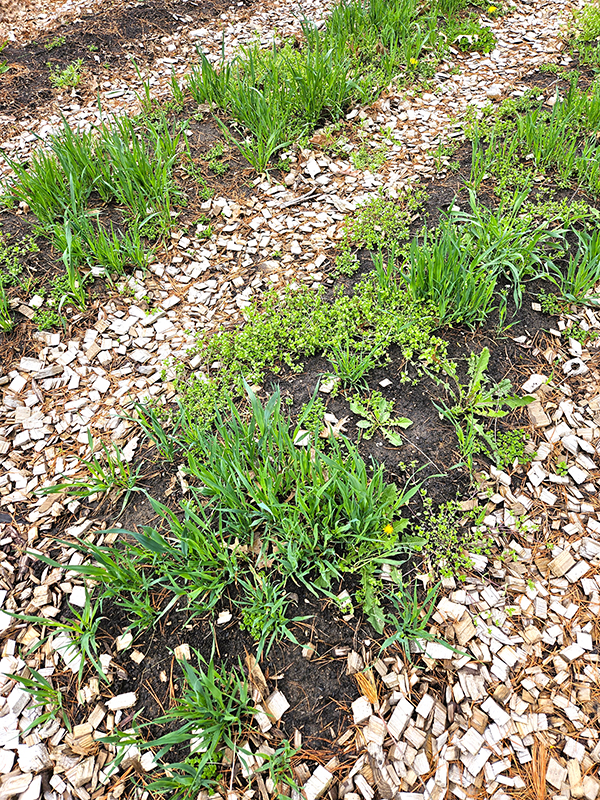
What you do in the spring will depend on the variety of cover crop you planted in the fall. For crops that are cold-weather hardy, like Winter Rye, the plants will germinate in the fall and grow until winter. They then go dormant over winter. Once early spring arrives, the cover crop will start to grow again.
You can then mow the cover crop in early spring super short to help kill it. If you don’t, it will end up going to seed, and that will be a WHOLE separate issue to deal with! Sometimes it takes a few times of mowing for the crop to actually completely die.
We personally don’t usually have good luck with the mowing method. So, we usually end up tilling the cover crop into the soil. This not only kills the cover crop, but it also helps loosen the soil and prepares the growing rows for planting.
For winter-kill cover crops, like oats, the low temperatures of winter “should” kill the crops. When spring arrives, you can simply leave the dead plant material as is and plant through it, or you can till it into the soil. (Obviously, if you live somewhere with warm winters, your cover crop situation might vary.)
The Main Goal With All Three Methods
With all three methods, the goal with your growing rows is to remove any weeds that might have started growing over winter and early spring (including the cover crops) and prepare the soil for planting. Whether you till, hand pull weeds, or whatever, that choice is totally yours. Just like it is in a traditional garden setup. The key is to only do this with the growing rows and leave the walking rows.
The only thing is that when tilling, you need to keep the soil contained to the growing rows and out of the walking rows. It can take a little bit to get the hang of things at first. (I’m sure our growing rows have widened slightly over the years, but who doesn’t like a bit of extra growing space?!) However, you will be a pro in no time at all!
Another action you can take in the spring to help improve the soil in your growing rows is to mix in a few inches of compost into the existing soil. The compost will help boost the nutrients in the soil as well as improve the overall soil composition. After a few years of doing this, you can switch to simply adding the compost to each planting hole when planting vegetable and flower seeds or transplants.
Ok, now on to caring for the walking rows in spring.
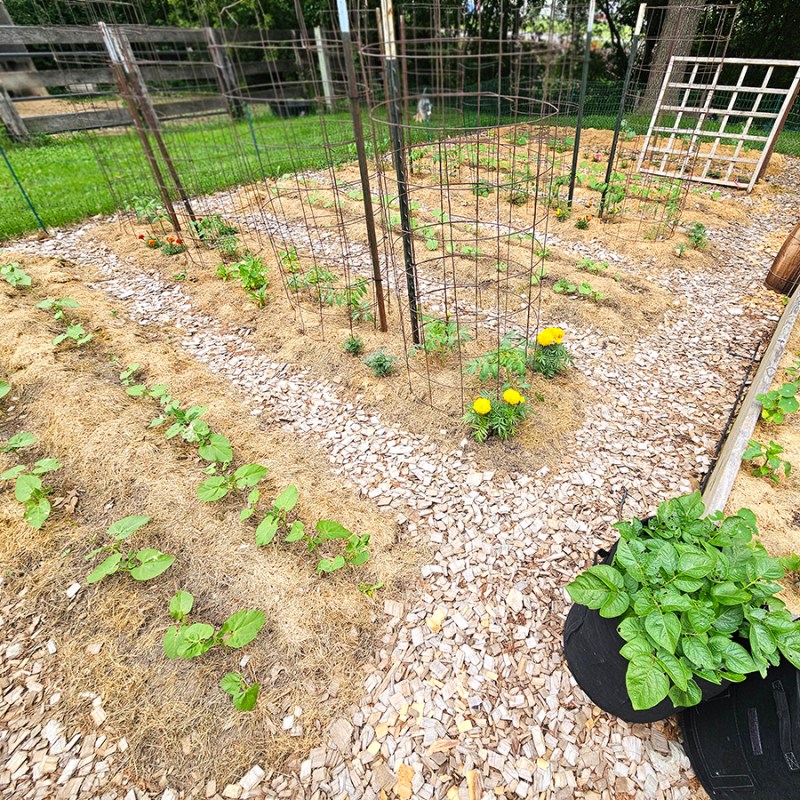
Caring For The Walking Rows – Growing Rows In The Spring
What you do with the walking rows will depend on how rough your winter was on them, so to speak. You may need to remove any leaves, branches, or other items that might have blown into your garden. You might also have to pull up a few stray weeds here and there.
Where our garden is, we always have piles of fallen leaves that have to be removed from the walking rows and along our fence. We either rake them or use a leaf mulcher. Other than that and pulling a few straggler weeds, the walking rows stay in pretty decent shape.
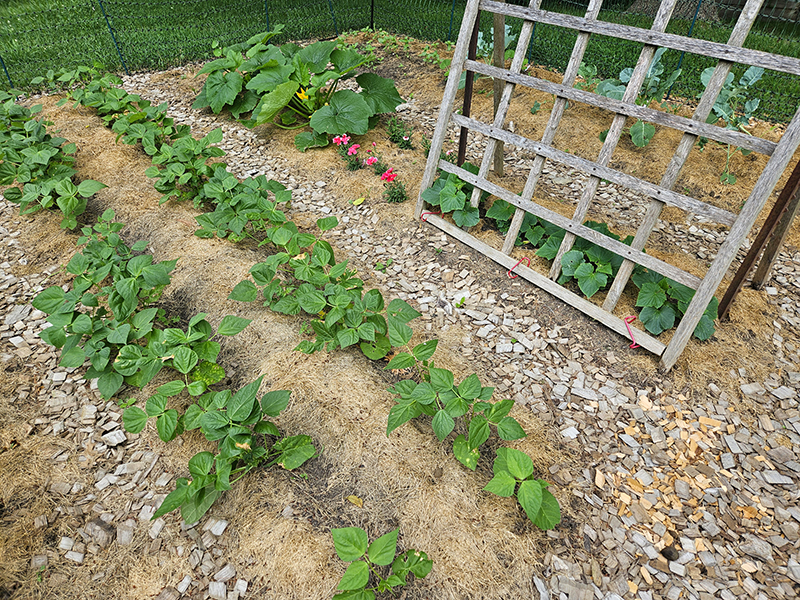
We also like to add a couple new bags of cedar chip mulch on the walking rows. It really isn’t required, but the wood chips from the previous years do start to break down over time. In addition, it just gives the garden a fresh, clean look. (And the cedar chips smell so good for about a week!)
When you are ready for planting, be sure to practice crop rotation (which is easy with growing rows!). You never really want to grow the same crop in the same space back to back.
That’s really about it! Happy planting and growing in rows!
Until next time, thanks for stopping by!
– Chelsea
*This post may contain affiliate links. These are products I have used personally and highly recommend. As an Amazon Associate, I may earn a small commission from qualifying purchases if you purchase items through my links. These links and the ads on this page help to support my family and our semi homestead, so Thank You!
Discover more from Semi Homestead Life
Subscribe to get the latest posts sent to your email.