I love the idea of using a no-till method in my garden spaces. I know all about the advantages of leaving the soil as is and not tilling for so many different reasons.
But is it practical for everyone and all situations?
I attempted doing the no-till method this year and wanted to share my personal experience with you all. Not to try to persuade you to try one method over the other, but just to give you my personal trial with attempting.
What works for me or doesn’t work for me may not apply to you and your situation. I’m all about experimenting and trying out new ways of gardening and growing your own food. That’s the only way we can grow as gardeners and find practices that work for our own specific growing conditions.
I just want to give you my experience with attempting to go no-till this 2023 gardening season. And my fail!
Information About Tilling
To put it simply, tilling is the practice of breaking up the soil to prepare it for planting and growing. It’s an old technique that dates back to 3000 B.C.
Farmers typically use it, gardeners use it, and landscapers use it occasionally. You can till by hand using simple tools like a hoe, shovel, or rake, or you can till with machines like a rototiller, chisel plow, or field cultivator.
Tilling has become a hot topic amongst many people. It seems like you are either for it or against it. And I’ll be honest, there are many benefits of tilling and there are several drawbacks as well.
Some of the advantages are that it loosens and aerates the soil. You can also mix organic matter into the soil as well as destroy weeds with tilling. Tilling can also help to dry out soils that are wet prior to planting.
Some of the disadvantages are that it can cause erosion, runoff, and soil compaction. It can also disrupt the natural microbes and organisms that are living within the soil. It also takes time, resources, and manual labor to perform.
There are different degrees and types of tilling. Some are better for the soil than others. For example, there are strip tillage methods that only till small areas where the seeds will be planted. There is also rotational tillage (only tilling every other year, which is what my Dad does). So it’s not necessarily an all-or-nothing situation.
Information About The No-Till Method
No-tilling, on the other hand, is a modern practice that didn’t get started until the 1940s. It is the practice of growing crops or plants without disturbing the soil with tilling at all.
Some farmers and growers are attempting to switch to no-till or at least conservation tillage methods for growing their plants to help reduce the amount of soil erosion and disruptions to the soil biome.
No-tilling is a great option for some contexts and can be extremely beneficial on smaller scales for home gardeners. However, it doesn’t work for everyone and every situation. . . like mine!
Using Cover Crops With The No-Till Method
While there are different ways to go about the no-tilling method, one way that some growers go about implementing no-till practices is by using cover crops on their bare soil.
Essentially, cover crops are used to protect bare soil during the off-growing seasons. Typically, they aren’t harvested or used other than to add organic matter or nutrients (like nitrogen) back into the soil. In fact, there are so many benefits that I wrote an entire article about all of them: “Planting A Garden Cover Crop – Protect And Improve Your Soil“.
I am a big fan of using cover crops for my location, soil type, and situation, and have used them for the last few years. We have extremely dense, clay-like soil that compacts easily. So I plant a cover crop of annual rye in my garden spaces in the fall.
The rye will grow some in the fall and help to prevent weeds from taking root. During the cold Midwest winters, the cover crop goes dormant, only to start growing again in the spring. It helps to loosen up our soil as well as add nutrients back via its roots. I will likely always use cover crops each year.
My 2023 No-Till Method Attempt
Now begins my story of how I failed to do a no-till garden for this year and how the method didn’t work for my situation.
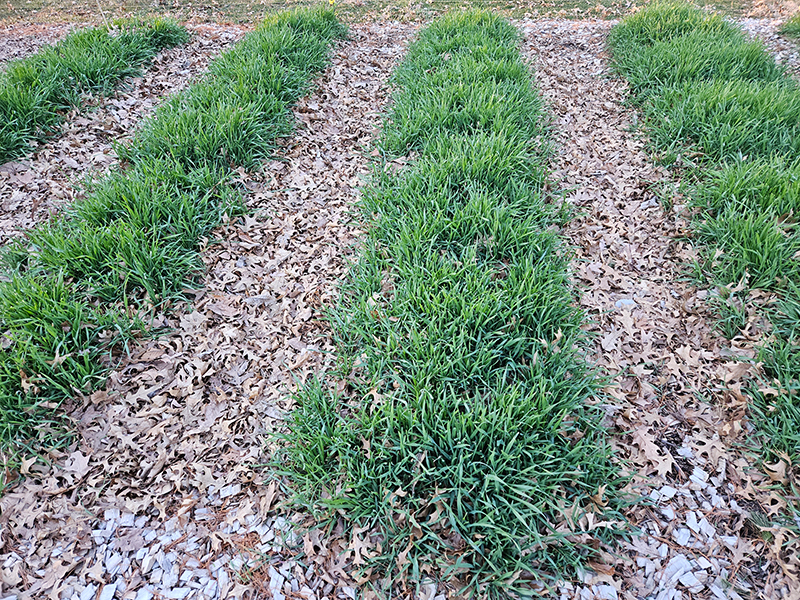
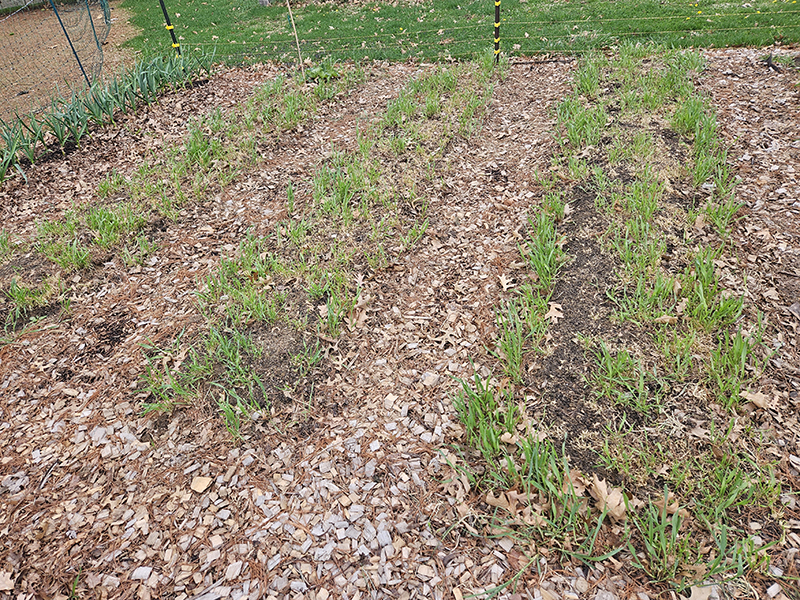
In the fall of 2022, I planted annual rye on my raised growing rows and in my raised beds. The rye sprouted and grew great during the late fall. Then it went dormant in the winter like it is supposed to do for this particular cover crop.
This spring, it started growing again. It was SO nice to see lush, bright green grass growing when everything else in my yard was still dead and dormant from the cold winter months.
Now, in order for annual rye to work as a cover crop, you need to kill it off in early spring before you go to plant your garden. If you don’t, you will end up with the annual rye going to seed, which would then be planted in your garden instead of your vegetable or flower seeds.
The way of doing this for a no-till method is by mowing the grass down short in early spring. The cut portion can just fall and land on top of the soil to add additional organic matter while the roots stay intact. Sometimes it will take a few times of mowing for the cover crop to die back completely.
Sounds fine and dandy, right?
What Went Wrong
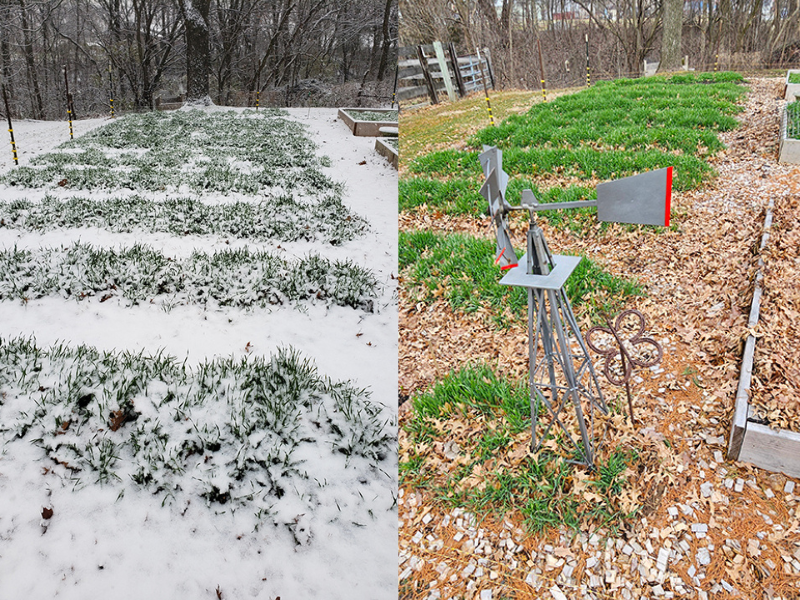
Well, unfortunately with the way the weather was early in spring for us, I was unable to get into the garden to mow. We had several late snow showers and then rain showers which left the garden soaking wet and not in mowing condition.
And also there’s life. Having a busy pre-teen daughter and teenage son keeps me busy and not always able to get in the garden when the climate or conditions are right. Oh, and of course my job!
So anyway, my annual rye kept growing. I did get it mowed down, but the first time wasn’t until the middle of spring.
Then I mowed it again. And then I took to using the weed wacker/eater to try to get it trimmed as short as possible to see if that would help kill it off.
But the cover crop Would. Not. Die.
Freaking Out A Little Bit!
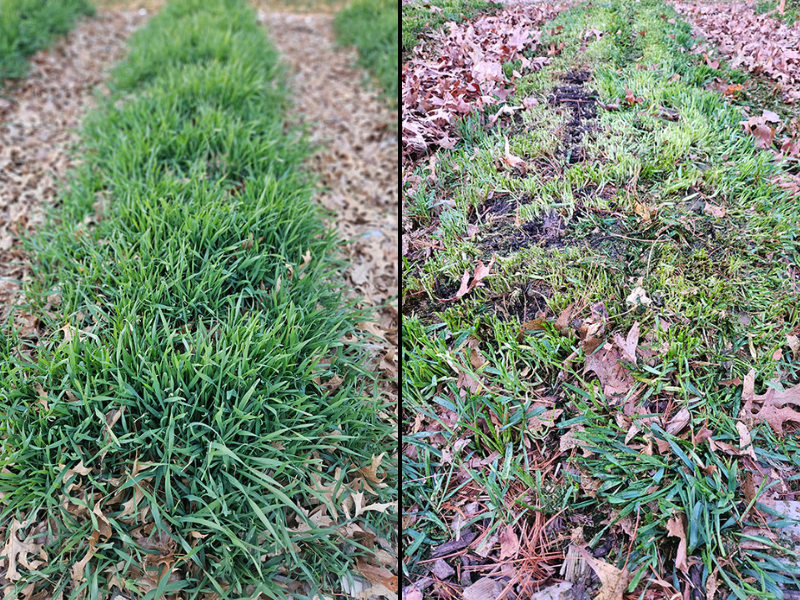
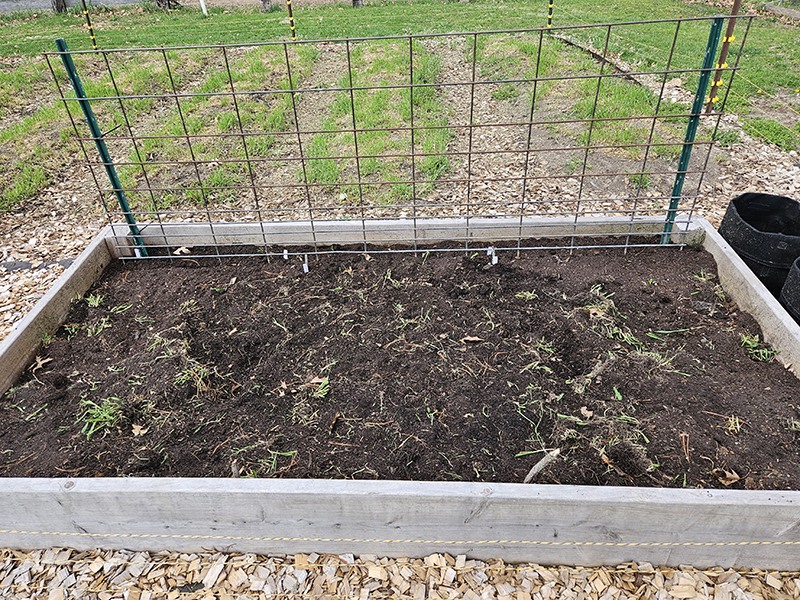
About early April, I finally had to hand till my raised beds so I could get my cold-weather crops planted. I didn’t really have another choice. I didn’t want to spend all summer hand-pulling up each rye plant around my vegetable crops since I couldn’t use the weed wacker or mow after I planted my vegetables. And it was at the point where I needed to get those seeds into the ground.
Not only was hand tilling (using a hand cultivator) a pain in the butt and time-consuming, but even after hand tilling, I STILL had rye plants growing that were left in clumps and just re-planted themselves. But it worked well enough, and I could just hand-pull the few rye plants that were still growing. (Product Link: Fiskars Hand Cultivator)
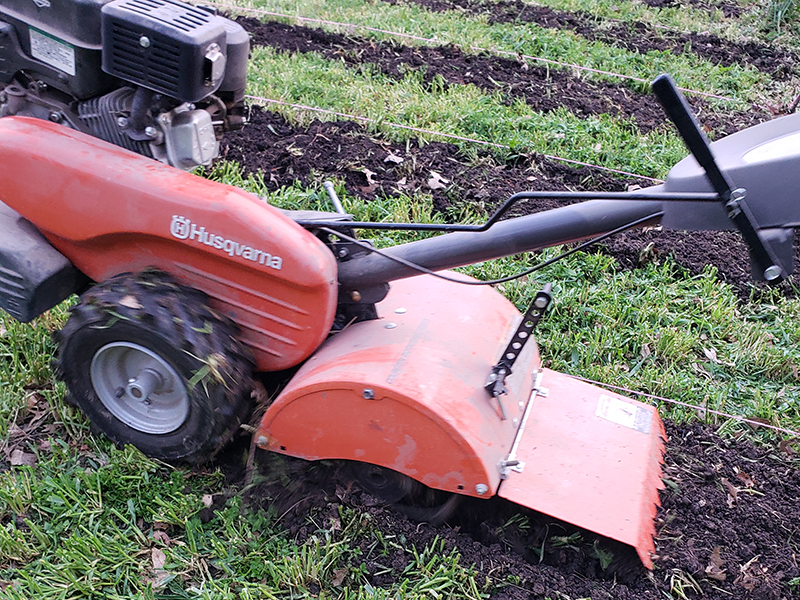
At about the end of April, panic started to set in and take hold of the rest of my garden space. I typically like to plant in my garden around mid-May after Mother’s Day. If I couldn’t get the cover crop to completely die by early May, I had no choice but to till. And that’s what ended up happening.
I mean, I had even tried to mow the rye short right before a hard spring freeze happened, and that didn’t help. I also tried to mow the rye down before we had a sudden heatwave in the mid-80s. That didn’t work either. So I had no choice but to till unless I wanted to spend HOURS each day pulling rye plants that grew in between my vegetables.
No, thank you.
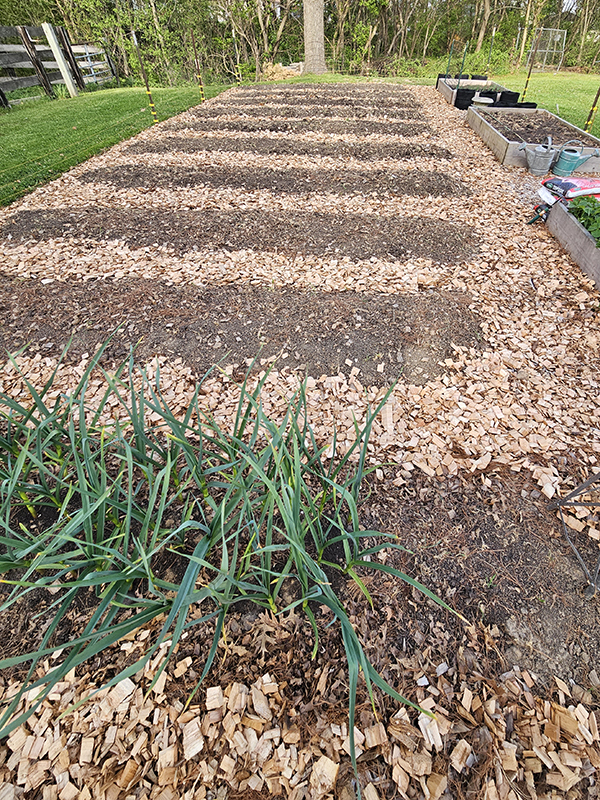
What I Did
So I tilled. I tried to do a very light surface till so I didn’t have to disturb the soil biome too much but enough to finally kill most of the cover crop. While I wasn’t able to go no-till this year, I definitely don’t regret using the cover crop. The benefits of using it really outweigh the negatives.
I just am not sure I will be able to commit to no-tilling for our garden location and situation. But who knows, there’s always next year, and maybe I’ll have better luck!
Whether you are team no-tilling or team tilling, at least you are doing your part to grow your own food and rely on yourselves more than a grocery store. I call that a win either way!
I’d love to hear if you’ve had a horrible (or successful!) no-till experience!
Until next time, thanks for stopping by!
– Chelsea
*This post may contain affiliate links. These are products I have used personally and highly recommend. As an Amazon Associate, I may earn a small commission from qualifying purchases if you purchase items through my links. These links and the ads on this page help to support my family and our semi homestead, so Thank You!
Discover more from Semi Homestead Life
Subscribe to get the latest posts sent to your email.