When you harvest and save flower seeds like cosmos, zinnias, and marigolds from your garden, you are setting yourself up for success the following year. Since I started gardening many years ago, I’ve become a huge fan of saving seeds whenever I can, and one of the easiest comes from cosmos plants!

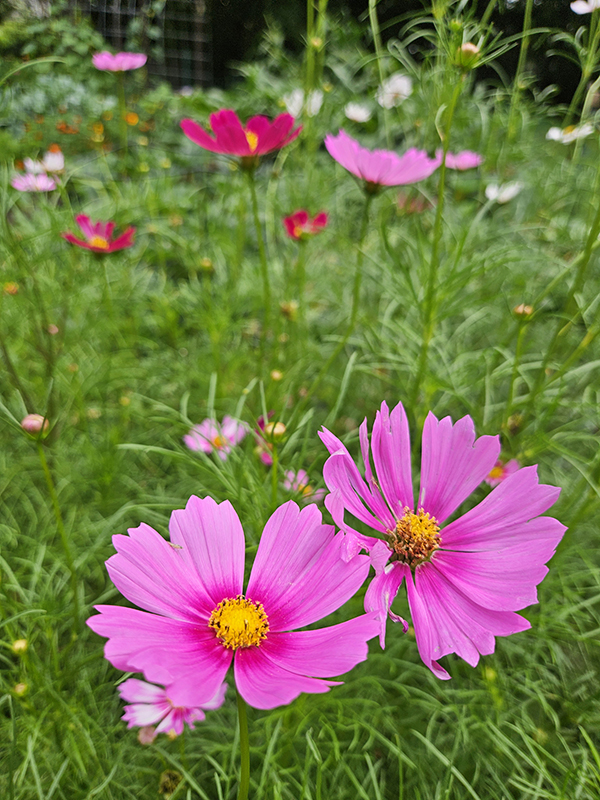
Cosmos are one of the best annual flowers to grow on your property. If you are looking for a constant blooming plant that can grow in almost any soil conditions, then cosmos are perfect for you! They are also great for bringing in loads of pollinators, which is a huge bonus for my vegetable garden.
Cosmos flowers can self-seed if you allow the blooms to dry naturally on the plant. However, you can also save the seeds to have on hand for the following year, which is what I like to do. (The seeds even make great inexpensive gifts for your family, friends, and neighbors!)
Whether it’s vegetables or flowers, having seeds on hand is a peace of mind in my opinion. There’s no rushing around trying to find the specific variety you want or needing to spend money on new packets each and every year. That way, when spring rolls around and it’s time for planting, you simply pull out your seed storage container and grab what you need. Easy peasy!
The best part of all is that harvesting and saving seeds is so simple to do! As long as you follow a few basic tips, your cosmos seeds can stay viable for years to come!
Reasons For Saving Seeds
There are many advantages to saving seeds. First, there is the benefit of saving money. Each year, seed prices continue to go up and up. While growing from seeds is still less expensive than purchasing seedlings from a garden center or big box store, purchasing seed packets can still add up. (Especially if you have a slight seed addiction like I do!)
Another big advantage is being able to pick the best flowers from the best plants. You can choose the seeds based on the color, shape, style, and size of the bloom. In addition, you are able to choose plants that look the healthiest and have disease resistance.
Then there’s the fact that when you save seeds from plants growing in your garden, they are already adapted to your soil and climate. The result is plants that have a better chance of surviving and thriving the next growing season.
Lastly, there’s the fact that you are helping to preserve and maintain plants that have been growing in soils for years. When you harvest and save the seeds, whether it’s cosmos seeds to help bring in pollinators or tomato plants to feed your family, you are looking toward the future and playing just a small part in its outcome!
Tips To Harvest And Save Cosmos Seeds
Hybrid Or Open-Pollinated
The first step is to make sure the plants you are saving seeds from are open-pollinated varieties and not hybrids. There is a big difference between the two, even though it isn’t usually one you can see visually.
Hybrid plants are created by cross-pollinating two different varieties together. This is often done to get desirable traits like disease resistance or higher production.
Unfortunately, hybrid plants do not produce true seeds. This means that if you plant and grow hybrid seeds, you will likely end up with one of the original plants used to produce the hybrid. This will result in cosmos that look and grow nothing like the original plant. In fact, the seeds can even be sterile!
Instead, you need to save the seeds from open-pollinated plants (sometimes called “heirlooms”). You can find out which type of cosmos you have growing by looking at the original seed packet or doing a simple search.
Choose Wisely – Harvest & Save Cosmos Seeds
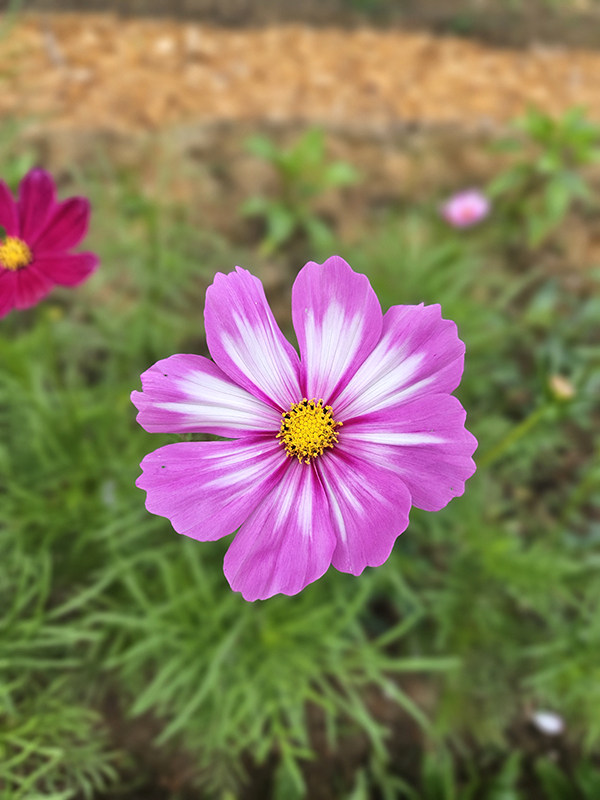
The next step is to choose your plants and blooms wisely. Only save seeds from healthy, thriving plants.
Avoid any that show signs of disease or damage. Signs of pest problems can often indicate the plant is under stress and should be passed by.
Once you find a few blooms you like, it’s always a good idea to tag them. Since cosmos plants produce so many blooms, it can be hard to remember which ones are the best as they start to fade. (At least it is for me!)
Harvesting The Blooms
When the flowers start to fade and die back, it’s almost time to harvest the blooms. If the stems are easy to snap off, then you are good to go.
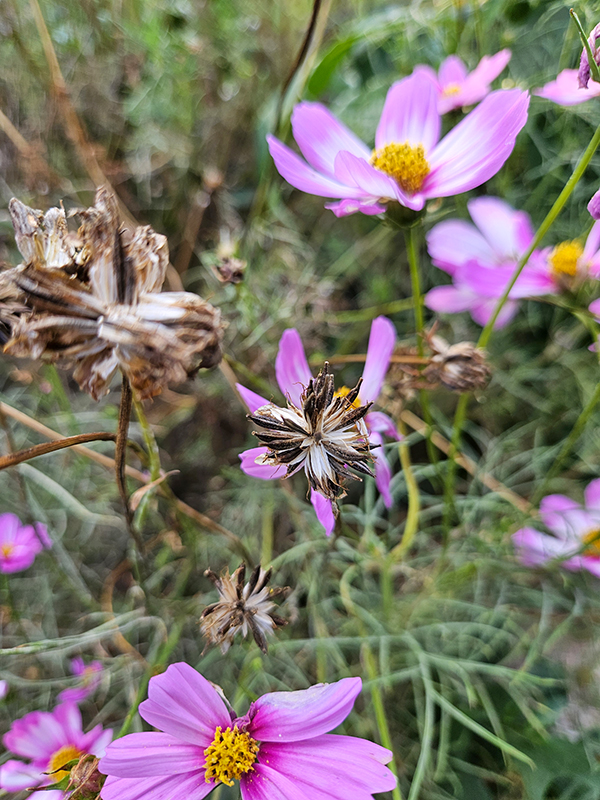
Remove the entire seed head by cutting the stem off down to where it meets the rest of the plant. While you don’t need that much stem to harvest the seeds, it will help to keep the rest of the plants from looking scraggly and frayed.
Next, place the blooms in a brown paper bag so you don’t lose any seeds. Keep different colors or varieties separate if that is a concern for you.
Separating The Seeds – Harvest & Save Cosmos Seeds
Once you harvest all the cosmos blooms you want, it’s time to separate the seeds from the rest of the flower head to save and store long-term. If you look inside the blooms, you will see these long and thin, tiny dark brown seeds. (To me, they sometimes look like miniature dried-up bananas!) These are the seeds.
Use your fingers to gently squish the seed heads between your fingers. The seeds should fall out easily, likely along with some of the lighter colored chaff.
If the chaff bothers you, you can separate the seeds from the chaff. An easy way to do this is to gently blow the lightweight chaff away from the heavier seeds. You can also use a fan, just don’t have the speed up too much, or you will blow away your seeds as well as the chaff!

Place the seeds on a paper plate and allow them to completely dry out for a few weeks. Keep the plate in a dry location that is away from direct sunlight during this time.
Storing Seeds Long-Term
Once the seeds are fully dry, it’s time to store them long-term. The key here is to keep the seeds in a dry, cool, and dark location in order to maintain their viability.
I like to use these little brown craft paper envelopes, but any paper envelope or old seed packet will work. Just be sure to label the envelope with the year you collected the seeds, what type they are, and any other notes you want to remember. (Here are the envelopes I use – Product Link: Joyberg 156 PCS Seed Envelopes.)
I then place the seed packets into a plastic photo storage container. I’ve had the same one for years, and it is a great way to keep my saved and leftover seeds safe, dry, and organized. (It’s also great for carrying out to the garden or to my seed starting station when those days come!) (Product Link: Novelinks Clear 4″ x 6″ Photo Organizer)
You can also use a glass jar with a lid for storing the seeds. Consider popping in one of those desiccant packets if you go that route, just to make sure there isn’t any residual moisture in the seeds.
With proper storage, your cosmos seeds can stay viable between 3 to 5 years. That is, if you don’t plant them all before then!
Until next time, thanks for stopping by!
– Chelsea