
There’s nothing quite like the freshness and flavor of homegrown popcorn, but did you know that you can grow this popular snack right in your own backyard garden?
Sure, most people know that you can grow sweet corn in home gardens, but not many people realize that you can actually grow popcorn as well! (Popcorn is a variety of corn that has kernels that pop/burst when they are heated.)
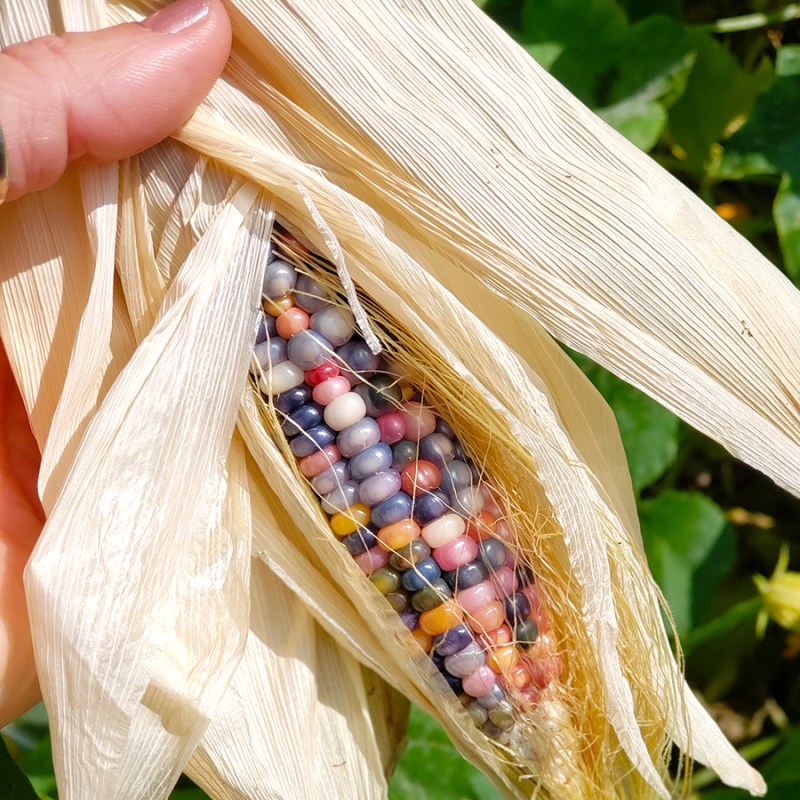
When you think of popcorn, you probably think of those giant (and expensive!) bags of popcorn you chow down on at the movie theater or the store-bought bags you can unfold and pop in your microwave. But homegrown popcorn has such a fresh and pure flavor that it makes it hard to go back to store-bought popcorn after going this route!
Popcorn is a delicious whole grain snack that is extremely versatile and takes on flavors well. It is low in calories and is packed full of fiber, which can leave you feeling full without all the guilt! And, unlike store-bought bagged popcorn, it isn’t loaded down with preservatives and colorings.
Believe it or not, growing popcorn is fairly simple. However, it does require a little planning on your part. It’s not quite as easy as planting a few seeds and hoping for the best. While it can take a bit of time to master, growing homegrown popcorn is a fun challenge for you to attempt – and the result is more than worth it!
How To Grow Homegrown Popcorn In Your Garden
Like sweet corn and field corn, popcorn is a crop that needs to be planted directly in the garden. Chances are, it will not survive if you try to start the seeds indoors and then transplant them into your garden. Besides, popcorn germinates easily from seed, so there really is no reason not to sow it directly.

Wait until the soil reaches a temperature of at least 60º Fahrenheit before planting popcorn kernels. Overly cool soils can result in rotting, preventing the seeds from germinating.
Plant seeds 1 inch deep in the soil and 8 to 12 inches apart. Space additional rows 18 to 24 inches apart. Cover the seeds and water well.
How Popcorn Is Pollinated
When planting popcorn, you need to grow it in blocks as opposed to individual rows. The reason for this has to do with how corn is pollinated. Corn is a self-pollinating crop, or it needs a similar variety nearby.
Corn produces a long tassel at the top of the plant when it is ready for pollination to occur. This tassel contains the pollen. At the same time, the plants also start to produce ears of corn. These ears have these long, thin strings that grow out of the ears. These strings are called “silks.” Each silk is attached to a single kernel of corn.

In order for pollination to occur, the pollen from the tassel falls via wind or gravity onto the silks of nearby lower ears. The pollen then travels down the silk and pollinates the corn kernel. If pollen does not land on the silk, that kernel will not get pollinated.
If you were to plant popcorn in a single row, most of the pollen would simply blow on past the corn and onto the soil. By planting the corn in blocks of at least four rows, you raise the likelihood that the pollen will land on a nearby silk instead, increasing the likelihood of pollination occurring.
Planting Popcorn Near Other Types Of Corn
In addition to planting in blocks, you also want to make sure to isolate the variety of popcorn you are planting from other corn types. What I mean by that is you don’t want to plant popcorn right next to a patch of sweet corn or field corn.
This is really only an issue if they have similar pollination times because the pollen from one type of corn can fall on the silks of another type of corn and cause cross-pollination. The result is usually undesirable ears of corn.
If you are growing sweet corn and popcorn in your garden, plant the popcorn first, then wait to plant the sweet corn for at least three to four weeks. This should allow the two crops to produce silks and pollen at different times.
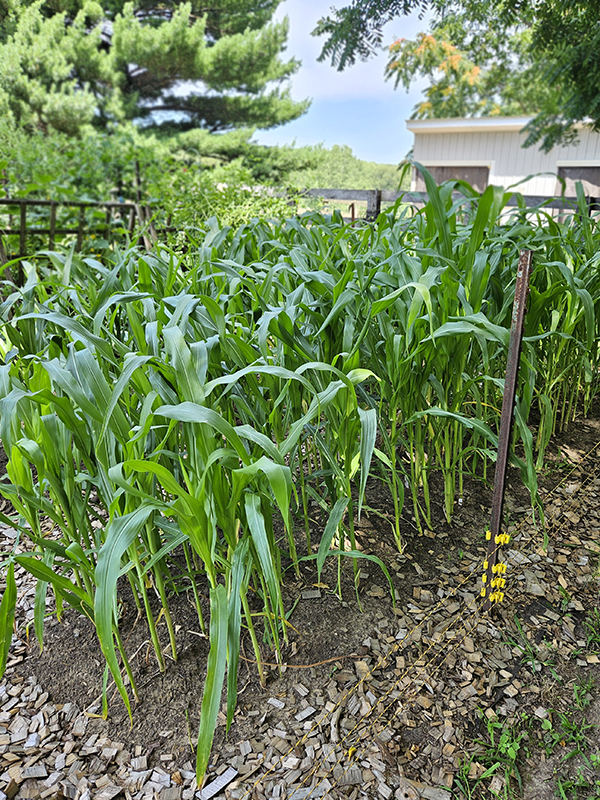
Popcorn takes quite a bit longer to go from planting until it can reach maturity. It’s around 90 to 120 days, depending on the variety. Sweet corn takes around 60 to 100 days. Be sure to check the label of your particular variety to make sure the dates won’t line up to be on the safe side.
Or, only plant one type of corn in your garden each summer. That way, you won’t run into any issues at all!
Provide Proper Moisture – Homegrown Popcorn
Popcorn grows well in warm weather. However, it doesn’t tolerate drought-like conditions. A lack of moisture combined with the heat of summer will cause plants to become stressed. To help avoid this, provide plants with regular moisture.
Popcorn has fairly shallow root systems. Most of the roots you see above the soil are more for stability as opposed to helping draw up moisture and nutrients from the soil. Since the soil at the surface of the ground tends to dry out quicker than that deeper down, you have to water corn frequently.
Water plants with at least an inch of hand watering every week if there is a lack of rainfall. (Water at the base of the plants when possible.) Corn grown in sandy soils may require additional watering since sand does not retain moisture as well as other types of soil.

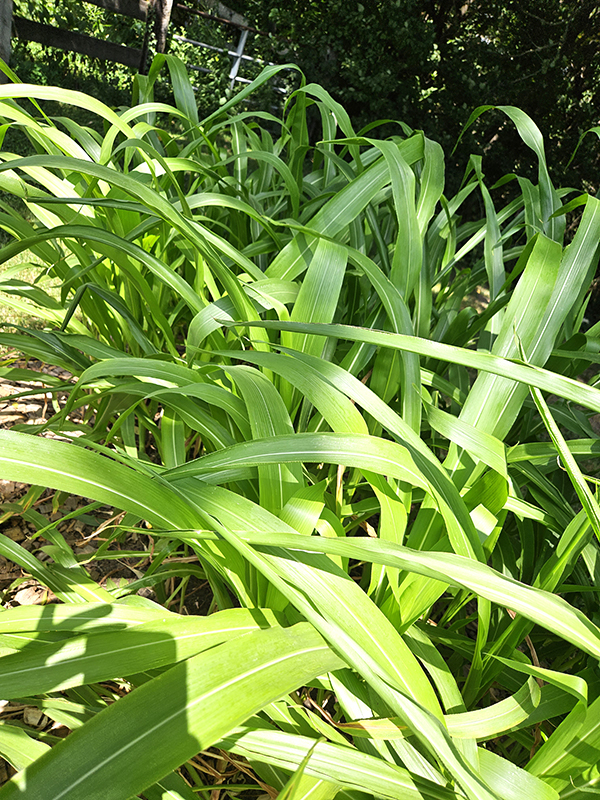
If extremely hot weather is predicted, provide plants with an additional watering. When corn gets very heat-stressed, the leaves will start to curl inward. This won’t hurt the plants, but it can be a sign that the plants need additional water. (See how the left image above shows the curled leaves. The right image is a few hours later, after watering at the base of the plants.)
Once the plants have started to dry out in late summer or early fall, you can stop watering. At this point, the kernels on the ears of corn have already filled out to their maximum size and no longer require additional moisture.
Weeds & Pests
Despite their tall stature, popcorn often struggles with competing weeds due to its shallow roots. Use a hoe or other cultivating tool to help prevent weeds throughout the growing season. Avoid weeding too deeply, though, because you don’t want to ruin the popcorn’s shallow roots.
If you’d rather, apply a thick 3 to 4 inch layer of grass clippings, shredded leaves, or straw as a mulch after the corn germinates. This will greatly reduce the chance of weeds as well as help the soil retain moisture. (For more info on mulching, see my article, “Why To Use Mulch In Your Garden – Weed Less & Improve The Soil”.)
As far as pests go, there are really only a few pests that affect popcorn. Those pests include corn aphids, corn borer, and corn earworm. If you catch the infestation early enough, you can get rid of aphids by simply spraying them off the plant using a strong stream of water.
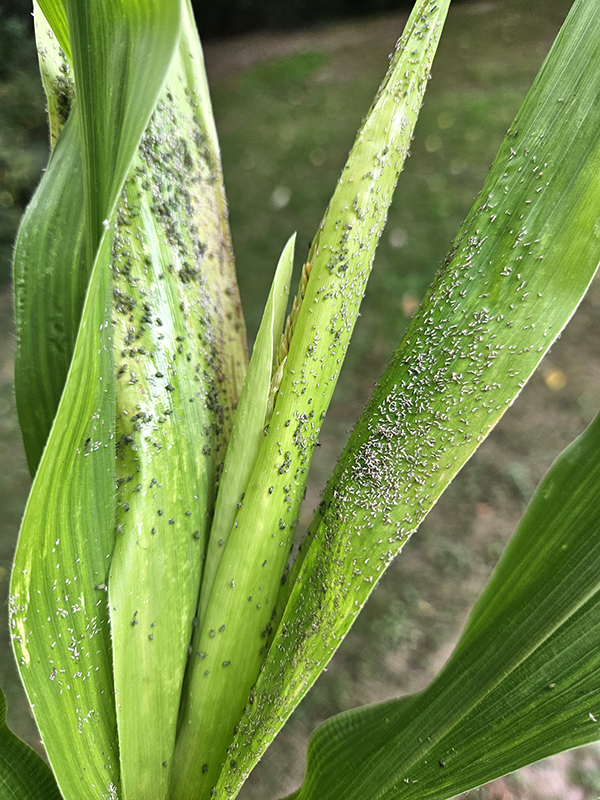
Corn borers and corn earworms are a bit harder to control. They cause a bit more damage because they feed on the silks of the ears. Once they enter the ears of popcorn, there isn’t much you can do to control them other than hand-picking them off. Bacillus thuringiensis (Bt) can be used in early infestations if caught early enough.
Harvesting Homegrown Popcorn
Only harvest popcorn ears when they have reached full maturity and when the ears have dried out. Allow the corn to stay on the plant to dry out for as long as possible.
As the ears dry, the shucks (the outer leaves) turn from green to a yellowish brown and become papery. The entire plant will also start to dry out. Wait until the entire stalk is brown and dried before harvesting the ears.
Don’t harvest the ears if it has recently rained, and don’t wait too long until the first hard freeze (a light frost can be tolerated by mostly dry corn).
To harvest, firmly pull the ears from the plants downward using a twisting motion until the ears snap off. Remove all of the shucks and place the ears somewhere dry with good airflow to continue drying for a few weeks. This timeframe will depend on how dry the corn was when you harvested it and the relative humidity in the storage room.
Testing Moisture Levels
Popcorn is at the sweet spot when the moisture level is between 12% to 14%. This will allow it to pop well. If there is too much moisture, popcorn will not pop well and can end up molding. However, most gardeners don’t have access to a corn moisture meter.
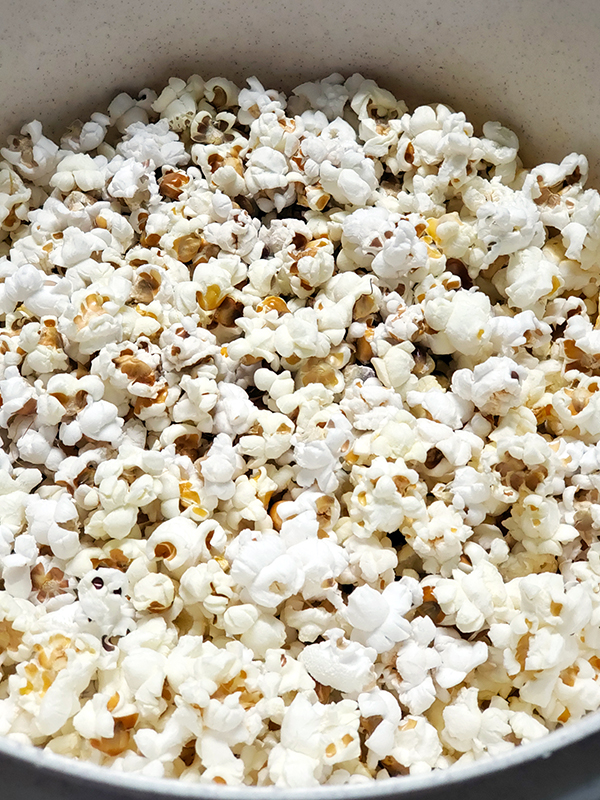
To test if your popcorn is dry enough or not, the best method is to pop a few kernels. If most of them pop successfully, then it should be good to go. However, if it doesn’t pop well, wait another week or so and try again.
If you end up waiting more than two months and it still doesn’t pop well, then chances are it won’t ever pop. This can be due to several different reasons, like cross-pollination. Use the popcorn instead as cornmeal, decorations, or even as a treat for your chickens.
Storing Popcorn – Homegrown Popcorn
Once the popcorn is at the ideal moisture level, you can store it in two main ways. You can store the ears whole, or you can shell the corn and store it that way. If storing the ears whole, use large brown paper bags or another container that keeps the corn dry and doesn’t harbor moisture.
If you are shelling popcorn by hand, be sure to wear gloves. It can really tear up your hands, especially your thumbs. Or, do like we do and use a simple gadget that will allow you to easily shell the corn with just a bit of effort. You can see in my YouTube Short Video how easy it is to use. (I couldn’t find the exact one we have, but this brand is identical – Product Link: Premier 1 Hand Popcorn Sheller.)
Store the kernels in an airtight container in a dry location. Properly dried popcorn will keep for a long time, that is, if you don’t eat it all first!

How To Pop Homegrown Popcorn
The easiest way we pop homegrown popcorn is using a large brown paper lunch bag. Add a quarter cup of popcorn kernels into the bag. Fold the bag over two or three times to seal it. Be sure to leave a large space at the bottom of the bag for the popped kernels to fill up.
Place the bag on its side in your microwave and set a timer for 2 to 3 minutes. You may have to experiment with the time since it will vary based on the popcorn variety you grew, the moisture level of the kernels, and your microwave’s wattage.
Listen for the popping sound. Once it slows down to when there are about 5 seconds between pops, stop the microwave. Pour the popcorn into a large bowl. Season with melted butter and salt or any of your other favorite flavoring combinations.
You can also use a Whirley Pop popcorn maker or any other type of popcorn popper if you prefer. Any of those methods work well. (Product Link: Whirley Pop Popcorn Maker)
Or, go old school and use a simple pot and lid and cook it over the stovetop like my Dad does. You can’t go wrong by cooking homegrown popcorn that you grew yourself in your own garden!
Until next time, thanks for stopping by!
– Chelsea
*This post may contain affiliate links. These are products I have used personally and highly recommend. As an Amazon Associate, I may earn a small commission from qualifying purchases if you purchase items through my links. These links and the ads on this page help to support my family and our semi homestead, so Thank You!
Discover more from Semi Homestead Life
Subscribe to get the latest posts sent to your email.