Want to learn how to grow marigolds, one of the easiest yet most beneficial annual flowers in your vegetable garden or raised beds this year?
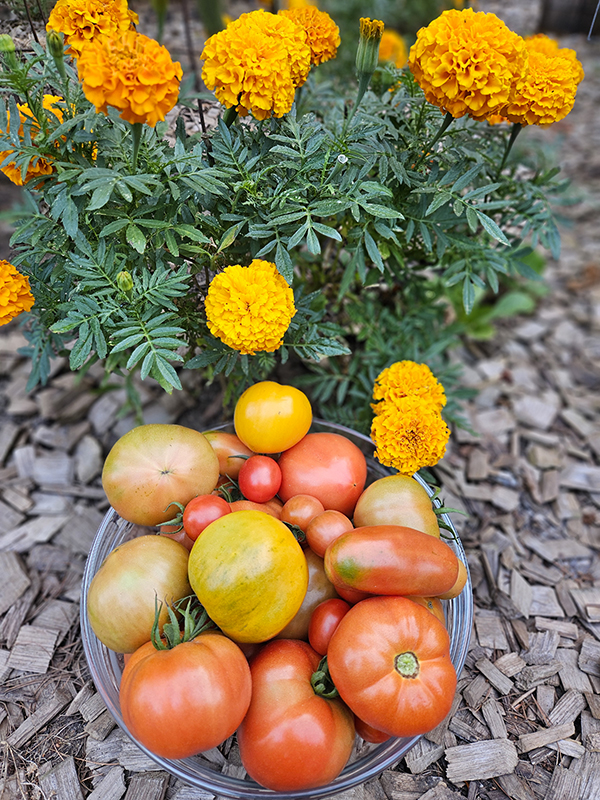
Marigolds are one of the most common annual flowers to add to vegetable gardens and flowerbeds – and for good reason! Not only do they come in some amazing colors and petal arrangements, but they also are the perfect companion plant for tomatoes, peppers, and more.

Marigolds are quick to germinate, can grow in about any type of well-draining soil, are fairly low maintenance, and will continue to push out bloom after bloom all season long. In addition, marigolds are drought and heat-tolerant, so they can pretty much handle whatever summer has to throw at them.
But their bright, fiery-colored blooms do more than just look beautiful. They also help to attract all different types of pollinators to your garden like bees, butterflies, moths, and more. Their benefits don’t just stop there because they can also help prevent unwanted pests and insects from hanging out in your garden as well!
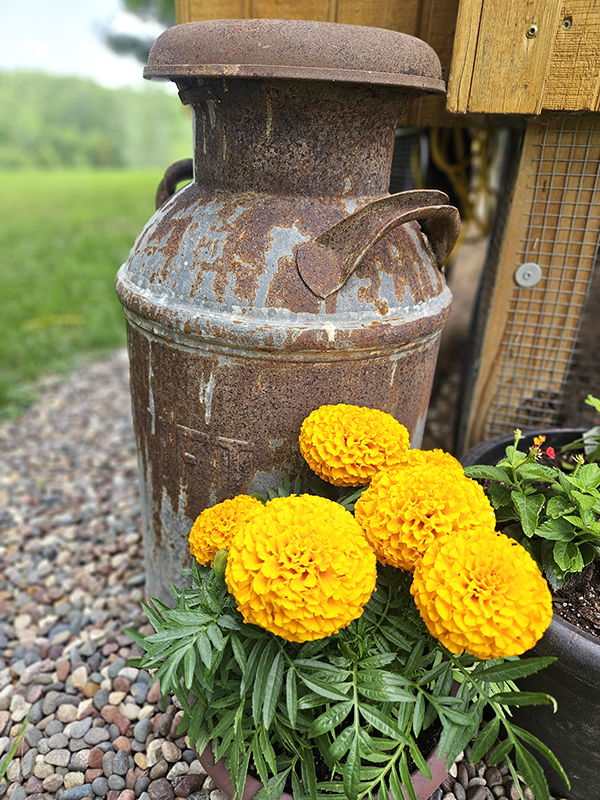
So whether you grow them in your garden, raised beds, containers, or flower beds, consider adding marigolds to your home this summer!
How To Easily Grow Marigolds
3 Types Of Marigolds
There are three main types of marigolds that gardeners typically grow: African Marigolds, French Marigolds, and Signet Marigolds.
African Marigolds are the tallest of the three varieties, with some growing as tall as 4 feet. It might not come as a surprise that they also produce large double flowers that can be as big as 5 inches across. They are perfect for layering behind shorter annual flower varieties.
French Marigolds are probably the most common type to find in home gardens. They grow around 6 to 12 inches tall and have a more compact growth habit. You can find both single and double blooms growing around 2 inches in diameter. They are perfect for bordering gardens or growing around the base of plants. They are also a good choice for containers and hanging baskets.
The last type, Signet Marigolds, is probably the least common variety. They grow usually no taller than 6 inches and their blooms have a single row of petals measuring only 1 inch wide. Signet Marigolds are the only type that is edible and can be used in salads and garnishes.
Starting Marigolds By Seeds Indoors
You can either start marigolds indoors about 4 to 6 weeks before your last frost date or you can plant the seeds directly outside. However, due to their size and slower growth habits, it’s best to start African Marigolds indoors or purchase them as transplants.

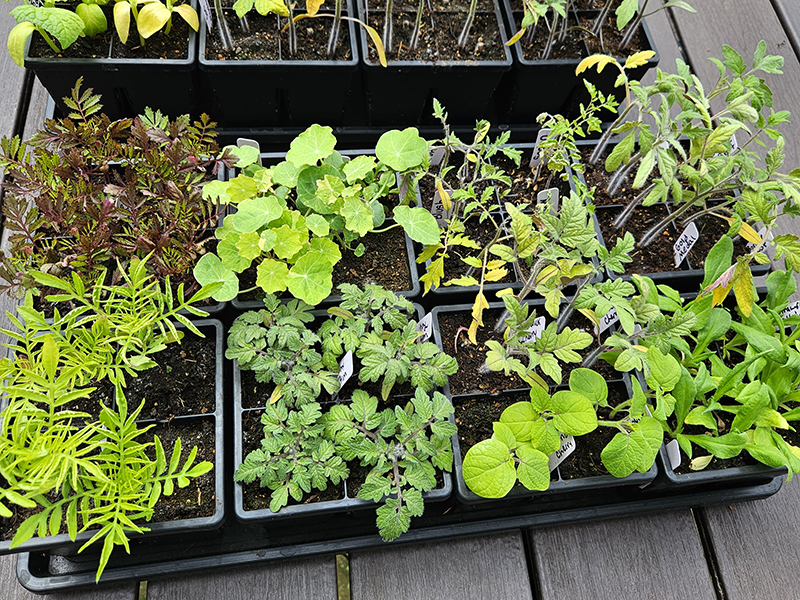
When starting marigolds by seed indoors, you will need containers with drainage holes, seed starting soil, water, and a light source. We like to use basic LED shop lights for starting seeds indoors instead of wasting money on lights labeled specifically as “grow lights.”
Fill your container up with moistened seed starting soil. You want a light and airy mixture that allows the seeds to easily germinate and start producing roots. You can also make your own seed starting soil, but I usually just purchase it pre-made and then mix in a bit of compost and worm castings. (Product Link: Miracle-Gro Seed Starting Potting Mix)
Place 2 to 4 seeds per container, depending on its size. It’s always best to plant more seeds than you need in case some don’t germinate. Even though it might be hard to do (mentally that is; It’s really easy to thin seedlings!), you can always thin the seedlings after they germinate and grow a few inches tall.
Cover the seeds with a thin layer of soil. Keep the soil moist until germination occurs. We like to cover our seed starting containers with a clear plastic lid to help retain the moisture. You can also use plastic wrap.
After Germination
After the seeds germinate in 4 to 14 days, remove the cover and turn on your lights. Keep the lights just a few inches above the seedlings, moving them higher as needed.
Keep the soil moist but not overly saturated. Start to provide seedlings with a light dose of liquid fertilizer after they are a few inches tall. Once the weather warms up, begin to harden off the plants to prepare them for planting.
You can read more in-depth about starting seeds indoors as well as hardening off plants in my three-part series: “Starting Your Garden Seeds Indoors Series – Part 1: Sowing“.
Planting Transplants In The Garden
When it’s time for planting outside, choose a location that receives full sun. While marigolds aren’t picky about the soil conditions, they thrive in fertile, well-draining soil.
Loosen the soil about 6 inches deep where you plan on growing the marigolds. This will help allow their roots to grow down deep and anchor the plants. Amend the soil with plenty of compost to help add nutrients and organic matter.
If planting seeds directly outside, plant each one about 1 inch deep and the same distance apart. Cover with soil and water well. Once seeds have germinated, thin so you have one African Marigold every 10 to 12 inches and one French or Signet Marigold every 8 to 10 inches apart.
If planting transplants, create a hole about the same size as your container. Loosen the soil around the marigold’s roots and add it to the hole. Backfill with soil and water the transplant in well. Use the same spacing as above after thinning seedlings.
Add a layer of thick organic mulch like grass clippings around the base of the plants to help maintain moisture. The mulch will also work to help prevent competing weeds from growing.
Caring For Marigolds – How To Grow Marigolds
When the marigolds are a few inches tall, you can “top” them off to create thicker, bushier plants. This will help prevent plants from becoming too tall and leggy. Just snip off the top few inches of the plant to encourage branching and new growth.
When watering marigolds, avoid watering overhead when possible. The moisture directly in the blooms can cause them to get powdery mildew and rot. Instead, water at the base of each plant. Allow the soil to dry out in between waterings to prevent the plants from being waterlogged.
There is no need to fertilize marigolds during the growing season. Doing so can actually cause the plants to produce an excess amount of foliage as opposed to blooms. (This is one of the reasons why I like to grow marigolds so much!)
Deadheading Spent Blooms
While deadheading marigolds isn’t required, it does help to keep plants neat and tidy. In addition, deadheading helps to encourage the plant to focus its energy and resources on producing new blooms. (See my article, “Deadheading Marigolds – Keep Flowers Blooming Long Into Fall“.)
Use a pair of clean pruners, cut the seed head and the spent bloom off. You can also just use your fingers if you are gentle enough. The seed head should pop right off. Just beware that your hand will be left with some marigold scent! (My personal favorite pruners for deadheading – Product Link: Fiskars Micro-Tip Pruning Snips.)
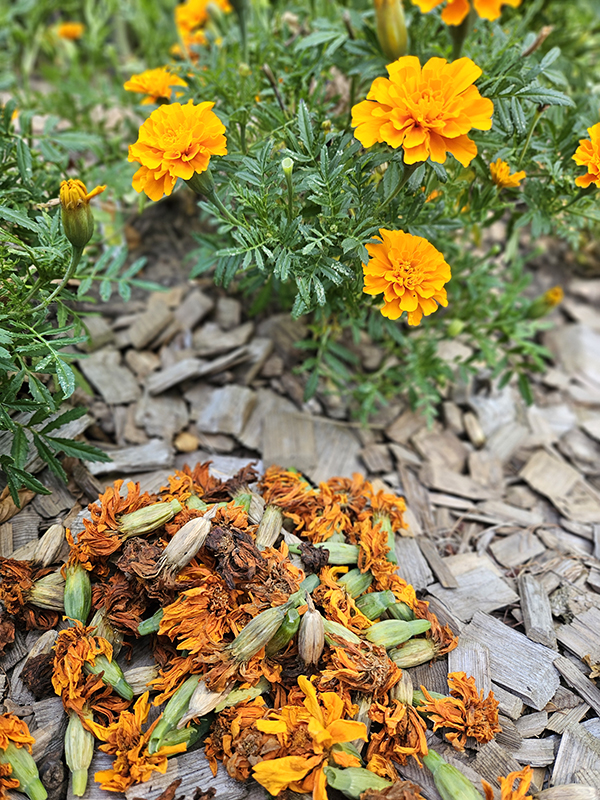
Dried-out seeds can be saved to grow again next year. In fact, marigolds are one of the easiest types of seeds to save year after year. Just allow a few of the seed heads to dry out on the plant or on a paper plate. Then store them properly and you won’t ever need to buy marigold seeds again!
Marigolds are annual flowers, so they will continue to set blooms all summer and until the first hard frost, providing you with loads of color and all the other added benefits that come along with growing marigolds!
Until next time, thanks for stopping by!
– Chelsea