There are so many advantages to using a raised garden bed, and the best part of all is that they are super simple to make!
Sure you can purchase pre-made raised bed kits from tons of different online and in-person shops. All you have to do is set them up and you are good to go. But what fun is that?!
One of the best parts of making the raised beds yourself is that you have complete control over not only the size but also the design. Say you have the perfect spot in your garden for a 6-foot long by 3-foot wide garden bed. You can custom-build it to fit your needs and space.
The best part is that this design doesn’t take a lot of special equipment to make. In fact, even if you don’t have a saw, you can usually get the employees at the home improvement stores where you purchase your lumber to cut the boards to size for you in most cases.
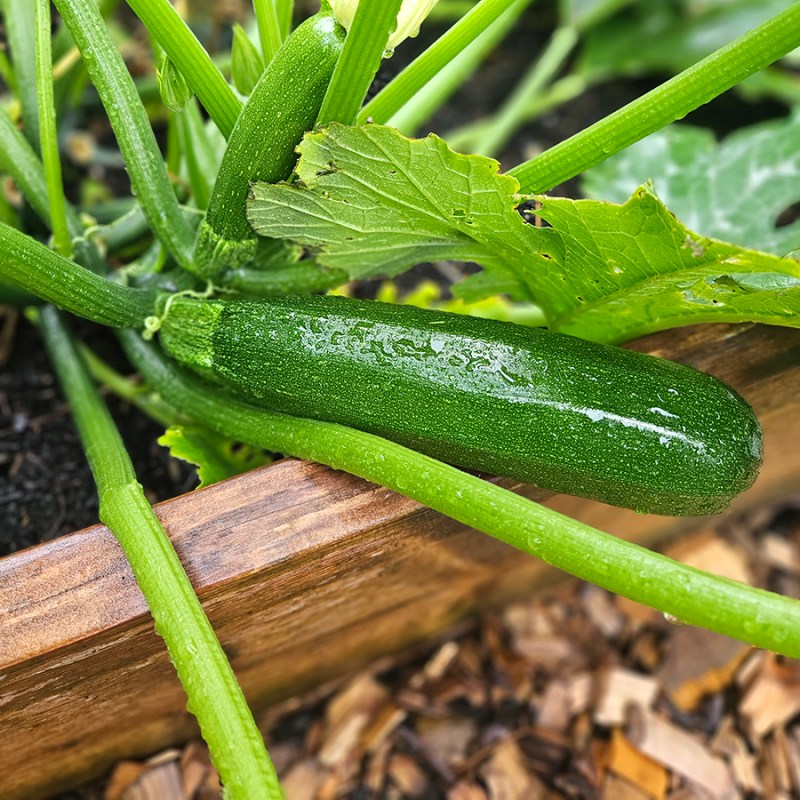
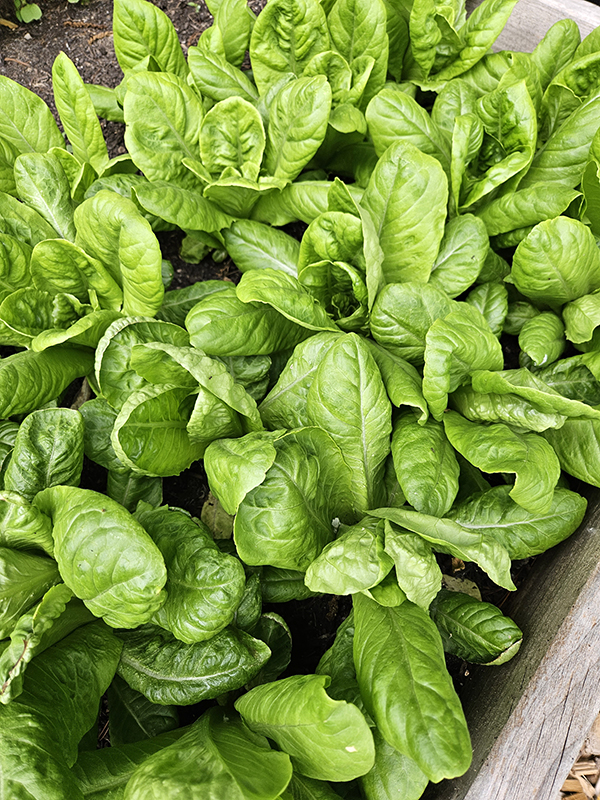
With a little bit of time, a few boards, some screws, and organic fill material, you can have a simple yet useful raised garden bed in which you can grow all sorts of amazing vegetables, herbs, and other plants in!
5 Steps To Make (And Fill) A Simple Raised Garden Bed
1: Figure Out The Location & Size Of The Bed
The first step to making your raised garden bed is to figure out where it’s going to go and what size you want to make it.
Choose a location that is mostly level and receives full sun (i.e., direct sunlight for at least 6 to 8 hours of the day). Keep in mind any nearby trees or buildings that might block out the much-needed sunlight during the middle of summer.

We have three raised beds that sit right next to our in-ground garden space. We started with just one, but you know how that typically goes (it’s kind of like chicken math).
Our raised beds measure 4 feet wide by 8 feet long by 12 inches tall. This size allows me to be able to reach all parts of the raised bed while being plenty big enough to give me flexibility in planting and growing all sorts of different crops. It is also a great size for not needing to make a ton of lumber cuts.
If your beds are wider than I’d say 3 feet, make sure you can access and walk around all sides of the bed wherever you are going to place it. If not, harvesting might be a little tricky since you will likely need to get into the box to reach the opposite side!
Keep Your Planting Goals In Mind
One thing to keep in mind is how deep you want to make your raised bed. If you want to grow larger crops like tomatoes or peppers that have longer roots, then you want your raised beds to be a depth of at least 10 to 12 inches. The taller the better.
If you are planning on only growing smaller crops like herbs and lettuces, then you can easily get away with a raised bed that is only 6 to 8 inches tall. Their roots don’t grow as deep and they won’t use quite as many resources as larger plants would.
For our raised beds, we wanted the flexibility of growing all different types of vegetables. For this reason, I wanted to make sure the depth of the beds was deep enough no matter what we grew so we went with 12-inch boards.
To see all of the reasons why you might want to consider growing plants in a raised bed, check out my article, “Raised Garden Beds – A Great Alternative To In-Ground Gardens!”
2: Gather Your Supplies
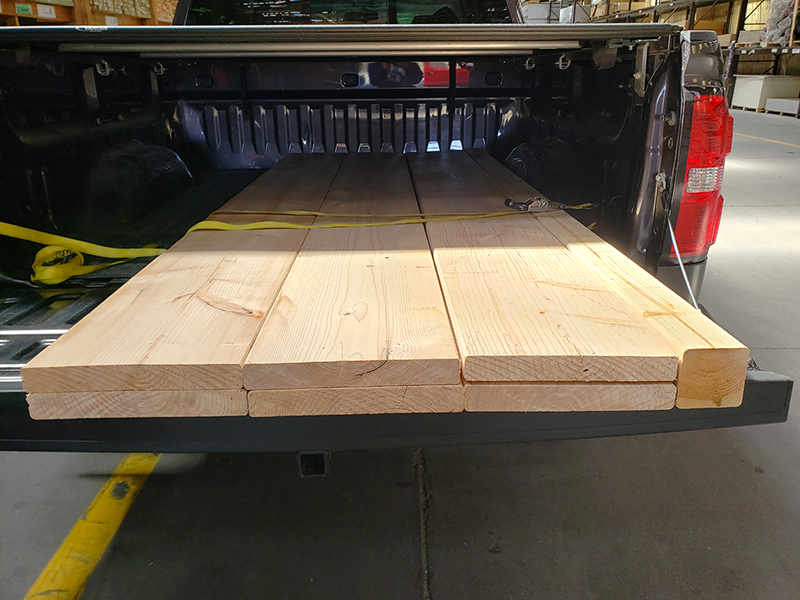
Once you have an idea of the size and location of your new raised bed, it’s time to gather your supplies. We will use the raised bed size that we made as our example, but you can size it according to your needs. These instructions will result in one 4-foot wide by 8-foot long by 12-inch deep simple raised bed.
Please note that even though I will be calling the board by their “sold by sizes”, their actual measurements will differ. Be sure to measure your lumber to get the exact measurements you need for cutting purposes!
You are going to need the following lumber and supplies:
- One (1) – 4 inch x 4 inch x 8 foot board (actual size 3.5″ x 3.5″)
- Three (3) – 2 inch x 12 inch x 8 foot boards (actual size 1.5″ x 11-1/4″)
- 3-inch deck screws (at least 24 screws will be needed)
- If you will be predrilling the holes for the screws, you will need a drill bit to match the size of your screws. We did not predrill the holes since we used deck screws.
For tools, you will need a cordless drill with a bit that matches your deck screws. You will also need a miter saw for cutting the lumber or a circular saw. (Product Link: Craftsman Circular Saw)
If you don’t have access to a saw, most home improvement stores will cut the lumber for you when you purchase it. Just be sure to know exactly what cuts you need before you get to the store.
Ground Contact Lumber Or Not
There is some debate on whether it is safe to use ground-contact lumber or not for raised garden beds. On one hand, this type of lumber will last longer and resist mold and warping.
However, the boards are treated with chemicals. Personally, we used non-treated lumber for our raised garden beds. We’d rather risk having to replace the boards over time than having the chemicals leech into the soil and thus our vegetables. As always, you do you!
You can also spend a bit more money and use cedar lumber. Not only does cedar smell amazing, but it tends to hold up well to the elements – no chemicals required.
3: Cut The lumber & Assemble
I will try to explain exactly the steps we took to make the beds. Please note that I am not a carpenter nor do I probably use all the correct terminology! But hopefully I can still walk you through the steps and the pictures can help where my writing lacks.

Cut the 4” x 4” boards according to the height of the 2″ x 8′ boards you purchased. So for our example, that would be 12 inches (actual size of 11-1/4″ but I will be calling it 12″ for simplicity reasons). You will need four (4) 4” x 4” pieces at that height to make one raised bed.
These 4″ x 4″ x 12″ pieces will stand up in the corners inside the raised bed. They will be what you anchor the long 2” x 12” boards to and provide the bed with some support.
Now cut one of the 2” x 12” x 8’ boards in half to give you the two short side boards. You now have all of the pieces to make your raised garden bed!
Note: If you make your cuts right, you can actually get eight support pieces from the one 4” x 4” x 8’ board. This is enough to make two raised garden beds, which is what we did in these photos and why we have six 2” x 12” x 8’ boards in the back of the truck photo instead of just three. (Hey, why not make two if you are going to all the work to make the one!)
4: Assemble The Raised Garden Bed Frame
Working on a flat surface, start to assemble your raised garden bed frame. We put the frames together in our garage on the floor so we’d have a sturdy, flat surface to keep everything square.

Take one of the 2” x 12” x 4’ boards and stand it on the 2″ side. Place one of the 4” x 4” board pieces standing upright at each end. Using your drill and the screws, secure the 4” x 4” pieces to the 4′ board. We placed three screws in each board – one at the top, bottom, and middle.
Repeat the same steps with the other 4’ board and 4″ x 4″ pieces. Your end pieces are now complete.
Now take your longer 2” x 12” x 8’ boards and place them outside of the assembled end pieces so that the ends line up. Doing it this way will allow your raised garden bed to be slightly wider than 4 feet.
Secure the 8′ boards to the 4” x 4” supports using three screws. Repeat with the other 8′ board. Your raised bed frame has now been made!
5 – Fill The New Raised Garden Bed
If you are moving the raised bed frame from your garage, make sure to have someone help you carry it to its destination (at least for this size of raised garden bed). Otherwise, you might end up twisting the frame.

Place the frame in its designated location. We just placed the frame directly on the ground without tilling or killing the grass first. Some people choose to kill the grass first while others use landscape fabric. All options work fine and are more of a personal preference.
Now you need to fill the bed. Thankfully, you don’t need to fill it all up with soil. You can use tons of different decomposable materials that can break down over time. This not only helps to take up space but adds nutrients as well as organic matter to the soil.
First, we place a nice thick layer of cardboard at the bottom of the box. The cardboard acts like a weed barrier but will eventually break down over time (unlike landscape fabric). Next, we added a ton of shredded paper (because we had it on hand) as well as shredded leaves (also because we had plenty on hand). Grass clippings are another great choice to use.

If you have a super tall raised bed, you can add sticks and lumber at the bottom to help fill in the space as well as provide materials that will decompose slowly over time.
Adding The Soil
Now for the soil. We aimed for around two parts of topsoil to one part compost. The topsoil will help to add stability and structure to the soil while the compost helps to add organic matter and loads of nutrients. Just don’t use only one or the other for best results.
Topsoil is fairly inexpensive to purchase in bags at most garden centers or even big box stores, or you can buy it in bulk. Just make sure it is a good-quality soil. The compost can be either homemade or store-bought.
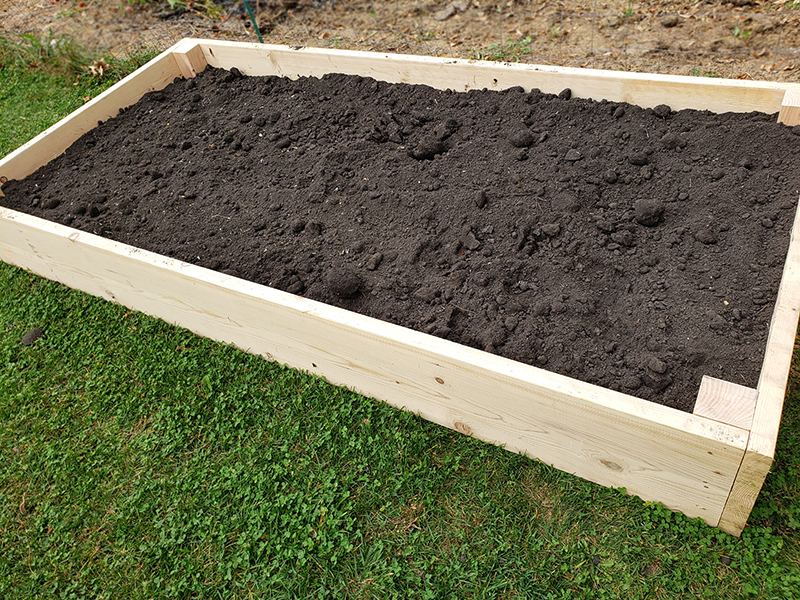
Fill the bed up all the way to the top of the raised beds. The soil will settle some during the first year, especially as your bottom layers decompose. You may need to add more topsoil and compost the following year to maintain a decent depth.
Congratulations – Your new raised garden bed is now ready for planting!
Until next time, thanks for stopping by!
– Chelsea
*This post may contain affiliate links. These are products I have used personally and highly recommend. As an Amazon Associate, I may earn a small commission from qualifying purchases if you purchase items through my links. These links and the ads on this page help to support my family and our semi homestead, so Thank You!
Discover more from Semi Homestead Life
Subscribe to get the latest posts sent to your email.