Did you know that you can use pine needles in your garden? One of the best ways is to use them as a natural mulch!
During the fall and winter months, dead pine needles start to gather on the ground around evergreen trees in thick layers. While the trees don’t end up bare and empty like most trees by late fall, they can still lose a ton of needles each year.
These brown needles are replaced with brand-new, bright green ones all without the tree ever going bare. It’s part of what gives these evergreens their beautiful appeal – being able to stay full and lush all winter long whereas deciduous trees end up looking dead and naked.
While not all the needles fall to the ground, you can still end up with quite an impressive pile from just one tree. This is especially the case if you have multiple evergreen trees on your property like we do here on the semi homestead.
Instead of just leaving the needles where they lie, you can actually put them to good use in your garden space. And one of our favorite ways is to use them as mulch.
Why & How To Use Pine Needles In The Garden
How Mulch Helps
Mulch – It’s one of the best and most important parts of having a successful vegetable garden in my opinion (compost being another). Throughout the growing season, we use mulch to help our garden in a whole host of different ways.
It helps to prevent weeds from taking over and allows me to weed WAY less than if I left bare soil. It also helps regulate the soil temperature and prevents soil erosion. Mulch even helps to add organic matter, nutrients, and other resources back into the soil as it breaks down. (You can read more about why I use mulch here, “Why To Use Mulch In Your Garden – Weed Less & Improve The Soil“.)
When it comes to mulch, I’m a huge fan of using the natural resources around me to protect my garden. Materials like grass clippings and shredded leaves both work well as organic mulch. And yes, pine needles, too.
Not only are these materials easy to acquire, but they don’t disrupt the environment or the soil. Not to mention they are completely free! All you need is a little bit of manual labor and you’re good to go!
Mulching In The Fall & Winter
If you live in a location similar to ours here in Illinois, then you know just how downright cold and miserable the winters can be. It’s even worse for our friends up North!

Between the blustery winds, the multiple inches of snow, the frozen ground, the occasional ice that can build up, and sub-zero temperatures, winters can be downright brutal! (I’m painting a great picture for living in the Midwest, aren’t I?)
All that freezing and thawing that can happen throughout winter can be tough on the soil and perennial plants in your garden. Not to mention the snow and ice buildup! But it can also be deadly for any bulbs or plants like garlic that you’ve planted in the ground to prepare for next spring and summer.
Even if your ground doesn’t freeze solid like it does here, you can still have big issues with soil erosion from the harsh winter winds or heavy rains. In addition, any bare soil can wind up having weed seeds of all kinds land on it.
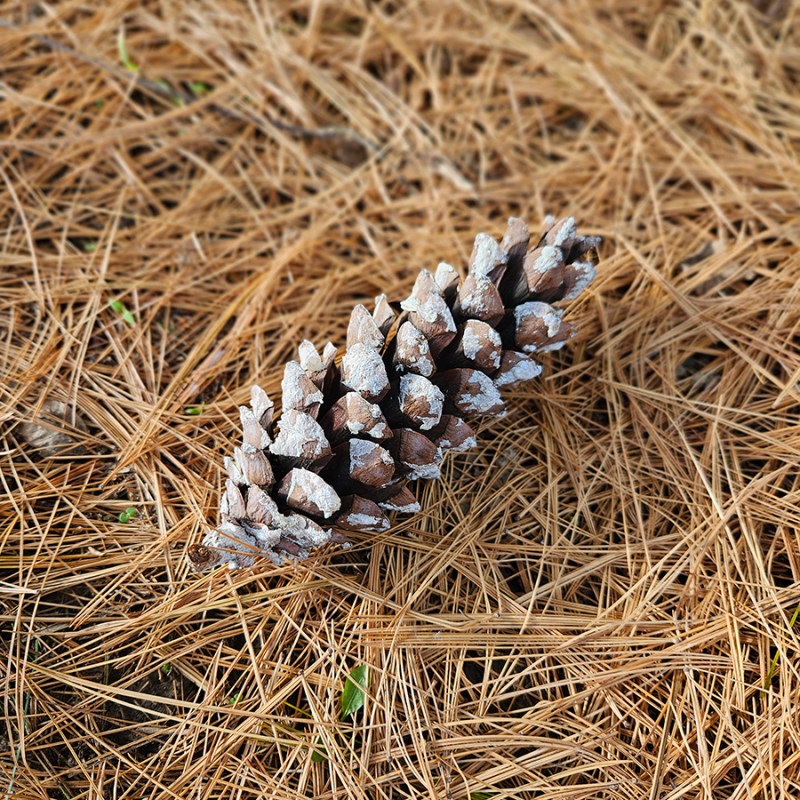
That’s where mulch comes into play. Although any pine needles will do, the longer the needles are, the better for use as mulch. We have several White Pines and they are ideal.
Aren’t Pine Needles Acidic?
There are some concerns and old wives tales rounding the internet about pine needles being extremely acidic. The worry is that if you put those on your soil, they will change the pH of the soil.

That leaves some gardeners thinking that they can only use pine needles around plants that are acid loving. Thankfully, that isn’t really the case, at least not in the way that I am suggesting you use them.
Fresh, green pine needles do have an acidity level of around 3.5 on the pH scale. But by the time the needles turn brown and fall out of the tree, their acidity level is pretty much neutral. This means that you can use them basically anywhere throughout your garden space.
Tips On Using Pine Needles As Mulch
Pine needles are thin and toothpick-like. They allow a lot of air and moisture to get through to the soil. Since pine needles aren’t the warmest insulators, we like to practice a two-layer mulching approach.
Their light nature makes them perfect for mulching directly on top of flower bulbs and garlic cloves that you have already planted in the soil during the fall months for overwintering. It’s not uncommon for our garlic to start to pop up through the soil before winter arrives. You need to cover that new growth.
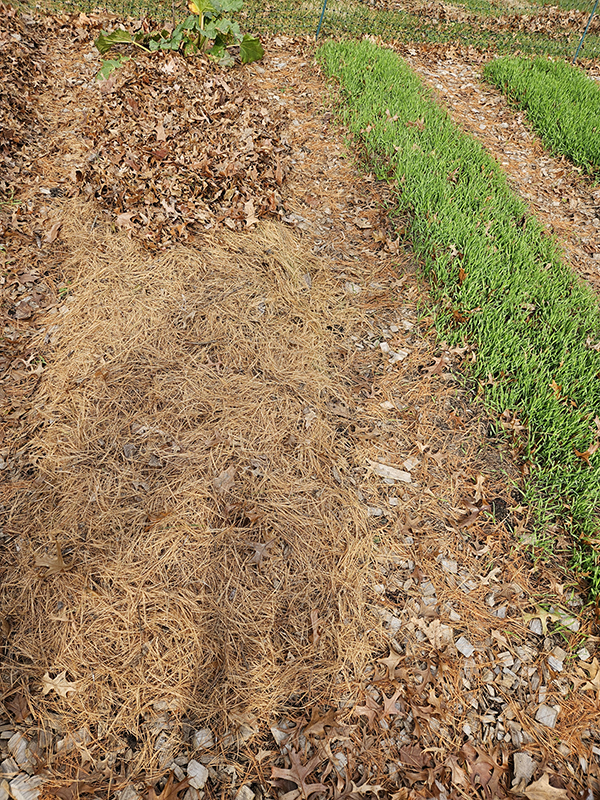
At the same time, you don’t want to smother them either. So we use a few inches of pine needles as the base layer to cover our bare garden soil. Then, we add a heavier, better-insulating mulch like shredded leaves over the needles. (Those are also in abundance as well this time of year.)
How To Apply Them
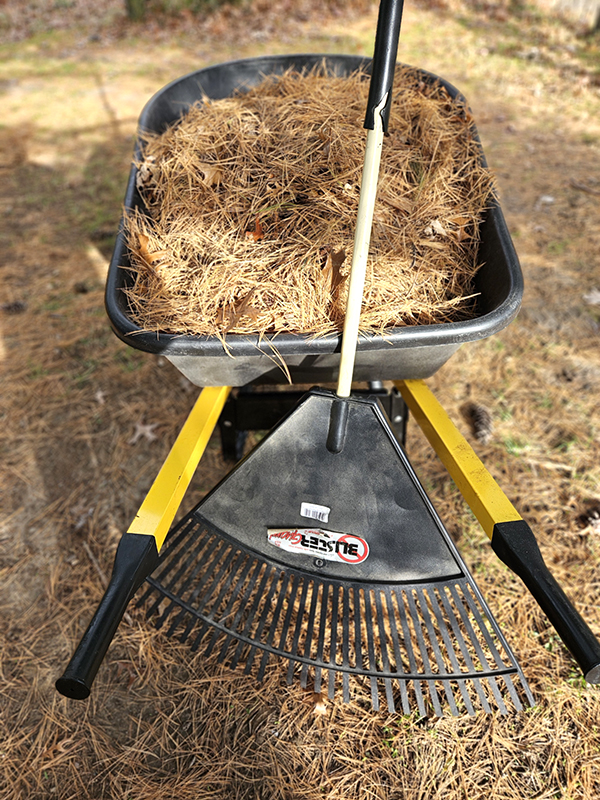
The easiest way to gather your pine needles is to rake them into a large pile. I then put them into a wheelbarrow and move it wherever I need it. I highly suggest wearing gardening gloves because there can be some residual sap on some of the needles. (This is the two-wheeled wheelbarrow I love: Truper Poly 2-Wheel Wheelbarrow – Not an affiliate link.)
When placing on your garden soil, apply a good 3 to 4 inches of pine needles as the bottom layer. Then follow it up with another 3 to 4 inches of the shredded leaves (or grass clippings if you still have those this time of year).
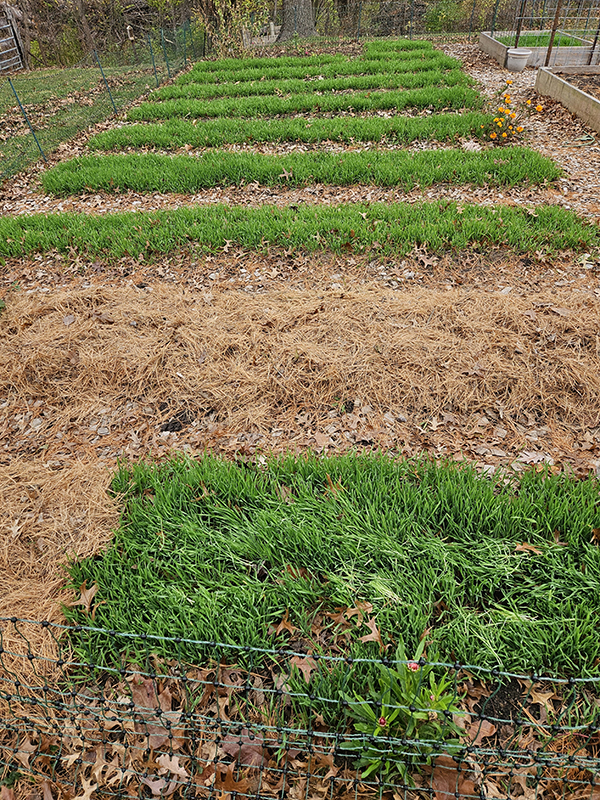
You can also use pine needles to cover your entire garden soil as well if you’d like. However, we cover most of ours with a cover crop each fall instead. But on the other growing rows that we don’t get the cover crop planted and in our raised boxes, we use the two-layer approach with pine needles and leaves. This prevents any of our garden soil from going bare over the cold winter months.
As an added bonus, the pine needles take a long time to break down. So you won’t have to reapply them once spring arrives. They will continue to protect the soil all summer long just by that one application. That’s a win-win in my book!
Until next time, thanks for stopping by!
– Chelsea
*This post may contain affiliate links. These are products I have used personally and highly recommend. As an Amazon Associate, I may earn a small commission from qualifying purchases if you purchase items through my links. These links and the ads on this page help to support my family and our semi homestead, so Thank You!
Discover more from Semi Homestead Life
Subscribe to get the latest posts sent to your email.