
There’s no doubt that mums are one of the best and most popular fall decorations this time of year, but the real struggle is keeping them alive long enough to make it through the fall months!
Starting in September and even late August in some locations, you can start to see pots and containers of mums popping up in storefronts and porches alike. With their rounded dome of multiple blooms in rich jewel-toned hues, they are the perfect porch complement to straw bales, pumpkins, gourds, cornstalks, and the like.

Whether you purchase them at a big box store or a local garden center, mums are definitely the unofficial flower of fall. They help to brighten up properties when many other flowers are quickly on their way out due to the cooler nights and shorter daylight hours.
However, it seems like after just a couple of weeks, those once stunning flowers start to become more of an eyesore as opposed to a fall focal point! The colorful blooms start to quickly fade and the thick foliage begins to shrivel and die. Next thing you know, you have a dead potted plant on your hands!
Thankfully, there are a few simple tips you can take in order to help get the most out of your mums this fall season!
Five Tips For Keeping Mums Alive This Fall
#1: Purchasing The Best Plants
One of the best ways to keep your mums healthy and long-lasting is to start with the best plants possible. No, I don’t mean the biggest, fullest plant with the most blooms on the store shelves. There’s actually a bit more to it than that.
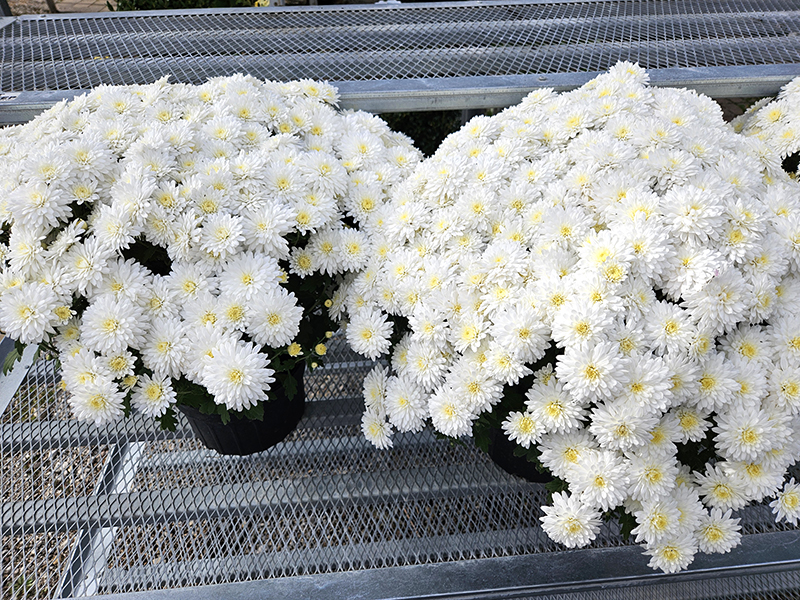
In fact, this is such an important part of keeping your mums alive throughout the season that I ended up writing an entirely separate article about just this one suggestion: “Picking Out Mums – 4 Tips To Get The Most Out Of Your Fall Mums“.
If you haven’t purchased your mums yet, I highly suggest you go give that article a quick read. If not, it has some great tips that you might want to keep in mind for next year’s purchases.
To simplify the article though, you want to be patient when purchasing your plants and not buy them too early. Then, choose a mum that has closed, tight buds and healthy foliage. In addition, the right variety of mums might also make a difference in your selection depending on your long-term goals with your plants.
Again, that linked article will go more into depth about exactly what that means and why these tips are important. But by purchasing the best mum possible, you are setting it up for a long blooming season!
#2: Just Enough Sunlight – Keeping Mums Alive
Mums do best when they receive at least 6 hours of sunlight each day. However, there is a “but” to the end of that statement.

Without at least 6 hours of direct sunlight, your mums might still bloom. Unfortunately, you won’t be getting the most out of your plants. They will likely end up leggy and the blooms that do open will be much smaller and less impactful.
Now, here’s where that “but” comes into play. While direct sunlight is needed, the plants can also benefit from some afternoon sun or dappled shade.
During the late afternoon, the temperatures are usually at their highest and the sunlight is the most intense. Having too much direct sunlight during this time can actually shorten the lifespan of your mum’s blooms. So, try to choose a location that gets morning and early afternoon sun with mid to late-afternoon shade for the best success.
#3: Proper Watering
This is one of the biggest downfalls to mums. Improper watering can make the difference between plants that are thriving and those that are destined for the compost bin soon after purchase.
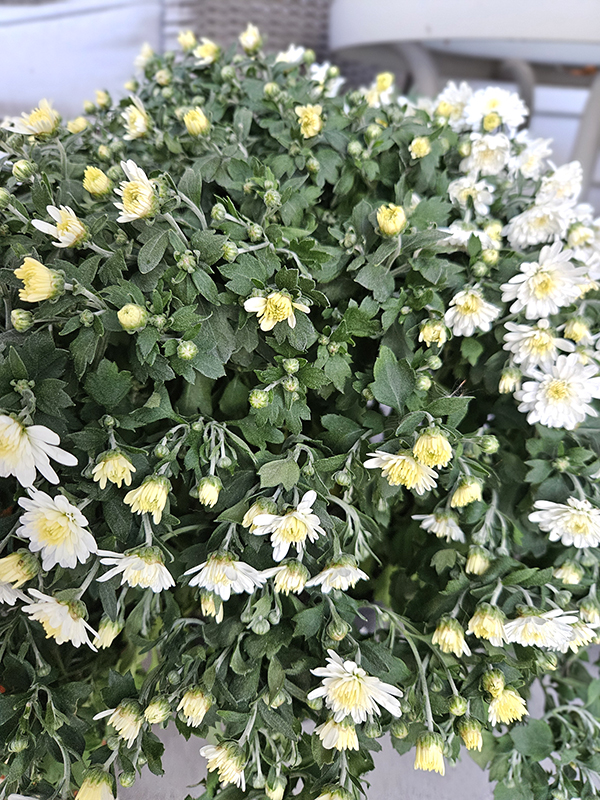
Mums require constantly moist soil. For those planted in the ground, that means about one to two inches of rainwater or hand watering a week. Those growing in pots and containers require even more moisture, often on a daily basis.
Check your potted mums each morning and provide them with a good long drink of water if the soil is dry. You want to saturate all of the soil until it runs out of the bottom.
Using an inexpensive soil moisture meter to help check the moisture levels can help take the guesswork out of whether you need to water the plants or not. Sometimes, the first inch or so of soil can be dry while lower down by the roots is still saturated. The moisture meter will help you avoid overwatering plants as well. (Product Link: XLUX Soil Moisture Meter)
#4: Avoid Watering Overhead – Keeping Mums Alive
It’s not only how often you water your mums that’s important, but also how you water them. Most people tend to water mums overhead. However, this can break the blooms. In addition, allowing standing water to get on the open blooms can actually reduce their lifespan.
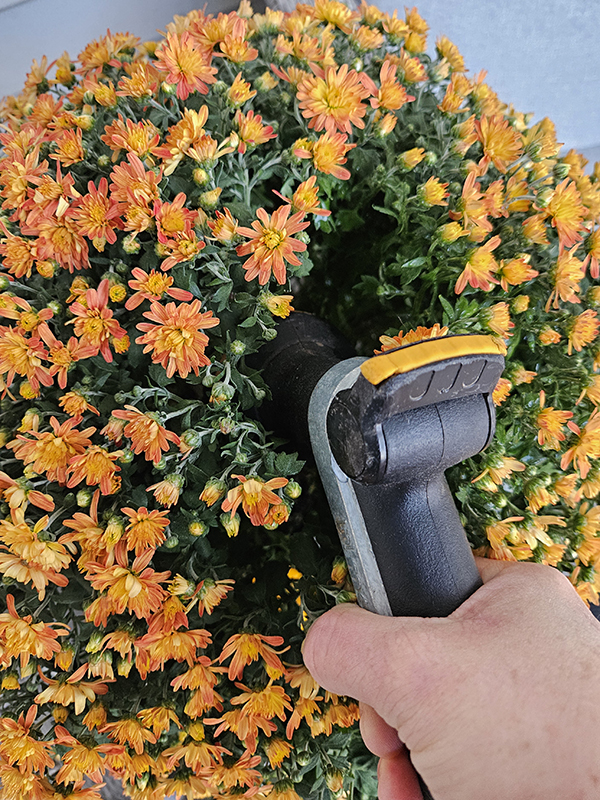
Instead, water mums at the base of each plant, right at the soil line. If the mums are too full to get to the soil from the sides, you can do as I do and carefully part the plant right at the top just enough so your hose or sprayer can get beyond the blooms. Just take care not to snap off any of the tender stems when going this route.
You can also bottom water plants as well. This will only work if your pot or container has drainage holes. (Which it should to allow any excess water to drain out of.)
Fill up a deep tray with water and set the potted mum inside. Allow it to soak for 15 to 30 minutes, then remove. This can be an excellent method if the soil is exceptionally dry since top watering can sometimes flow right out of the pot without being allowed to truly soak into the soil.
#5: Deadheading Spent Blooms
Last but not least, deadheading spent blooms is important for keeping your mums alive this fall. Deadheading is a funny name that simply means that you are removing or cutting off the dying or fading blooms.
Doing this chore once or twice a week can make a huge difference in the amount of blooms you get. Not only does deadheading help to keep the plants looking tidy and well kept, but it allows the plant to keep on producing new blooms.
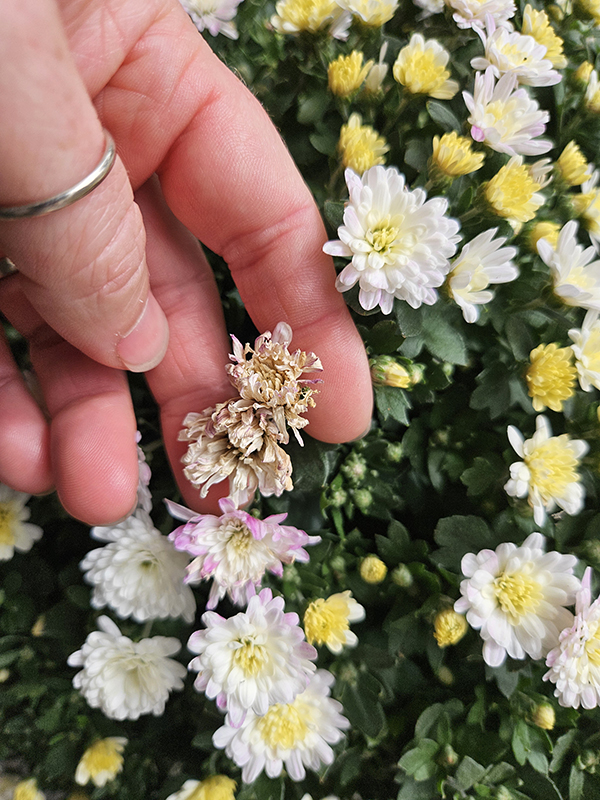
As the blooms fade, the plant begins to focus its energy and resources on producing seeds. This signals to the plant to slow down on bloom production. But without the seedheads there, the plant can continue to focus on pushing out new blooms instead.
Just take a pair of scissors or small pruners and snip off the bloom. You can also just use your fingers in a pinch. However, snips are much more efficient, especially if you have several plants to deadhead. (Fiskar’s pruning snips are my absolute favorite for deadheading and pruning all sorts of flowers and plants throughout the garden – Product Link: Micro-Tip Fiskar Pruning Snips.)
Remove the spent bloom and the stem down to where a leaf node appears. Only removing the bloom can leave behind a sharp stem that doesn’t look very attractive.
With all of these tips and suggestions, you can keep your mums alive and thriving for up to eight weeks once they start blooming – plenty of time to make it through all of fall alive and well!
Until next time, thanks for stopping by!
– Chelsea
*This post may contain affiliate links. These are products I have used personally and highly recommend. As an Amazon Associate, I may earn a small commission from qualifying purchases if you purchase items through my links. These links and the ads on this page help to support my family and our semi homestead, so Thank You!
Discover more from Semi Homestead Life
Subscribe to get the latest posts sent to your email.