
If you are looking for a tried and true, from-scratch rustic biscuit recipe to pair with your morning biscuits and gravy, then try these baking powder biscuits. This is my late grandma’s recipe and it only requires a few basic pantry ingredients.
There’s just something about making biscuits from scratch that warms my home as well as my belly! Not only do I have my paternal grandma’s handwritten recipe to go off of, but I also have my late maternal Grandma’s biscuit cutter to use! It’s like they are right there in the kitchen with me.

Sure the handwritten recipe has seen better days and the cutter doesn’t look as nice as something you can purchase on store shelves today. However, there’s a pride and sense of warmth that comes along with using something that my late family used years ago.
These biscuits reflect that same warm, rustic, and from-scratch appeal. No, they aren’t picture-perfect with straight sides and smooth tops, but they taste amazing and don’t include ingredients that store-bought biscuits often have.
So instead of rushing off to the grocery store to purchase a pressurized tube of biscuits, try your hand at making these homemade baking powder biscuits that have passed the test of time!
How To Make Baking Powder Biscuits
*Scroll down to the bottom of this post to see the full recipe, including exact measurements and amounts. You can also print out the instructions. I go into a bit more detail about the recipe here first, just in case you need it.
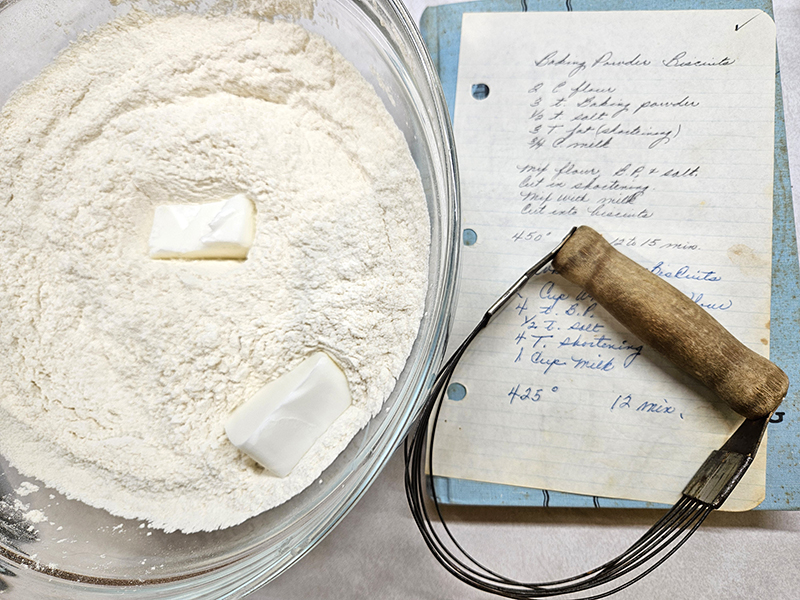
Ingredients
These homemade baking powder biscuits only require five simple pantry staple ingredients: flour, baking powder, salt, fat, and milk.
Flour – The best type of flour to use is all-purpose flour. My favorite to use is unbleached King Arthur flour. Their company was founded in 1790 and the flour is made from 100% American-grown wheat. It’s what I use to create my Sourdough Starter and keep it well-fed. (Product Link: King Arthur Unbleached All Purpose Flour)
Baking Powder – This is the whole base of the recipe and what allows the biscuits to rise and makes them light and fluffy. If you end up with flatter biscuits, you could either be overmixing your dough or you might be using expired baking powder.
Salt – I usually use Redmond’s salt, but you can use any table salt you have on hand. (Product Link: Redmond Real Sea Salt)
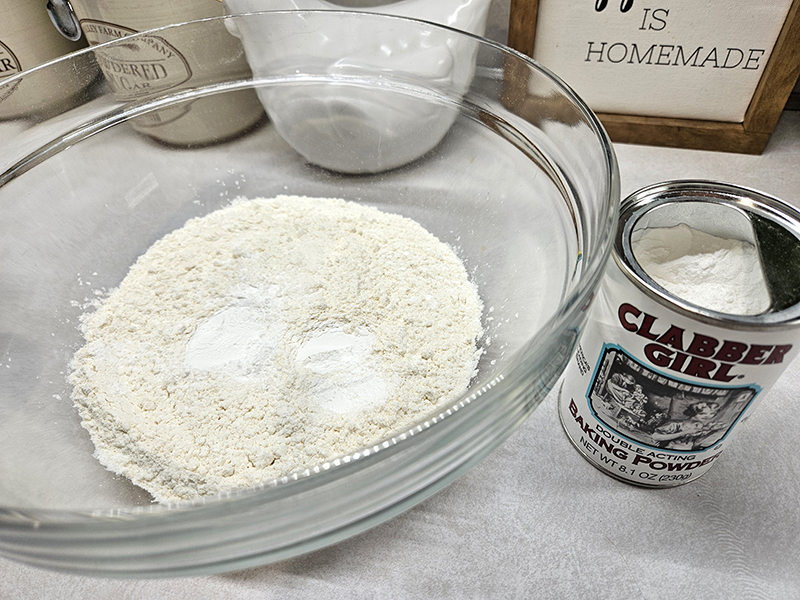
Fat – This is the ingredient where you have a bit of leniency. If you want to make the biscuits just like my Grandma did, then you need to use a shortening like Crisco. However, you can also use cold butter if you prefer using the same measurements.
Milk – We typically just use 2% milk when making these baking powder biscuits, but you can also use whole or even half and half if you prefer. Just keep in mind that half and half might make the batter thicker.
Instructions For Baking Powder Biscuits
The first step is to preheat your oven to 450º. Next, you want to mix the dry ingredients. Add your flour, baking powder, and salt to a large bowl and whisk. Make sure to mix these ingredients well because you don’t want to overmix once you add the wet ingredient.
Next, add in whatever fat you are using. In my case, I typically use shortening since that is what my grandma used and what I prefer in these particular biscuits. You can also substitute the shortening for cold butter if you prefer.
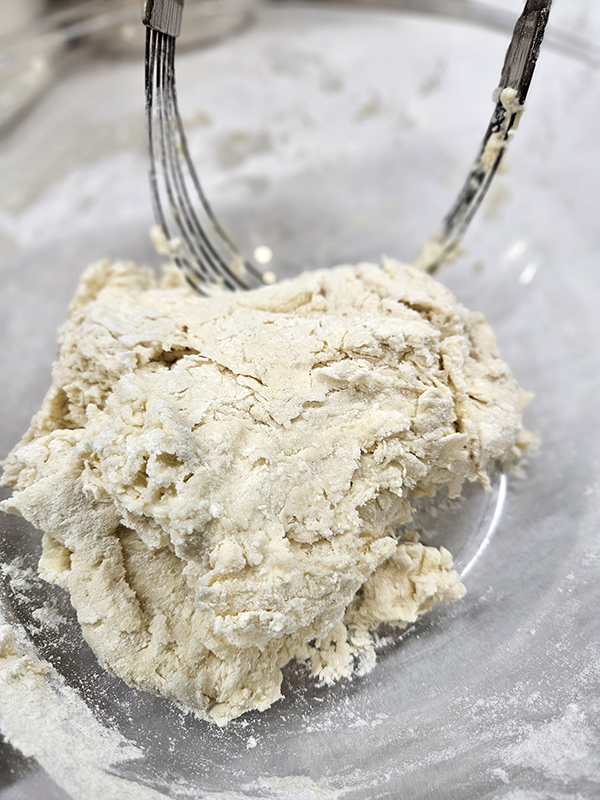
Use a pastry blender or even a fork to cut in the fat into the dry ingredients. You are looking for a clumpy consistency like lumpy sand. Once you have the shortening cut in, it’s time to add the milk.
Here’s where you want to be careful because you don’t want to overmix the biscuit dough. It’s ok if it is a bit lumpy and thick. In fact, that is the consistency you are actually going for.
Overmixing will cause the biscuits to not rise as well and be dense once baked. Using lightly floured hands to mix the dough works well to help avoid overmixing (and it’s a great way to get the kids involved!).
Cutting And Baking
Now it’s time for cutting and baking. Place your biscuit dough onto a floured surface. Again, using floured fingers, gently bring the dough together. Press the dough into a flat shape. Don’t use a rolling pin because the dough will likely stick to the pin.
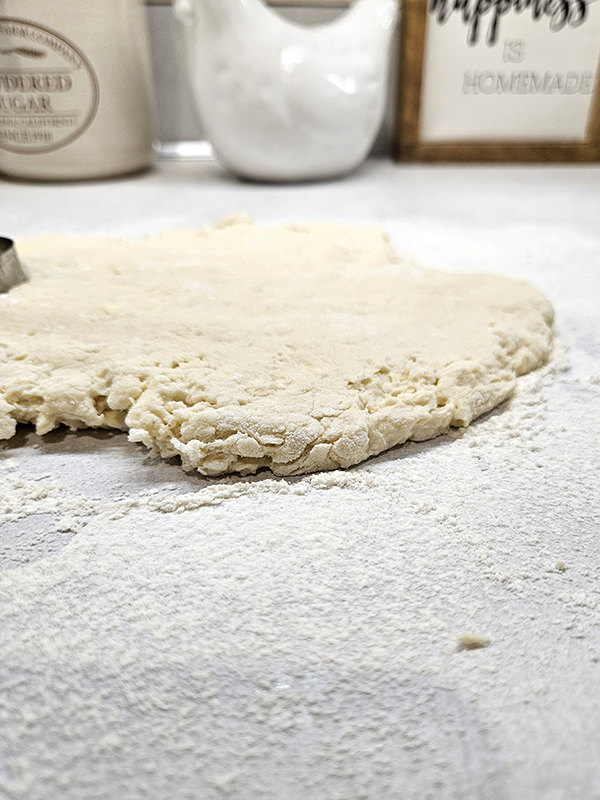

You can shape the dough as thick or thin as you like. The thicker the dough, the thicker your finished biscuits will be once baked. I usually aim to get my dough around half an inch thick.
Use a biscuit cutter to cut out your biscuits. How thick you press out your dough will vary how many biscuits you can get. I typically get around 10 to 12 biscuits.
Carefully re-roll and press any remaining dough until it is all used up. (Typically, the last biscuit I end up with is a pretty interesting shape. That’s always the one I get to sample once they are baked!).
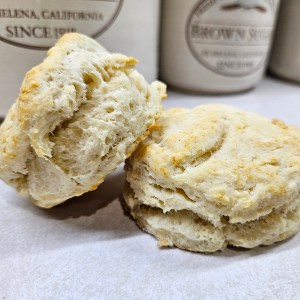
Place each cut-out biscuit on a baking sheet lined with parchment paper. Bake the biscuits for 12 to 15 minutes, checking them after the first 12 minutes is up. Bake them a few minutes longer if they are still pale in color. The top of the biscuits should be lightly browned when they are done. (Product Link: Reynolds Kitchens Unbleached Parchment Paper Roll)
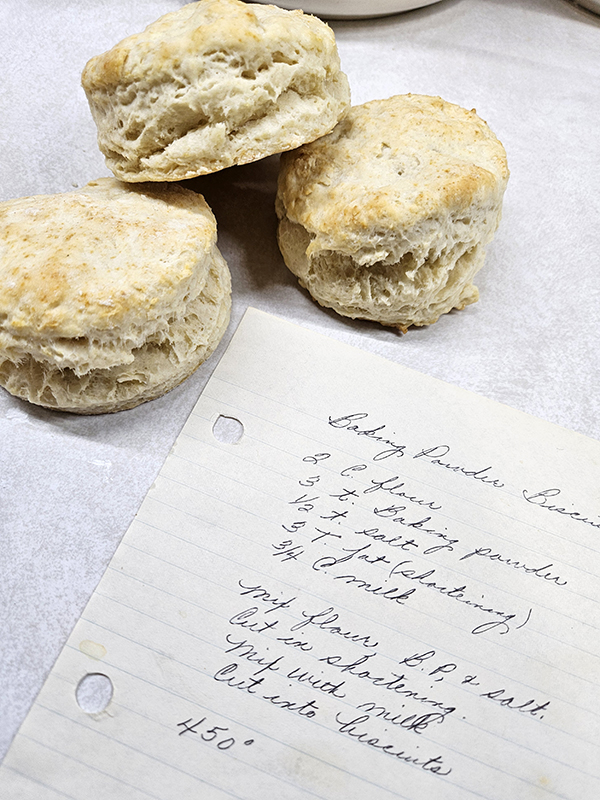
If desired, go an additional step and brush the tops with melted butter. I don’t usually do this since we most often use these biscuits for biscuits and gravy. I hope you enjoy my grandma’s recipe as much as we do!
Until next time, thanks for stopping by!
– Chelsea
*This post may contain affiliate links. These are products I have used personally and highly recommend. As an Amazon Associate, I may earn a small commission from qualifying purchases if you purchase items through my links. These links and the ads on this page help to support my family and our semi homestead, so Thank You!
Baking Powder Biscuits
Ingredients
- 2 cups all purpose flour
- 3 tsp baking powder
- ½ tsp salt
- 3 Tbsp fat shortening or butter
- ¾ cup milk 2% or whole
Instructions
- Preheat oven to 450º F.
- In a large bowl, whisk together the flour, baking powder, and salt.
- Into the dry ingredients, cut in your fat of choice. I usually use shortening (like Crisco since that's what Grandma used to use), but you can also use cold butter. The mixture should resemble coarse crumbs.
- Next, add in the milk just until all the dry ingredients are incorporated. Do not overmix the dough. It should look like lumpy, shaggy dough. Overmixing can cause the biscuits to become dense and not rise well when baking. If the dough is too wet, add in a little bit more flour.
- Dump out the dough onto a floured surface and gently bring the dough together with floured hands. Press into desired thickness. I try to aim for around half an inch.
- Cut out your biscuits. The amount you get will depend on how thick you shaped the dough. I usually get around 10 to 12 biscuits. Rework the extra dough until all of it has been used up.
- Place each biscuit on a baking sheet lined with parchment paper. Bake for 12 to 15 minutes at 450º F. Check the biscuits after the first 12 minutes. The tops should be lightly browned when they are fully cooked. If desired, brush with melted butter. Enjoy!
Discover more from Semi Homestead Life
Subscribe to get the latest posts sent to your email.