Are you wondering if there is a way to revive your sad-looking, neglected sourdough starter that has been shoved way back in your refrigerator and forgotten about? Do you see a gross layer of dark liquid at the top and are thinking the worst?
Before you toss the whole thing in the trash and start the sourdough process all over again, take a minute to read this article. I’m here to show you how to bring that starter back to life so you can get back to baking all sorts of delicious treats and goodies again in no time at all!

I get it – there are days, weeks, sometimes months where life gets in the way. There is absolutely no judgment or shame from behind this keyboard because I’ve been in the same situation myself!
I have literally gone multiple MONTHS without feeding my poor sourdough starter. I’ve also gone a few times thinking that I’ve killed it and all hope of revival is lost. Thankfully, I was wrong!
While it isn’t hard to get a brand new sourdough starter going, it can be devastating all the same thinking that your beloved starter that you’ve maybe had for years is no more. But I’m here to tell you that chances are, you can save that poor starter with a few simple steps!
Simple Steps To Revive A Neglected Sourdough Starter
If you are curious about getting a brand new sourdough starter up and going, hop on over to my article, “Making A Sourdough Starter From Scratch – A Simple No-Fuss Way“. I walk you through the simple steps I take to get a new starter created.
Trust me, it isn’t as time-consuming and daunting as some sourdough bakers make it seem. Heck, some professional bakers claim that you need to feed your starter twice a day. I don’t know about you, but I don’t have time for that!

The fact of the matter is that keeping a sourdough starter is really pretty simple once you get the hang of things. It can also be as hands-off or as hands-on as you need it to be to work with your lifestyle and situation.
Contrary to what you might think, you don’t have to feed your starter twice a day after you get it bubbling happily. You don’t even need to feed it once every day. In fact, you don’t even have to feed it weekly!
When I am not actively using my starter for baking, I keep it in the refrigerator. This way, the starter won’t go bad and can be brought back out and revived again when I need it for baking. It’s a laid-back, practical way of keeping a sourdough starter that works for my semi-homsteading lifestyle.
What’s That Nasty-Looking Liquid?
If you have ever left your starter unfed for a couple of days, chances are you’ve seen a light to dark-colored liquid start to form on the top of the starter. This liquid is alcohol, a byproduct of the fermentation. (Do NOT drink it! It’s not that kind of alcohol!)
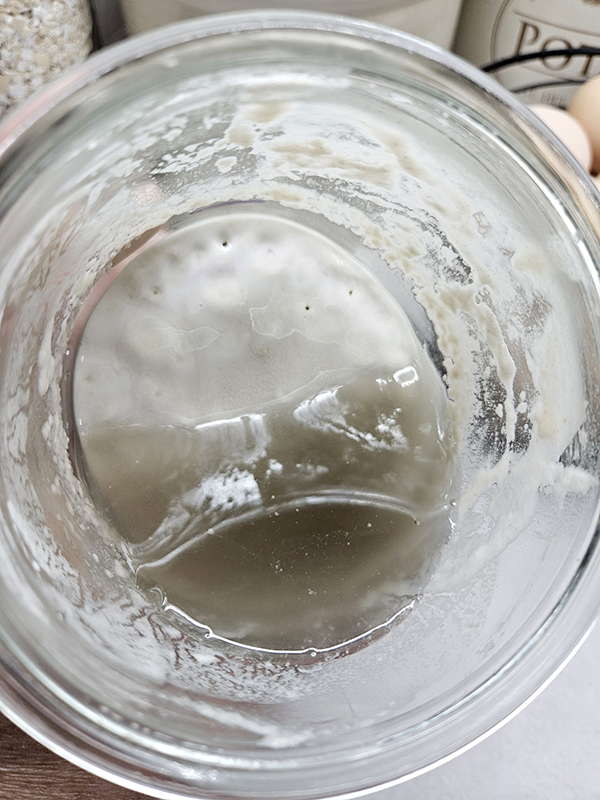
Most sourdough bakers refer to it as “hooch.” The hooch is nothing to worry about. All it does is indicate that your starter is hungry and needs to be fed. The longer the starter goes unfed, the darker and thicker the hooch becomes.
You can either stir the hooch back into the starter or pour it out. Most often, I pour it out because it can cause your starter to have a bit stronger tangy “sourdough” flavor, and I prefer to keep mine on the milder side.
If you leave your starter too long in the fridge, the hooch can almost become a skin-like covering. This still doesn’t indicate that your starter has gone bad. Just peel or scrape off the hooch and toss it in the trash.
Time To Feed The Hungry Starter
Once you either pour off the hooch or stir it back into the starter, it’s time to get feeding. This is one of those times aside from starting your starter from scratch that I would suggest feeding twice a day. If one is all you can do, then that’s fine. It just might take the starter a bit longer to bounce back.

Begin by taking out a clean jar to put your starter in. Chances are, the old jar has dried up starter on the sides so it’s best to start with a clean one.
I love to use Weck jars because they have wide openings and straight sides. Even though I love Ball canning jars for processing my garden goodies, I prefer Weck jars for my sourdough starter and discard. (Product Links: Weck Tulip Jar with Wide Mouth – 1 Liter and Weck Canning Jars 742 – 1/2 Liter)
Day 1 Process To Revive A Sourdough Starter
If you want to be precise with your measurements, use a kitchen scale. (I know my grandma never used a scale when keeping her sourdough starter alive but I like to use one in this case.)
Whether you poured off the hooch or mixed it in, give the hungry starter a good stir. Then place about 60 grams (g) of it into the clean jar. Discard the rest in your trash or add it to a dedicated discard jar to keep in your fridge if it isn’t too old.
To the starter, add 30 g of whole wheat flour and 30 g of bread flour. Then add in about 65 to 70 g of warm tap water. If you mixed the hooch back into your starter instead of pouring it off, only add 60 g of water. The additional water helps to make up for the liquid loss in the hooch.

The reason why I use both whole wheat flour and bread flour is because it seems to help kick-start the process of getting the starter active. If all you have is unbleached all-purpose flour, just use that. It might just take a few more feedings to get it doubling and bubbling properly.
Mix the starter, flour, and water well with a wooden or silicone spatula/spoon until everything is combined. Note the height of the starter with a dry erase marker or a rubber band. Set the jar aside for 12 hours.
Feeding On Repeat:
After 12 hours (or 24 hours if you can’t do twice-a-day feedings), discard about half of the starter. You don’t have to be exact here.
Add 30 g of whole wheat flour and 30 g of bread flour. Mix in 60 g of warm water and stir until well combined. Mark the height of the starter and set aside for another 12 to 24 hours.
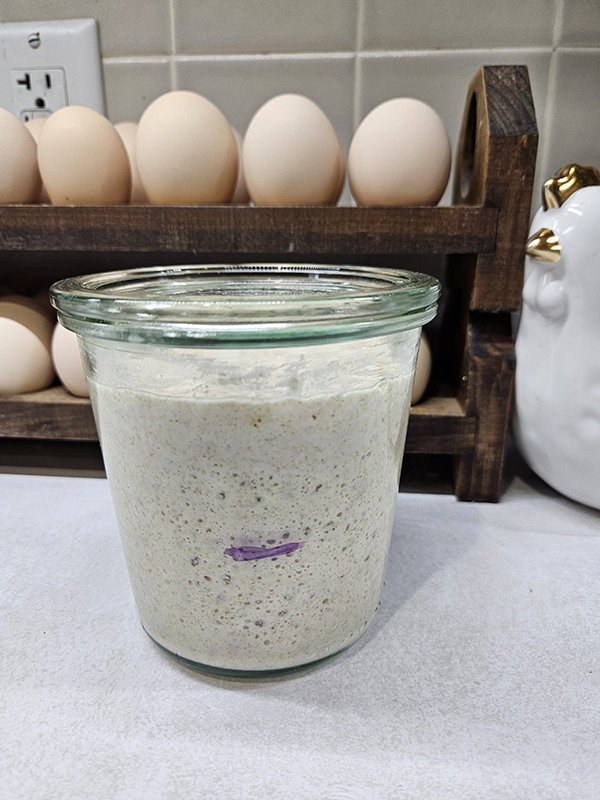
Repeat the process of discarding half and feeding until the starter is back to doubling in about 6 hours with large bubbles throughout. If your starter is doubling by lacking the bubbles, keep feeding and discarding. Once that occurs, your starter is ready for use once again!
Congrats, you now know how to revive your sourdough starter and bring it back to life!
How A Sourdough Starter Might “Die”
While sourdough starters are hard to kill, there are some instances when your starter might actually be dead. In these cases, it’s best to say goodbye and start fresh from scratch.
Some people like to leave the starter in their oven with the light on to help speed up the process of it becoming bubbly and active. Then along comes dinnertime and it’s time to preheat the oven. Your starter will end up getting “baked” from the high heat of the oven preheating. This will kill your forgotten starter most likely.
Maybe you left your starter out on the counter for too long and it starts to have green, blue, orange, or pink coloring to it. The starter might also have a strong offputting smell that isn’t the typical alcohol or nail polish remover odor a hungry starter can have. Black or fuzzy green mold is also a no-go.
In these cases, your starter likely became infected with bad bacteria or mold and should be tossed in the trash. This can happen if you use a dirty spoon or spatula to mix your starter and it becomes contaminated. Or, sometimes bad bacteria just ends up in the starter for other unknown reasons. Whatever the reason, it’s time to start from scratch.
Accidents Happen – Revive A Sourdough Starter
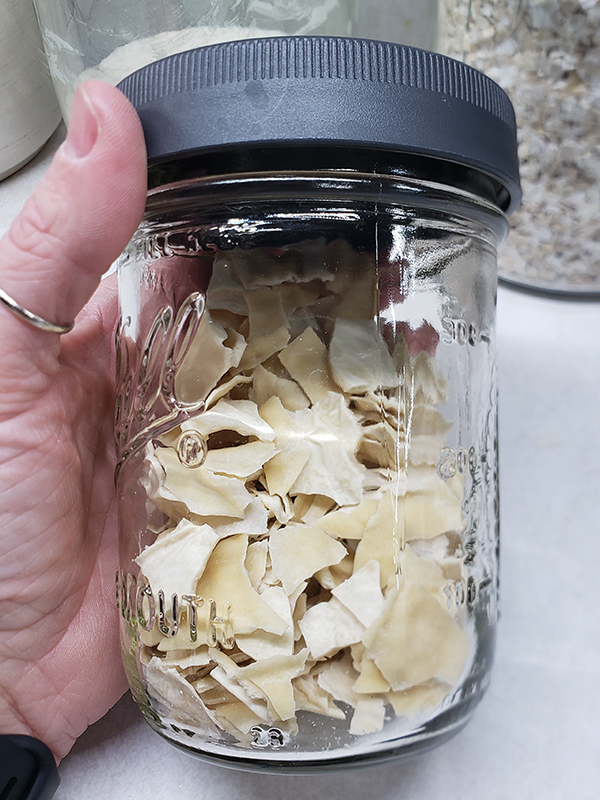
And, sometimes accidents just happen. A jar of starter gets knocked onto the floor and shatters, a family member scrapes the starter into the trash thinking it’s leftover food, etc. Life happens. (This is why I highly recommend dehydrating some of your active starter – just in case! More on how to do this in a future article.)
But for the most part, your sourdough starter is tough and can definitely put up with some neglect and abuse. Simply follow the simple suggestions I talk about here and you can revive your sourdough starter in just a few days! (Just make sure to add a sticky note to the front of your oven if you choose to let it stay warm inside after a feeding!)
Until next time, thanks for stopping by!
– Chelsea
*This post may contain affiliate links. These are products I have used personally and highly recommend. As an Amazon Associate, I may earn a small commission from qualifying purchases if you purchase items through my links. These links and the ads on this page help to support my family and our semi homestead, so Thank You!
Discover more from Semi Homestead Life
Subscribe to get the latest posts sent to your email.