If you are looking to grow even more beautiful coneflower plants next year, one of the best things you can do is get to work saving their seeds! It’s a simple process that allows you to get multiple seeds, all for free!
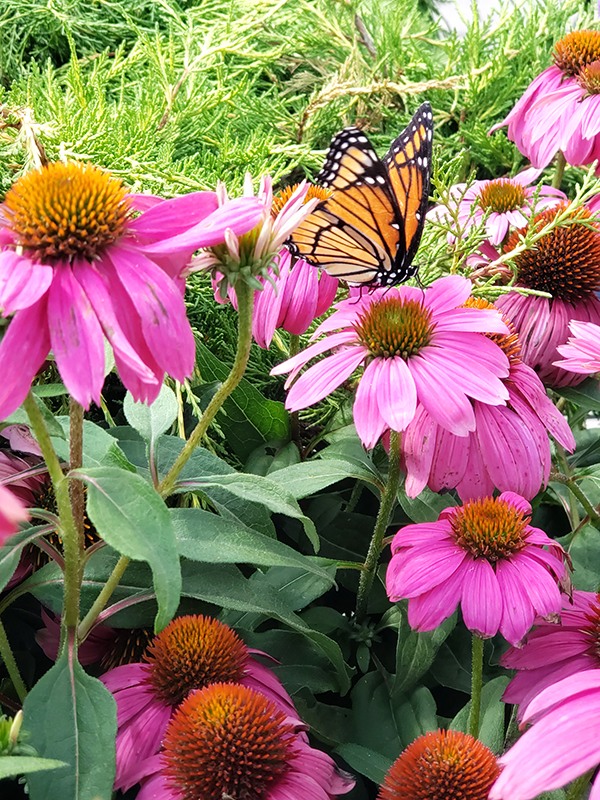
Coneflowers, also known as Echinaceas, are a native perennial plant to North America. They grow easily from seeds and are excellent at self-sowing. This allows the plants to come back year after year.
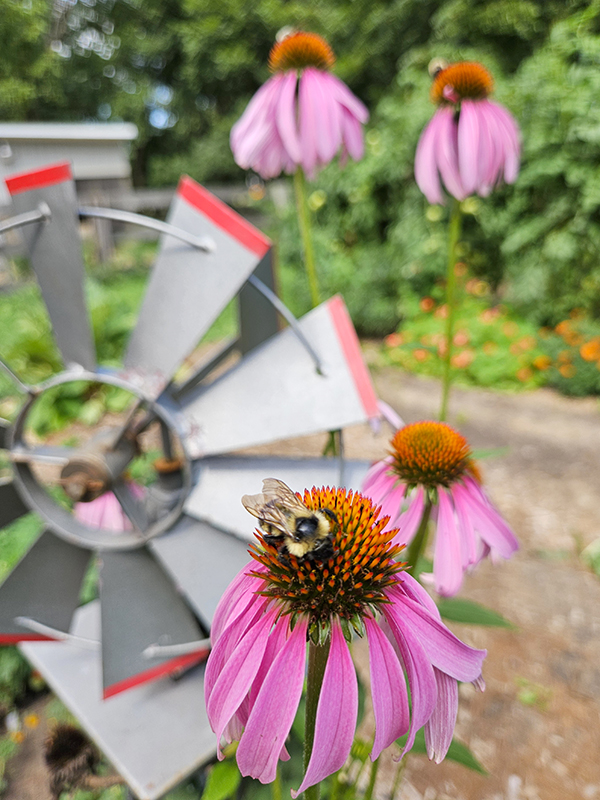
The plants feature 2 to 4-inch blooms with a single layer of petals forming around a rounded center cone. The cone is dark in color and gives this flower its iconic name. Dark green leaves appear lower on the plants and are around half a foot in length.
You will often see Purple Coneflowers growing here in the Midwest since it is the most popular variety available. However, you can also find coneflowers in various colors of yellow, pink, white, red, orange, and green.
While most gardeners leave coneflowers alone to self-seed the following year, there might be a time when you want to harvest and save the seeds. If that’s the case, this article will walk you through the simple steps so you can save your own coneflower seeds all for free!
The Benefits Of Saving Seeds
There are many benefits when it comes to saving seeds in your vegetable and flower garden. One of the most common reasons is cost savings.
It’s no secret that gardening can be a bit expensive at times. The cost of seedlings and seed packets is only going to go up each year. However, when you save seeds from your already growing plants, you are also able to save on your gardening budget. (Which then allows you to buy even more seeds or plants! Isn’t that how it’s supposed to work?)
Another advantage of saving seeds is peace of mind. You don’t have to stress out or worry that your favorite seed variety is going to be sold out or unable to get into your hands when you are ready for planting. It’s also a great way to be self-sustainable, not having to rely on a company or someone else to supply your seeds.
I also believe that the seeds you save from your own garden grow better. The parent plants have already grown in your soil and with your climate, so the seeds are better adapted to doing the same thing.
Tips On Saving Coneflower Seeds
Before we even get into the actual process of saving seeds, you first need to understand the difference between open-pollinated plants and hybrid plants. (I actually have a whole article about this topic if you want to go more in-depth: “How To Save Garden Seeds – Open-Pollinated Vs Hybrid Seeds”.)
Without spending this whole article on it, open-pollinated plants produce seeds that can be saved. These seeds will turn into identical copies of the parent plants. So, for example, if you save a Pink Brandywine tomato seed, you will get a Pink Brandywine tomato plant when you go to plant the seed the following year.
Hybrids, on the other hand, are plants that are created by crossing two similar plants together. This is most often done to achieve more desirable traits from each plant, like disease resistance or higher yields. Saving the seeds from these plants will not result in an identical copy of the parent plant. Rather, it will likely end up with one of the two varieties used to get the hybrid, or something different altogether.
So make sure that the coneflowers you are saving the seeds from are actually open-pollinated varieties and not hybrids. Otherwise, you will likely end up with less-than-desirable results come next planting season!
Ok, now onto saving the coneflower seeds process!
Patience Is The Key
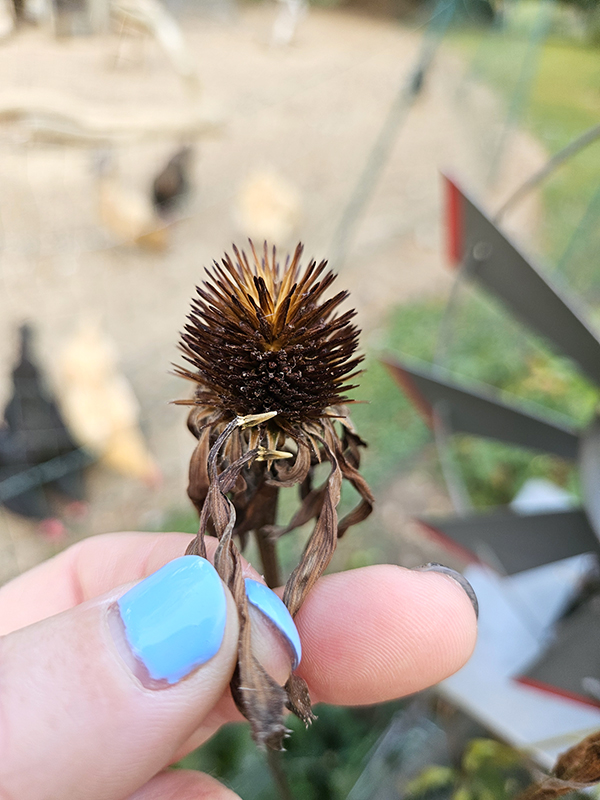
The biggest key to saving coneflower seeds is to have patience. Wait until the blooms have started to fade before you go to save the seeds. This allows the seeds to mature while still on the plant.
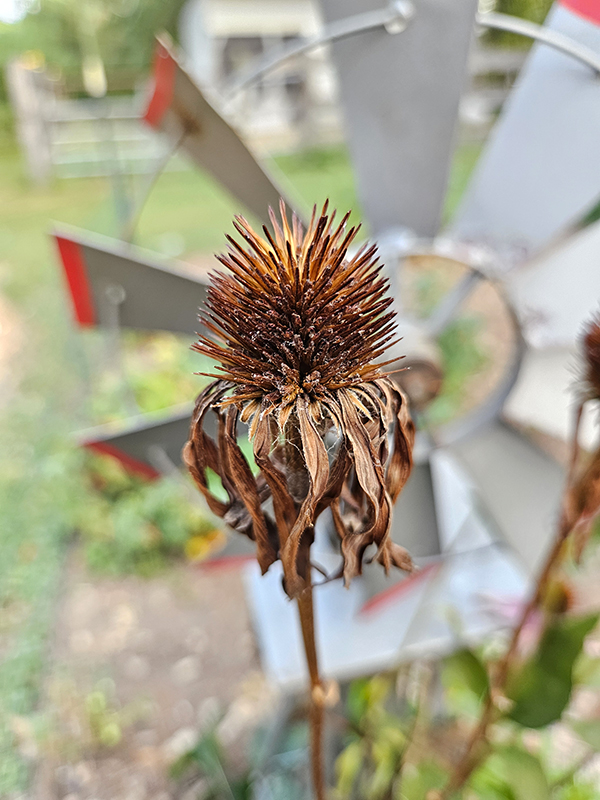
You will know it’s time when the bloom is fully dry. If you gently run your fingers over the top of the bloom, it will feel like little hard spikes.
In addition, the bloom and the petals should also be completely brown and dried out. This will happen at least two weeks or so after blooming, but it can take longer depending on the weather conditions. The dryer the blooms, the better!
Harvesting The Seeds – Saving Coneflower Seeds
To harvest the blooms, take a pair of small snips or pruners and cut the seed head completely off the plant. This is also known as “deadheading”. If you are worried about the seeds dislodging from the seed head, cut the bloom off over a brown paper bag or bowl. (Here are the small pruners I love using when deadheading – Product Link: Fiskars Micro-Tip Pruning Shears.)
Side note: If you want the coneflower plants to self-seed in the same location, don’t harvest all of the blooms. Leave a few on the plants so they can drop the dried seeds onto the soil. In addition, birds also love feeding on the dried blooms during the fall and winter months.
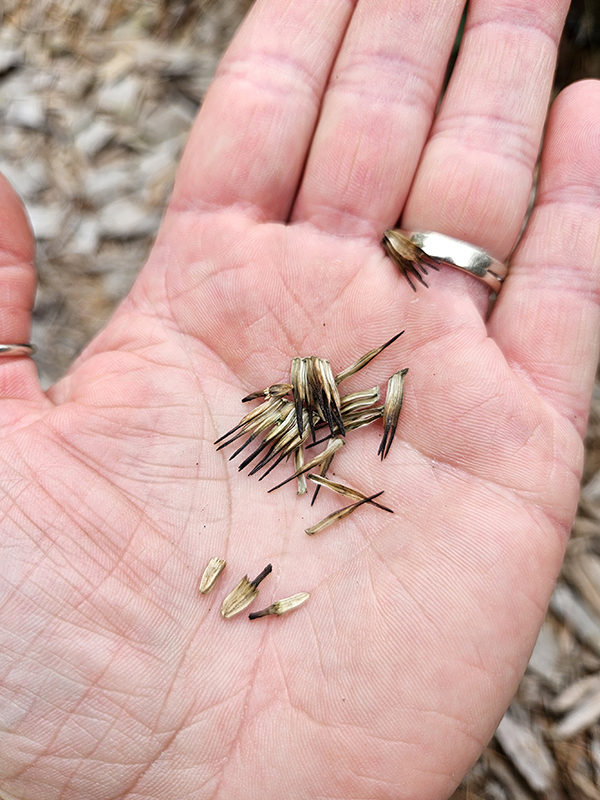
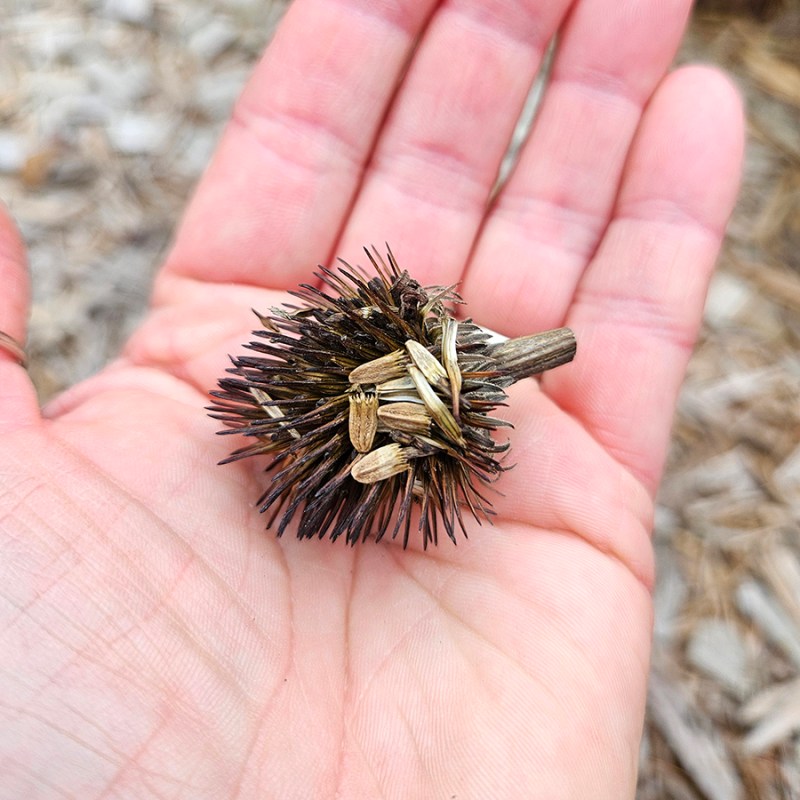
After you have harvested some of the dried blooms, it’s time to separate the seeds from the seed head. There are a few seeds that are attached to the outer ring of petals. You can harvest those by gently pulling on the petals. Toss the dried petals and save just the seeds for storing.
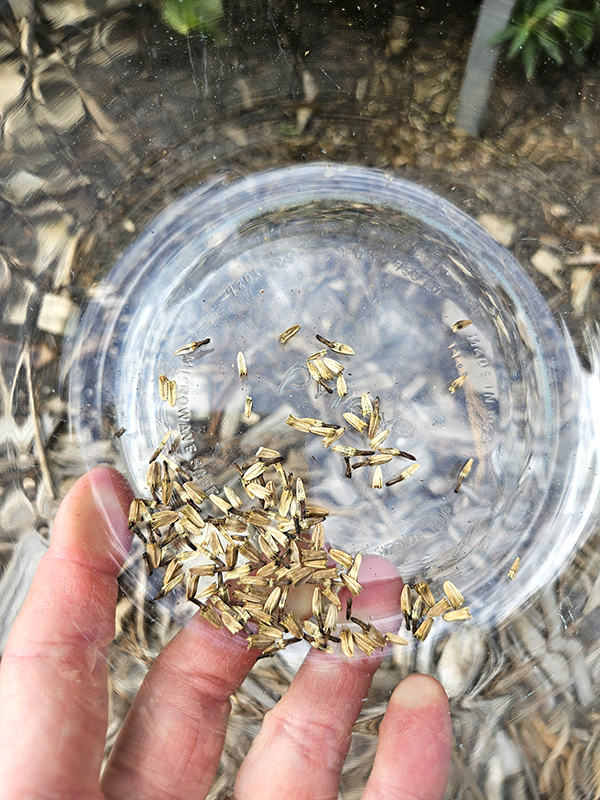
As for the other seeds, you need to take an additional step to separate the seeds from the husks. To easily do this, place the seed heads into a sealed brown paper bag or a glass bowl with a lid. Give it a good shake. The seeds should separate after a minute or two. If not, remove the spiky husks prior to shaking. Be careful though, because they can be rather sharp!
Drying And Storing
The next step is to make 100% sure that the seeds are completely dry before storing. To do this, place the seeds on a paper plate or paper towel. If you skip this step and the seeds have any moisture in them at all, you risk the chance of the seeds becoming moldy in storage.
Place the seeds in a dry location for about two weeks. This will allow any excess moisture to evaporate. You now need to find a dry, safe place to store the seeds over winter.
I like to use paper seed packets. It makes organizing and labeling the seeds super easy. The seed packets then go into my photo storage box that I use for storing and organizing leftover or saved seeds.
(Here’s the link to similar seed packets that I use, as well as the link for the photo storage box I’ve used for the last several years. While storing seed packets isn’t its intended purpose, the photo organizer works great! Product Links: Joyberg Kraft Seed Saving Storage Envelopes and Novelinks Clear 4″ x 6″ Photo Organizer)
Keep the seeds in a cool, dry, and dark location over the winter. Then, once spring arrives, you can plant the conflower seeds in your garden and watch them grow!
Until next time, thanks for stopping by!
– Chelsea
*This post may contain affiliate links. These are products I have used personally and highly recommend. As an Amazon Associate, I may earn a small commission from qualifying purchases if you purchase items through my links. These links and the ads on this page help to support my family and our semi homestead, so Thank You!
Discover more from Semi Homestead Life
Subscribe to get the latest posts sent to your email.