
Whether you grow your vegetables and flowers in a traditional garden, growing rows, raised beds, or in containers, there are a few steps you need to take to prepare your soil for the fall and winter months. While it may not seem like it, the work you put into the garden now will pay off huge when it comes time to plant your seeds and transplants in the spring.
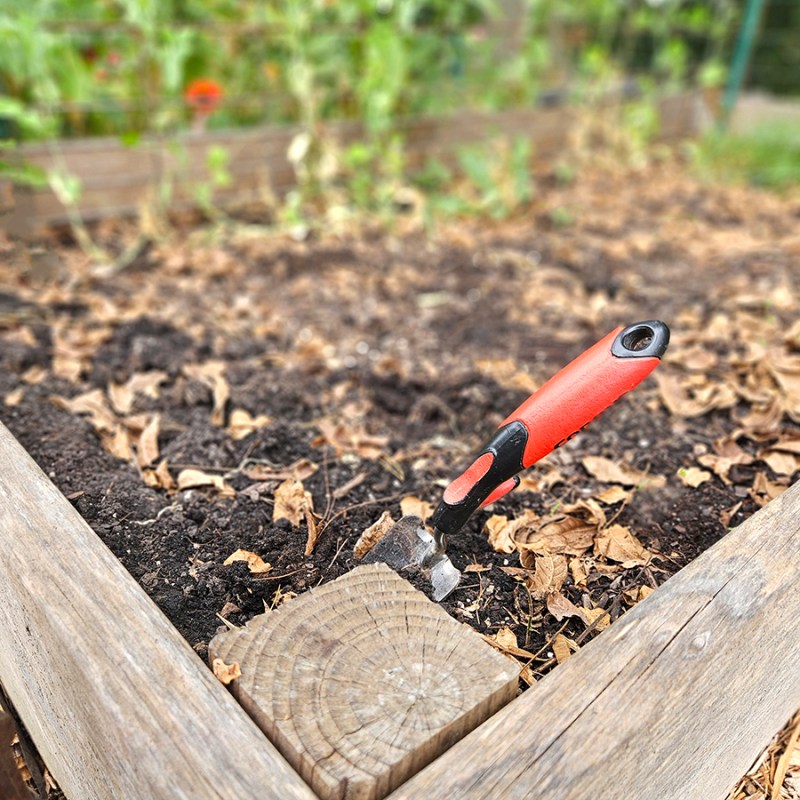
There are lots of different mindsets when it comes to garden soil. Some people like to use tillers and break up the soil so it is nice and workable. Some people prefer the no-till method and only work the soil to a bare minimum. Then there are others who are a bit of both.
The truth is that there isn’t a right or wrong method for home gardeners. Large-scale farms and commercial growers are another discussion. However, I am talking about the everyday home gardener with a little plot of soil for growing.
To put it bluntly, you need to do what works for your soil, your climate, and your location. Just because someone in the next county over has the best no-till garden around with everything organic doesn’t mean that is what will work for you.
The beauty is that it doesn’t really matter because you are most likely just growing food for your family and friends. As long as you take steps to care for the soil and replenish it when needed (preferably with natural products), then I will always be team grow your own foods – however that occurs.
Homegrown is always better than store-bought in my opinion. So no matter which side of the soil spectrum you land on, these tips will still apply!
How To Prepare Your Garden Soil In The Fall
Remove Those Plants
First off, no matter what you decide to do with your garden soil, you need to get the plants out of the garden. This also includes the weeds that have popped up while you’ve been busy in the kitchen, preserving the harvest and living life.
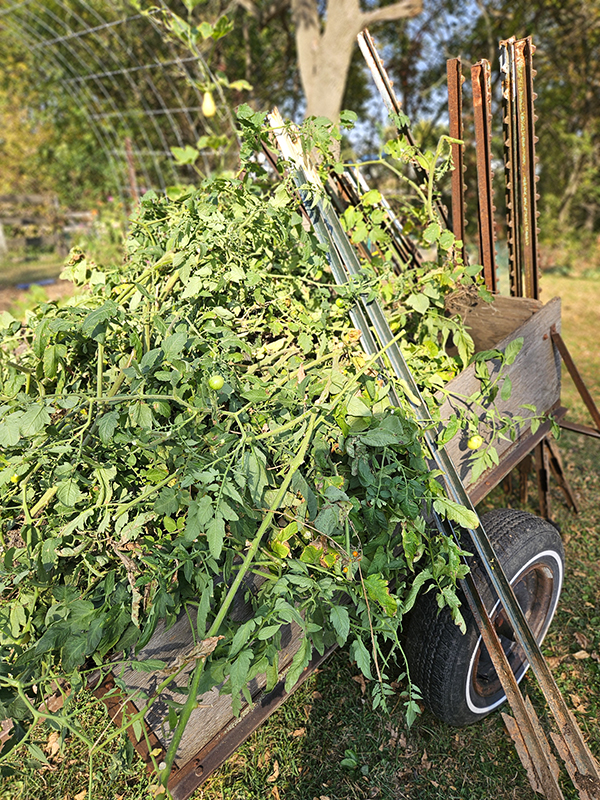
Yes, there are a few beneficial insects and whatnot that like to overwinter in the dead plant matter, but there are also loads of unwanted pests that do the same thing.
In addition to overwintering pests, there are also loads of diseases and fungal issues that overwinter in the soil. Everything from powdery mildew to tomato leaf spot to early blight. Those spores and pathogens go right into the soil and will be there when spring rolls around.
For example, let’s say you have some cucumber plants showing signs of powdery mildew. It’s a pretty common issue in the later cooler summer months. Those spores will multiply as the plants decay and die and wind up right in your garden soil. Then, once spring arrives, any new plants you grow in that space are immediately susceptible to the mildew spores.
If you are concerned about insects overwintering, carefully pull the dying vegetable plants and place them in a location on your property far away from your garden. Then you can have the best of both worlds.
Just like I don’t want unwanted pests in my home and take steps to keep them out, the same concept applies to my garden spaces. (Besides, we live by a bunch of timber, so there are plenty of places for them to overwinter if they so choose.)
To Till Or Not To Till – Prepare Fall Garden Soil
Once the plants are out, there are two mindsets when it comes to preparing your garden soil in the fall months. First, you can be pro “no till” or pro “tilling.” I have done both with varying results. (You can read a write-up about one of my experiences here, “The No-Till Method – Great Idea, But Is It Practical For Everyone?”)
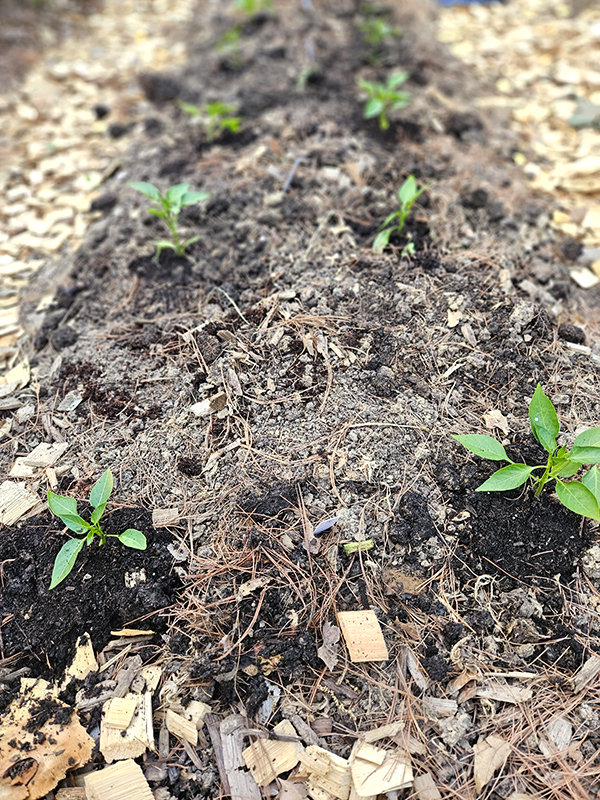
Tilling is working the soil using shovels, rakes, hoes, or a tilling machine. It breaks up the soil and loosens it for easier planting and handling. No till, on the other hand, leaves the soil alone and as undisturbed as possible.
There really are advantages to both methods. You have to choose which method you personally prefer for your soil type and your gardening situation. It’s not a one-size-fits-all method.
If you are going the tilling route, till the garden one last time before winter arrives. Do this in the fall, right after you pull all the plants and weeds from the growing rows. That will get the soil ready for the next step in preparing your soil.
If you aren’t going to till your growing rows in the fall, that’s totally fine, too. Again, it’s a personal preference for home gardeners, and one that I can’t tell you what to do. Till or no-till, you now have to figure out how to keep your soil from being bare over the winter months. That’s where the next two tips come into play.
Cover Bare Soil – Prepare Fall Garden Soil
Now that your soil is cleared and possibly tilled, you need to cover that bare soil. Naked soil is a magnet for all sorts of issues, mainly weeds! To protect the soil and help add organic matter, you need to either plant a cover crop or add mulch.
A. Plant A Cover Crop
A great way to prepare, enrich, and protect your bare garden soil in the fall is to plant a cover crop. This is sometimes called a living mulch. I’ve written a few articles about this topic of cover crops and different materials, so if you want to deep dive, be sure to give that a search.

You need to use a living mulch that will work for your growing zone. Here in the Midwest, I need a cover crop that can withstand our harsh winters and freezing temperatures.
Crops like Winter Rye will grow in the fall, go dormant when the temperatures drop, and then grow again in early spring. Crops like Oats will grow in the fall and then should be killed off by the freezing temperatures. (I say “should” because it doesn’t always work that way, at least in my experience.)
The cover crop you use can help to improve the soil’s structure, add back lost nutrients, and provide loads of organic matter to the soil. Better yet, it will keep your soil naturally covered and prevent weed seeds from growing!
Right after you get the dying garden plants pulled in your garden is when you want to plant your cover crop seed. Give it plenty of time to germinate and start filling the bare soil before the first hard freezes hit. Keep the seed moist until germination occurs.
B. Cover With Mulch
Another option to prepare and cover bare garden soil in the fall is to use an organic mulch. While this method doesn’t involve a “living mulch” like the cover crop, it still does a great job at protecting the soil from weed seeds and helping to add organic matter back to the soil.

You can use all sorts of different materials for mulching your growing rows in the fall. The best resources are materials you can find readily available around your property, and for free!
During the summer months, we use grass clippings to mulch the growing rows. However, during the fall, we shift to shredded leaves. The leaves are easily accessible around our semi homestead and in plenty! You can also use straw, pine needles, or untreated wood shavings.
If you are going to use dead fall leaves, be sure to shred them before applying them to your growing rows. Whole leaves have a tendency to mat together and create a type of barrier that prevents moisture and air circulation, which is still important to the soil.
To shred the leaves, just run them over a few times using your lawn mower. You can also use my husband’s simple trick of a large container and a weed wacker. When spring comes, you can simply till the mulch into the soil or plant through it.
Don’t Do Nothing
Yes, that is a double negative for my English majors out there. It basically means that you need to do something!
The one thing I would NOT recommend is doing nothing at all. At the very least, get that soil covered one way or another. While it might seem like an extra step now, it will make a huge difference when spring rolls around.
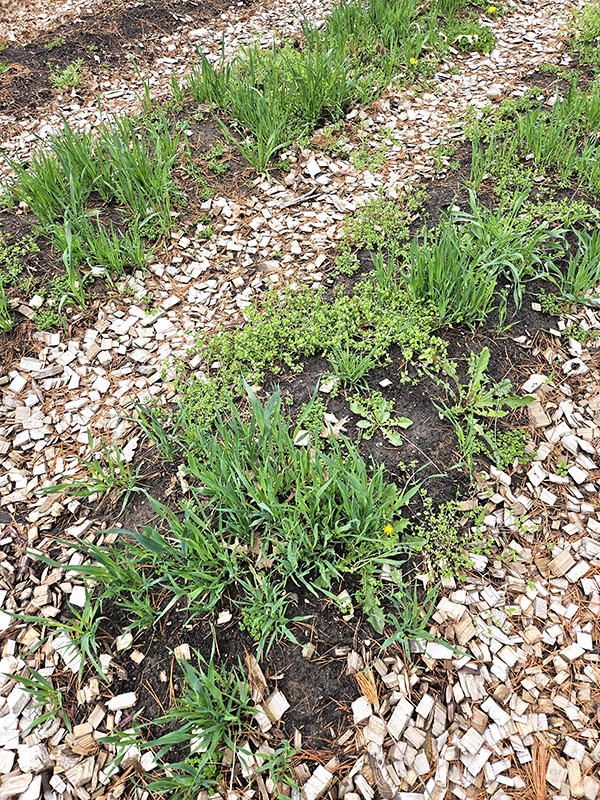
Putting it in kind of funny terms, bare soil doesn’t like to be naked. That’s why soil that doesn’t have anything growing on it tends to quickly get overtaken by weeds or unwanted plants. The weed seeds get blown there by the wind, birds fly overhead and do their business, animals carry seeds on their fur, and so forth.
However it happens, leaving soil bare will most likely result in weeds growing wild. Then you really have no choice but to spend hours weeding or tilling when spring rolls around. And no one wants to waste their days doing that. At least I don’t!
For what you need to do in spring, you can read this article: “Growing Rows In Spring – What To Do Before Planting The Garden.” While it’s geared toward growing rows, the same info really applies for all garden types.
All that’s left to do now is sit back and enjoy your winter season!
Until next time, thanks for stopping by!
– Chelsea
*This post may contain affiliate links. These are products I have used personally and highly recommend. As an Amazon Associate, I may earn a small commission from qualifying purchases if you purchase items through my links. These links and the ads on this page help to support my family and our semi homestead, so Thank You!
Discover more from Semi Homestead Life
Subscribe to get the latest posts sent to your email.