
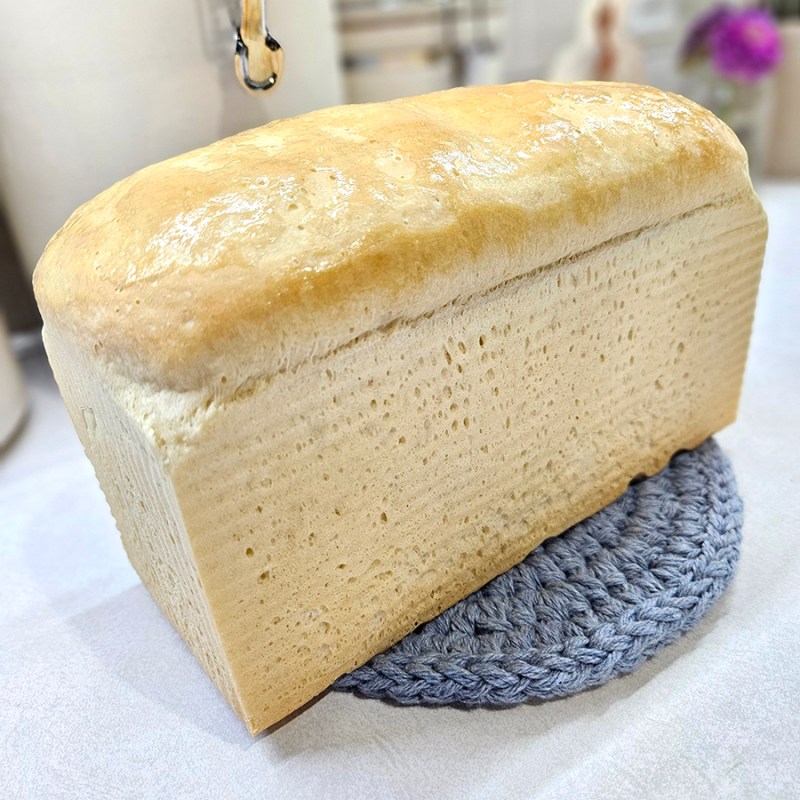
A soft and fluffy homemade sandwich bread made using a small Pullman loaf pan that produces a one-pound loaf with a tight crumb that is perfect for slicing.
Some of the things that I have tried my best not to buy in grocery stores are dough-based products: Rolls, buns, loaves, sandwich bread, bagels, biscuits, naan, pretzels, pizza crusts, and more.
The list keeps growing as I keep trying new recipes and making improvements until it is foolproof and family-approved. (There’s no point in taking the time, effort, and materials to make a baked good just to have it sit on the counter and mold!)
Not only do the flavors and the delicious aroma of homemade goods far surpass those of store-bought bread and dough-based products, but you have control over the ingredients as well. Instead of having a paragraph full of ingredients and preservatives, home-baked goods require far fewer needed ingredients – and all using items I can pronounce!
One of my favorite baked goods to make and no longer buy in stores is sliced sandwich bread. This recipe is simple, uses a one-pound Pullman bread pan, and requires only six ingredients to make a loaf of homemade bread perfect for slicing and sandwiches!

How To Make A Small Pullman Sandwich Bread Loaf
*Scroll down to the bottom of this post to see the full recipe, including exact measurements and amounts. You can also print out the instructions. I go into a bit more detail about the recipe here first, just in case you need it.
Special Equipment
This recipe was created specifically for use with a small, one-pound Pullman pan. What the heck is a Pullman pan, you ask? It is a rectangular loaf pan that has higher, straight sides than a traditional loaf pan. You can get it with or without a lid. (I don’t like to use the lid, but you certainly can if you want a perfect square loaf.)
The purpose of this pan is to create square bread that is perfect for sandwiches. The loaf of bread is referred to as a Pullman loaf or “pain de mie” if you want to be fancy!
I purchased my loaf pans from Amazon. They are a bit more expensive than traditional loaf pans, but they are made in the U.S.A., are non-stick, and are made to last! (Product Link: USA Pan Bakeware Pullman Loaf Pan)

The pan for this recipe measures 4″ x 4″ x 9″ and creates a loaf that is the perfect height and width for those lunchtime sandwiches. You can use any other type of one-pound loaf pan if that is what you have on hand (it doesn’t have to be Pullman).
There is also a longer Pullman loaf pan that measures 4″ x 4″ x 13″. This gives you those long loaves of bread like you buy in the store.
They are perfect if you have a larger family or go through bread quickly. We often use the larger pan during the summer months when my kids are home from school or during breaks. You can find my recipe for the larger pan here: “Pullman Sandwich Bread – Large Loaf Of Homemade Slicing Bread”.
Besides the bread loaf pan, a stand mixer with a dough hook is also recommended. You can knead the dough by hand, but the mixer is a lot quicker and easier.
Ingredients For Small Pullman Sandwich Bread
All of the ingredients you need to make the one-pound Pullman sandwich bread are likely all in your pantry or refrigerator. There are no preservatives, no extra ingredients, and no long list of items you can’t pronounce like you see on store-bought loaves of bread. With just six ingredients, you can enjoy freshly baked bread without leaving your house.

- Water – Warm water around 105 to 115º Fahrenheit is used to help wake up the yeast. If the water is too hot, you can wind up killing the yeast instead.
- Sugar – Granulated sugar is what you need to add a slight sweetness to the bread.
- Yeast – I use active yeast as the raising agent. If you have instant yeast, you can use that instead. Just skip the part where you allow the yeast to bubble and rise.
- Salt – Regular table salt is fine for this recipe. Our favorite go-to is Redmond’s Real Salt (Product Link: Redmond’s Real Salt)
- Melted Butter – The butter acts as the fat for the recipe, as well as adding a delicious flavor to the bread loaf.
- All-Purpose Flour – Any type of all-purpose flour is fine.
Instructions For The Small Pullman Sandwich Bread
In your stand mixer or a large bowl, combine the warm water, 1/4 teaspoon of sugar, and the yeast. (Just take the sugar from the original amount in the recipe.)
Allow the yeast mixture to sit for 5 to 10 minutes or until the yeast has started to bubble and expand. If you are using Instant Yeast, then you can skip this part and move on to adding the remaining ingredients.

After 10 minutes, if the yeast has not foamed yet, it might be dead. Toss the mixture and try again with a new container of yeast. It could also be that the water you used was too hot. Aim for a temperature of around 105 to 115º Fahrenheit for ideal rise.
After The Yeast Foams
When the yeast is nice and foamy, mix in the rest of the sugar, the salt, melted butter, and 3 cups of flour. Combine the ingredients using the dough hook attachment on your stand mixer or a large spoon if doing it by hand. Scrape the sides as needed. At this point, the dough will be wet.
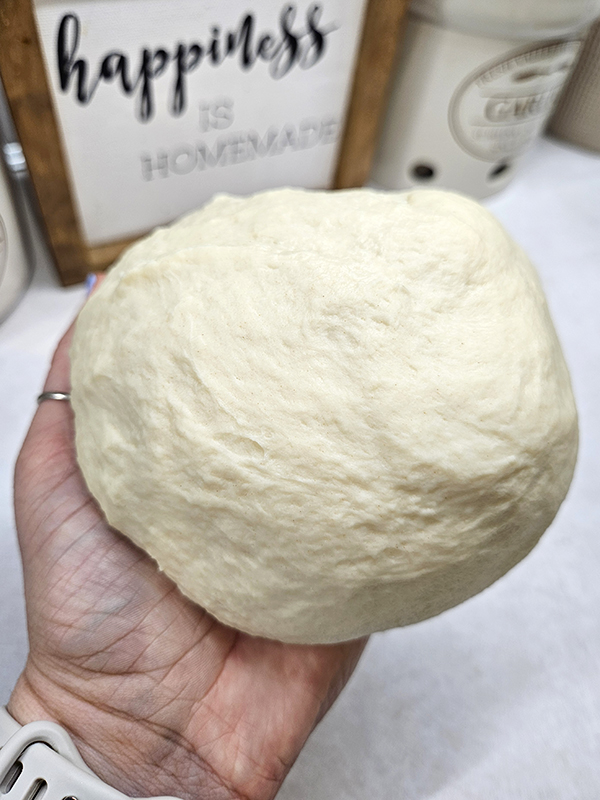
Add in about 1/4 cup of flour and mix well. Continue this process until the dough starts to pull away cleanly from the sides of the bowl. The texture of the dough should still be slightly tacky to the touch when it is good.
Note, you may not need the full amount of flour, or you might need to add a little bit more flour. The reason for this is that the temperature and humidity in your kitchen can vary, even from one day to the next. This will affect how much flour you need.
Instead of going off amounts, go off the look and feel of the dough as opposed to actual quantities of flour being used. It might take a few tries, but you will get the hang of it in no time!
Knead Time
After you’ve reached the perfect consistency, allow the mixer to continue running on low for 4 to 5 minutes. (Knead for around 10 minutes if you are doing it by hand.)
While waiting, prepare a bowl that you can use to allow the dough to rise in. (You can also use the bowl you mixed the dough in if you prefer. However, I use my oven to proof the dough and need one that is shorter to fit within the oven racks.)
Whatever you use, the bowl needs to be large enough to hold at least double the amount of dough you currently have. Lightly grease the inside of the bowl with cooking oil and set it aside. (I like to use a spritz or two of olive oil.)
The First Rise
When the time is up, smooth the dough into a ball and add it to the prepared bowl. Turn the dough to lightly coat all sides in the oil.
Cover the bowl with a piece of plastic wrap lightly sprayed with oil or a damp kitchen towel. (I prefer the plastic wrap because sometimes the dough will stick to the towel.)
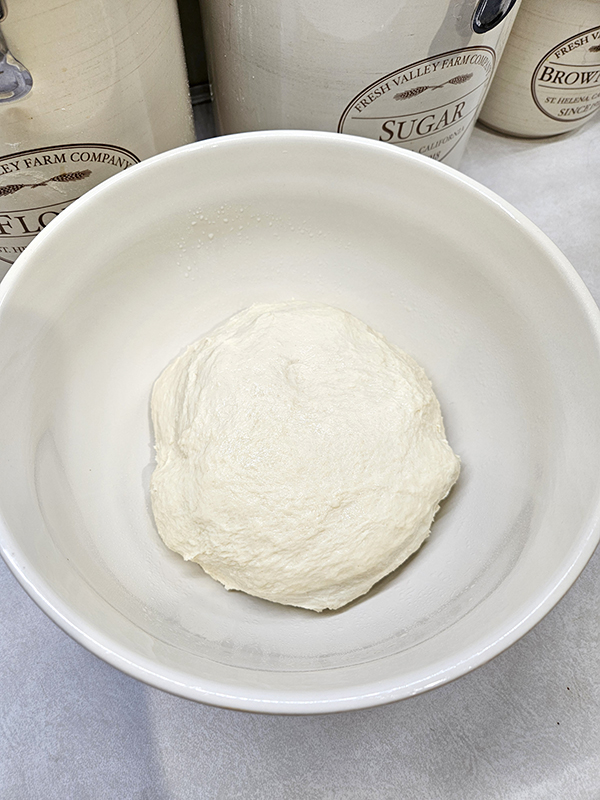
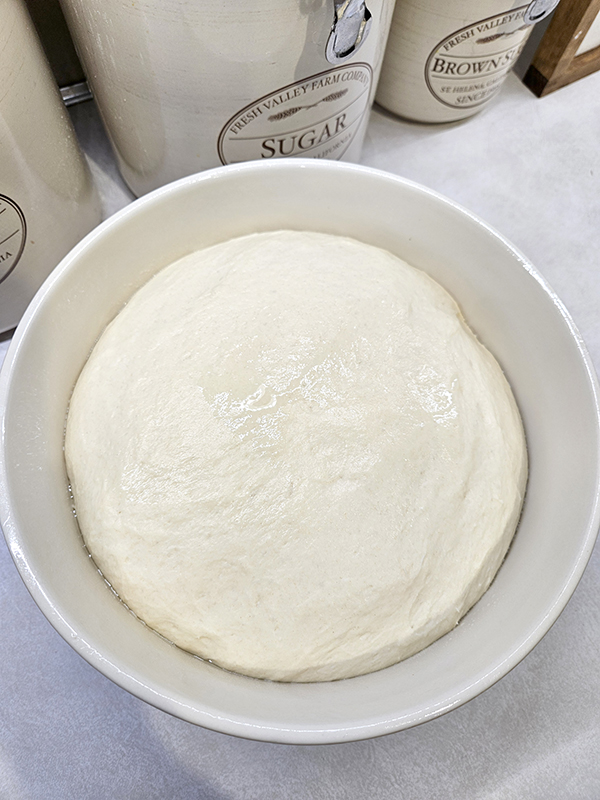
Set the bowl in a warm location in your kitchen to proof. Our oven has a “bread proof” setting, so I put the bowl in there to allow it to rise a bit quicker, especially if our kitchen is cold. You can also turn the light on in your oven for a bit for a bit of extra heat if your oven doesn’t have that setting. Just don’t forget it’s in there and accidentally preheat your oven before removing it!
Allow the dough to rise until it has doubled in size. This can take around an hour, but the time will depend on the temperature of your home. After it’s doubled, remove the cover and punch down the dough to release some of the excess air.
Place the dough out onto a smooth, clean surface and shape it into a large rectangle about the width of 8 to 9 inches to match the length of the Pullman pan. (If needed, lightly oil the pan. The ones I use don’t require greasing.)
Tightly roll the dough into a loaf shape that matches your pan and place it inside. It’s ok if the top of the loaf is a bit lumpy and not perfectly smooth. It will smooth out nicely as it rises and bakes.
The Second Rise & Bake
Preheat your oven to 350º Fahrenheit. As it is warming up, loosely cover the pan with a piece of lightly greased plastic wrap or a damp kitchen towel. Allow the dough to rise until it is slightly above the top edges of the pan. This can take about an hour or so, again depending on the heat of your home.

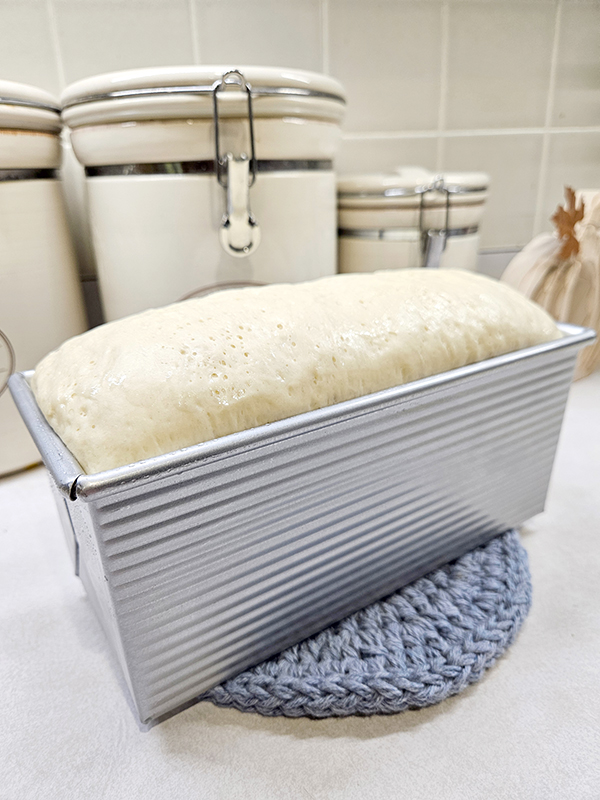
Once the dough is slightly above the edges, remove the cover. Bake in your preheated oven for 20 to 25 minutes or until the top is golden brown.
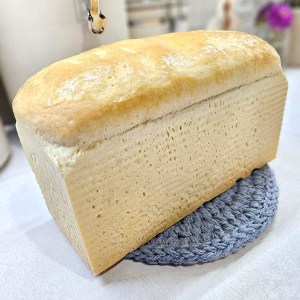
Remove the loaf from the oven and allow it to sit for 5 minutes. Then remove it from the Pullman bread pan. If preferred, coat the top with butter for a slightly softer crust while the bread is still warm. Allow the bread to fully cool on a wire rack before slicing. (You can enjoy it while warm; It just might be a bit harder to slice.)
Store the cooled small Pullman sandwich bread in a sealed plastic bag or container. You can also slice the bread and store it in freezer-safe plastic bags in the freezer for later use. (I like to use these bags for storing my fresh bread. They even fit my larger 4″ x 13″ bread loaves. Product Link: Bread Bags With Ties,100 Pieces)
I hope this recipe helps you take one step closer to relying on the grocery store less! Enjoy!
Until next time, thanks for stopping by!
– Chelsea
*This post may contain affiliate links. These are products I have used personally and highly recommend. As an Amazon Associate, I may earn a small commission from qualifying purchases if you purchase items through my links. These links and the ads on this page help to support my family and our semi homestead, so Thank You!

Small Loaf Pullman Sandwich Bread
Ingredients
- 1 ¼ cups warm water (around 105-115º Fahrenheit)
- 2 Tbsp granulated sugar (divided)
- 2 ¼ tsp active yeast (or one packet)
- 1 tsp salt
- 2 Tbsp melted butter
- 3 to 4 cups all-purpose flour (more or less)
- small amount cooking oil (for greasing)
Instructions
- In a stand mixer, combine the warm water, 1/4 teaspoon of sugar, and yeast (take the sugar from the 1/4 cup amount). Allow to sit for 5 to 10 minutes or until the yeast has started to foam.
- Add the remaining sugar, salt, melted butter, and 3 cups of flour. Mix using a bread hook. Use a spatula to scrape the sides of the bowl if needed.
- Add in 1/4 cup of flour and mix well. Repeat the process, mixing in between until the dough starts to pull away from the bowl. The dough will still be slightly sticky to the touch.
- Continue to mix the dough on low speed for 4 to 5 minutes. Meanwhile, lightly grease a large bowl with cooking oil and set aside.
- Work the dough into a smooth ball and add to the greased bowl. Turn to lightly coat. Cover with a damp kitchen towel or a lightly sprayed plastic wrap and allow to rise in a warm location until the dough has doubled or more.
- Once the dough has doubled, punch down to knock out some of the excess air. Dump the dough out onto a clean smooth surface and shape into a large rectangle about the length of a 4" x 9" Pullman loaf pan. Roll tightly into a loaf shape and place in the pan.
- Preheat your oven to 350º Fahrenheit. Loosely cover the pan with lightly greased plastic wrap or a damp kitchen towel. Place the pan in a warm location until it has risen slightly above the sides of the pan.
- After the dough has risen, remove the cover. Bake in preheated oven for 20 to 25 minutes or until the top is golden brown. Coat the top of the loaf with butter for a softer crust.
- Once cooled, store the bread in a sealed plastic bag. You can also slice the bread and store in freezer-safe plastic bags in the freezer. Enjoy!
Discover more from Semi Homestead Life
Subscribe to get the latest posts sent to your email.