
When the unthinkable happens and you have to toss your beloved sourdough starter in the trash, or if you need a way to travel more easily with your starter, you can breathe a sigh of relief because you created a shelf-stable backup to use just in case!
We’ve all been there. You’ve nurtured and babied your sourdough starter for months, maybe even years. Then the unthinkable happens.
Maybe you accidentally dropped the jar onto the ground, only for it to shatter into tons of tiny pieces. Maybe time got away from you and the neglected starter stayed on your countertop just a little too long. Before you know it, the jar is growing all these pretty little fuzzy blobs in your absence.
Or, maybe you just want a way to travel easier with your sourdough starter or need to put your baking on hold for a longer period of time. That’s where a sourdough starter backup comes into play.
That doesn’t mean making another jar of active starter that you have to maintain. I’m talking about drying out a bit of starter to keep in your pantry as a long-term, shelf-stable backup for when the “woops” happens or when you just need a break!
How To Create And Use A Shelf-Stable Sourdough Starter Backup
When you break it down, sourdough starters are simply a mixture of flour and water. As those two ingredients get mixed together and are fed at room temperature, they build and encourage good bacteria and natural yeasts to multiply.
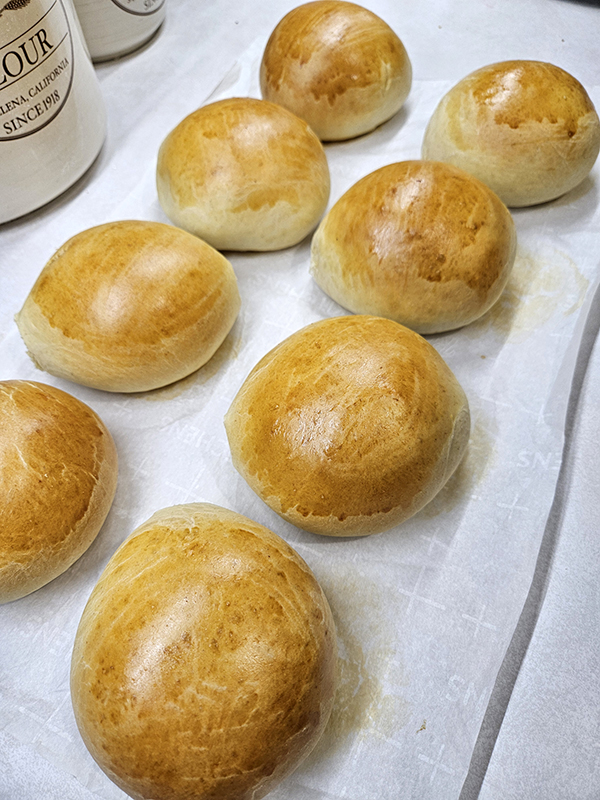

This turns into a product that can be used as a base to make all sorts of delicious baked goods. From the iconic round boules to sandwich bread, buns, bagels, pizza dough, cookies, pancakes, and so much more, sourdough starter adds flavor and structure to these products.
If you’ve stumbled here and would like to learn how to create a sourdough starter, then head on over to my simple guide: “Making A Sourdough Starter From Scratch – A Simple No-Fuss Way”. Otherwise, let’s dive into why you should create a sourdough starter backup and how to use it.
Get Your Starter Active
Before you create a backup, you need a mature sourdough starter. Don’t do this process with a newbie starter because you will likely have issues when you go to rehydrate it. Wait until your starter has been around for a few months and creates delicious goodies for you.
The starter should be active, bubbly, and happy (at least I like to assume my starter is happy!). You don’t want to use a starter that has been left in the refrigerator or neglected on your kitchen counter.
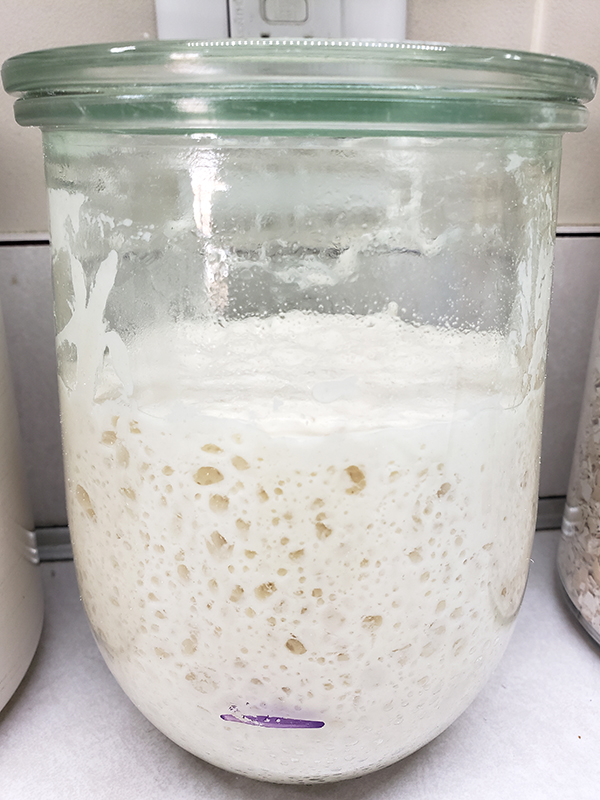
This might mean you need to feed your starter for a couple of days so you can get it to a point where it is doubling within 4 to 12 hours and has loads of various-sized bubbles. Once you get to that point, wait to start the process until it has reached its peak height.
This can vary between just a couple of hours after feeding to more around 8 to 12 hours. The timeframe will depend on how active your starter is, the strength of the good bacteria and yeast in your starter, and even how hot or humid your home is.
Spread It Thin
When your sourdough starter is at its peak, it’s time to get rolling. Prepare a baking sheet by covering it with a piece of parchment paper. You don’t want to use oils or fats to grease your pan because that will get combined with your starter. Parchment paper is the best choice.
Pour a bit of your bubbly starter onto the parchment paper. How much you use will depend on the size of your baking sheet. I usually use about one cup.
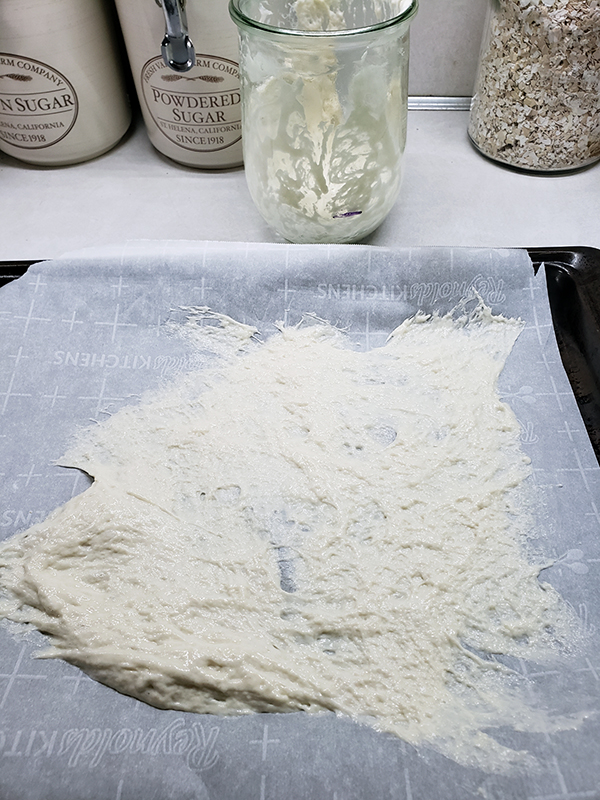
Now, here’s the important step. Use an offset spatula or even a brush to spread the starter nice and thin. The thinner you spread it, the quicker it will dry out. Try to keep the edges as thick as the middle area.
Drying It Out
You really have two options for drying out your sourdough starter. You can allow it to dry out somewhere in your home that is dry and can be undisturbed for a few days. Most sourdough starters will take about 24 to 48 hours to fully dry out, depending on how thin you spread it.
You can also dry it out using your oven, which is my preferred method. The key to using your oven is to not actually turn it on. Turning it on, even at a low temperature, will likely end up baking the starter as opposed to drying it out.
Instead, just turn on the interior light. The light will produce enough heat to speed up the drying process without baking it. Just make sure to put a sticky note or some type of warning on the outside of the oven to let people in your family know the starter is in there so they don’t accidentally turn the oven on!
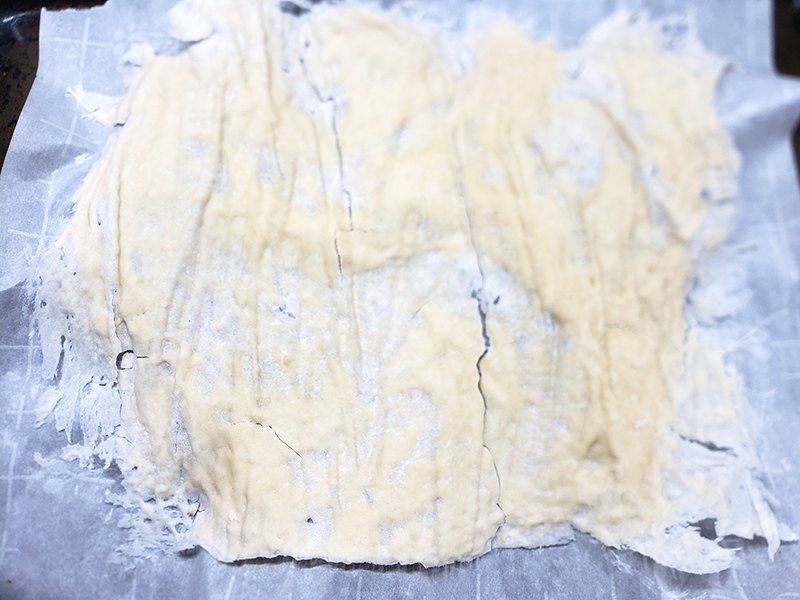
Again, the timeframe will depend on how thin the stater is spread and the temperature of your oven light. Usually, it takes around 4 to 6 hours, but be sure to keep an eye on it. The starter will be fully dry when you can easily peel it off of the parchment paper. The pieces should feel brittle and break easily.
Storing & Rehydrating The Sourdough Starter Backup
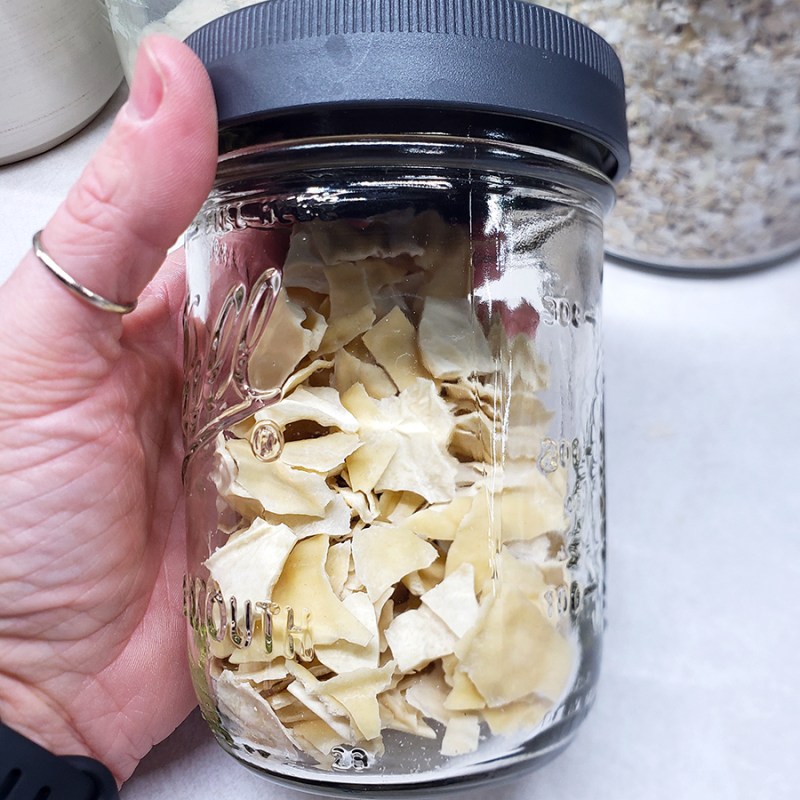
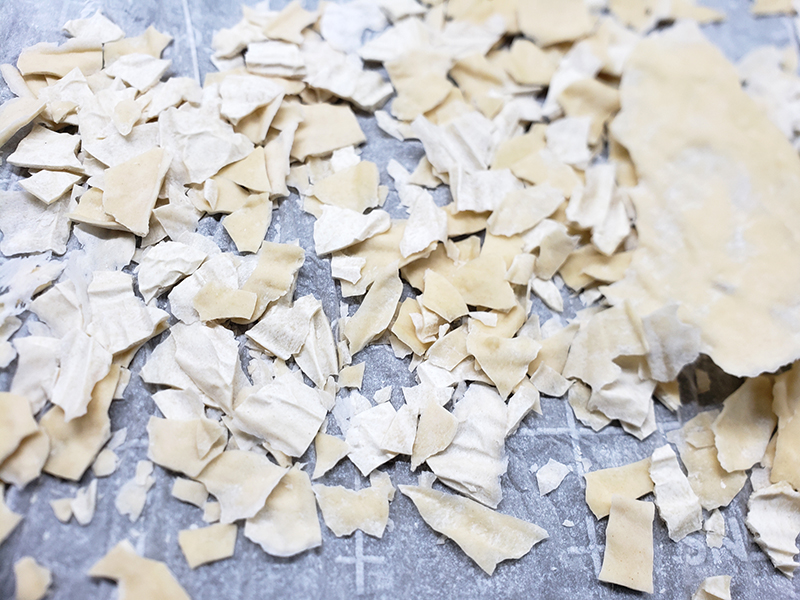
When the starter has fully dried, break it up into small chunks. The size is really a personal preference. Store your dried starter in an airtight container like a glass jar with a lid or even a ziplock bag. Label and date the container and store it in a dry, dark location. The back of your pantry works perfectly.
When you need to rehydrate the starter, measure out a specific amount and place it in a glass jar. Add double the amount of lukewarm water. For example, if you measure out one ounce of starter, add 2 ounces of water. Stir and set aside. Every 30 minutes or so, stir the mixture to help dissolve the starter. After about 2 to 3 hours, the starter should be rehydrated.
Now it’s time to start feeding it. Mix the same amount of unbleached flour to the jar that you did as the starter. (So in my example, you would add one ounce.) Cover lightly and set aside for 12 to 24 hours.
After 12 to 24 hours, it’s time for another feeding. For this feeding, do not discard any of the starter. Add equal amounts of unbleached flour and warm water. (Again, 1 ounce of flour and 1 ounce of water for our example.) Cover and set aside for another 12 to 24 hours.
You’re Almost There!
After that time, do one more feeding without discarding any of the starter. After about 24 hours, the starter is now ready to feed and discard like you would with your original sourdough starter. When the starter is reliably doubling and has large bubbles a few hours after feeding, it’s good to bake with.
Whatever reason you have for making a sourdough starter backup, you can breathe easy knowing you have it waiting in your pantry whenever you need it!
Until next time, thanks for stopping by!
– Chelsea
*This post may contain affiliate links. These are products I have used personally and highly recommend. As an Amazon Associate, I may earn a small commission from qualifying purchases if you purchase items through my links. These links and the ads on this page help to support my family and our semi homestead, so Thank You!
Discover more from Semi Homestead Life
Subscribe to get the latest posts sent to your email.