
If you are looking for a simple way to preserve your favorite tomato plants year after year, then you need to try fermenting tomato seeds! It’s a super easy process that allows you to save your biggest and best plants, all while saving money at the same time.
Do you have one or two tomato plants that are the biggest and healthiest plants you’ve ever grown? Don’t you just wish that there was a way to preserve their amazing flavor and growth habits?
Well, the good news is that you can – in most cases! Tomato plants are either hybrid or open-pollinated plants. While you can’t save hybrid seeds and ensure the same results, you can with many tomato varieties – including your favorite heirloom plants!
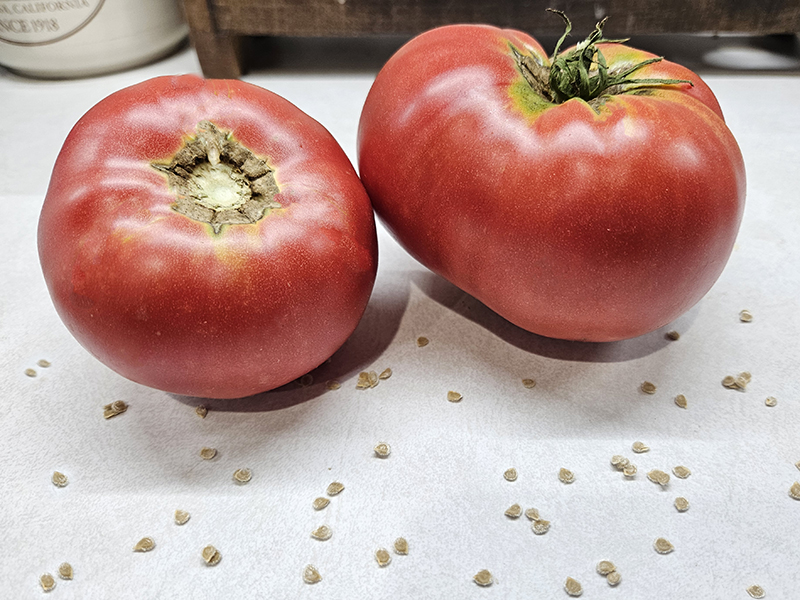
When you ferment the seeds of open-pollinated tomato plants, you are able to save the seeds for planting and growing next year. The seeds they produce are exact copies of the parent plant, allowing you to essentially copy and paste your favorite plant for growing the next year!
Not only does this help to ensure you a great crop of tomatoes next year, but it’s a simple way to save money, too! And don’t feel intimidated by the word “fermenting” as this process couldn’t be any easier!
Types Of Tomatoes
Before you can start fermenting tomato seeds, you need to understand the difference between the two main types of tomato plants. While there are hundreds of different varieties, tomato plants are either hybrids or open-pollinated plants.
Hybrid tomatoes are essentially plants that are created using two different varieties to create a new one. Sometimes, more than two plants are even used. Because of this process, using the seeds from these plants is more of a guessing game.

You will likely end up with either one of the two plants used to create the hybrid. Or, you might just end up with a totally new plant altogether! This is typically not a situation that most growers want to be in.
I know I’d rather know the exact type of tomato I am growing and don’t want to play a guessing game. Chances are, you’d end up with a ton of Roma or cherry tomatoes and not that delicious slicing tomato you are after!
Open-pollinated types, however, will create exact copies of the parent plant in their fruit and seeds. Heirlooms are an example of open-pollinated plants.
Some of my favorite varieties to save the seeds to start indoors in the spring include Beefsteaks and Brandywines. I like to get my heirloom tomato seeds initially from reputable online retailers like Baker Creek Seeds (not an affiliate link), but you can find them almost anywhere that sells seeds anymore.
Easily Fermenting Tomato Seeds
To begin the process, you first want to select the best tomato from your biggest and healthiest tomato plant. This is one case where bigger is better, as long as the plant itself is healthy and free of disease.
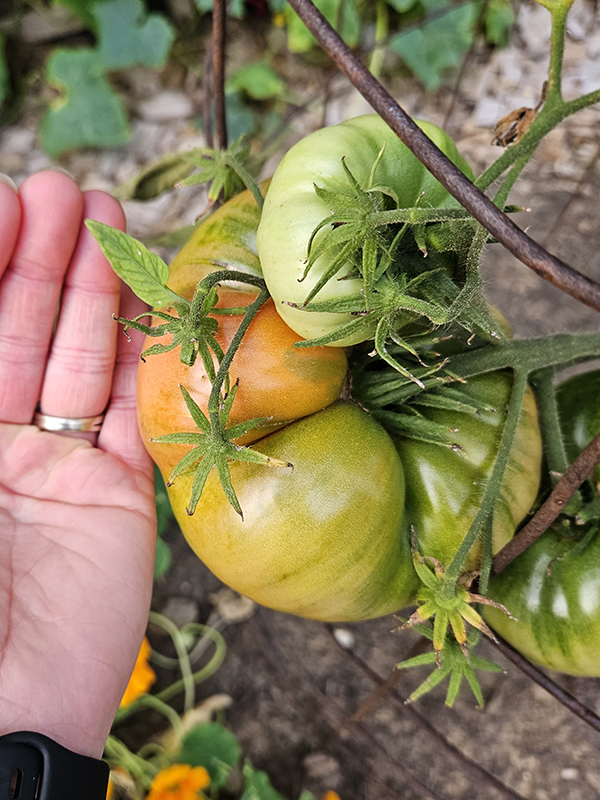
When you start with good genes, your seeds will have a better chance of success! Once you have that almost-perfect tomato, slice it in half to reveal the gel-like substance and the seeds inside.
This substance actually helps to prevent the seeds from germinating early. When a tomato falls in nature and starts to decompose on the ground, the gel-like substance also breaks down. This allows the seeds to easily germinate in the soil.
But when you save the seeds in your home, you need to break down or decompose this substance first. This helps to ensure that you have a better germination rate when you go to sow the seeds in the spring. That’s where fermenting comes into play.
Day One – Fermenting Tomato Seeds
Once your tomato is opened up, you need to take a small spoon and scoop out the seeds and gel-like substance. Place it in a clear container like a small glass jar or mason jar. I actually use an old, cleaned-out glass spice container for this process.
Try to gather up as many of the seeds as you can for the jar. The rest of the tomato you can enjoy and eat!

When you have all of the seeds, add about an inch of water and stir carefully. Cover the jar loosely so it can still have proper airflow. I like to use a paper towel secured with a rubber band. The cover helps to keep in the odor as well as keep out fruit flies.
Now, I’m not going to lie: This mixture will start to smell after a couple of days. Because of this, place the jar in a dry location that is out of direct sunlight and maybe out of the way of your daily activities.
For the next couple of days, observe the jar and the fluid. You will likely start to see white fuzzy mold start to form on the top of the liquid. This is normal and what we want to happen! When you can see that the mold has completely covered the top of the liquid, your seeds are ready for the next step.
Rinse & Dry – Fermenting Tomato Seeds
Add fresh water to your jar and shake to help separate the seeds from the rest of the tomato flesh and gel. The spoiled seeds will float to the top with the tomato flesh. Dump it down the drain, being careful to not dump the good seeds. Repeat this process a couple of times until the water runs clear.

Drain the seeds and separate them out on a paper towel or plate for drying out. They need to dry out completely for a few days before storing them so they don’t prematurely germinate or spoil.
If you use paper towels, the seeds might stick slightly, but they should peel off easily. Label and store the dried seeds in a paper envelope or something similar. Keep them in a cool, dry location until it’s time to start your seeds next year!
Until next time, thanks for stopping by!
– Chelsea
*This post may contain affiliate links. These are products I have used personally and highly recommend. As an Amazon Associate, I may earn a small commission from qualifying purchases if you purchase items through my links. These links and the ads on this page help to support my family and our semi homestead, so Thank You!

Fermenting Tomato Seeds
Materials
- One healthy Tomato (open-pollinated variety)
- Water
Instructions
- Slice the tomato in half. Scoop out the seeds and gel-like substances and add them to a clean, glass jar.
- Add about an inch of water. Cover with paper towel or other breathable covering and secure with a rubber band. Place in a dry location out of the sunlight for up to a week.
- When you see a white fuzzy layer of mold on top, add fresh water and mix carefully. Pour out the floating, bad seeds and tomato flesh. Repeat until the water is clear and only good seeds are left at the bottom.
- Strain the water and allow the seeds to dry out on a paper towel or plate. When the seeds are fully dry, label them and store them in a cool, dry location.
Discover more from Semi Homestead Life
Subscribe to get the latest posts sent to your email.