
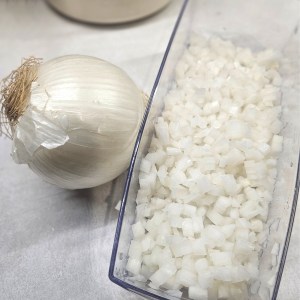
Save time, money, and the hassle of dicing onions every single time a recipe calls for it by bulk freezing diced onions ahead of time.
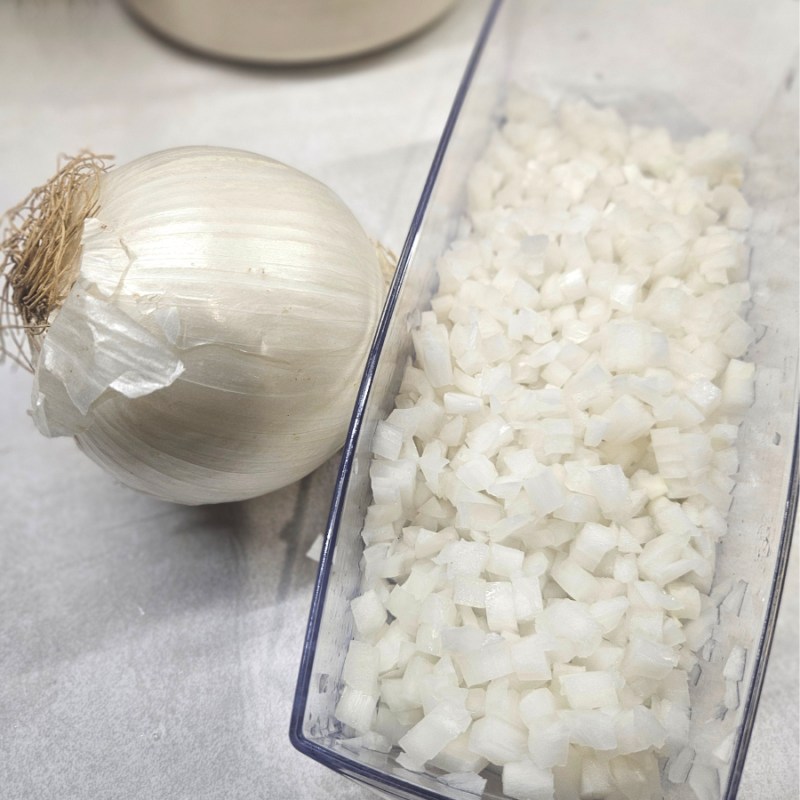
A great way to save time, money, and prevent extra dishes in your kitchen is by creating meal prep shortcuts, and one of my favorites is freezing diced onions. That way, whenever a recipe calls for diced onions, you already have the work done ahead of time!
While I love cooking food from scratch, I don’t always love all the prep work that often comes with it. All the peeling, slicing, and dicing can get frustrating and be super time consuming. Not to mention all the dishes that start to pile up! (Ugh, the dishes from making food homemade!)
That’s where taking a few shortcuts can be super helpful. I’m not talking about using processed, pre-made food items either. I’m talking about prepping ingredients you use often ahead of time so you don’t have to take the time to prepare them each time they show up in a recipe.
By taking the time to purchase a large amount of onions and doing the peeling, dicing, and freezing ahead of time, you can always have diced onions on hand whenever a recipe calls for it – no tearing up in the moment involved!
Advantages Of Freezing Diced Onions
While fresh onions are always the way to go, most recipes don’t require a full onion. Usually, they only require half an onion or a small amount diced. So you cut up what you need, and the rest goes into a Ziploc bag or a small container.

Next thing you know, it’s rotten or sprouted right there in your refrigerator or on your countertop. What a waste! If this sounds like you and your kitchen, dicing and freezing onions ahead of time is definitely the way to go.
Dicing up onions in bulk can also help save you money. If your local farmers’ market or grocery store has onions on sale, you can take advantage of the sales and stock up. While whole onions only stay fresh for a few weeks or months at a time at room temperature, diced frozen onions are good pretty much indefinitely.
It’s also a great option if you grow onions in your garden and don’t have a lot of storage area. There is only so much space in a person’s basement/pantry, and this shortcut doesn’t leave the space smelling like onions year-round!
I prep and freeze not only onions by using this shortcut, but also our homegrown garlic as well. It’s perfect if you are a garlic lover like me and use it often in recipes.
Tips On Freezing Diced Onions
Gather Your Supplies
The first step is to gather your supplies. You are going to need some way to dice the onions. You can do this the “old-fashioned” way by using a knife, or you can use a vegetable chopper. (The same one I have isn’t available anymore, but this one is close to it: Product Link.) Don’t forget the cutting board!
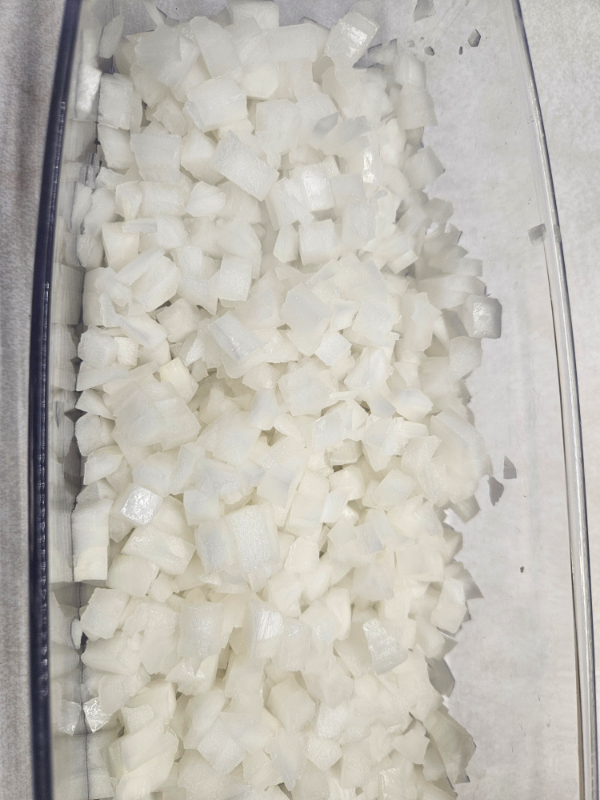
For mincing onions, go with a food processor since it’s a lot quicker. However, we are looking for diced onions, not minced, since that is what most recipes call for.
The next item you will need is a large bowl and a measuring cup in whatever quantity you want to store your diced onions in. I highly suggest using either 1/4 cup or 1/2 cup quantities.
Lastly, you need storage containers or bags and a permanent marker for labeling them. I like to use little snack-sized plastic bags. Since they aren’t freezer-safe, I just pop several into a gallon-sized freezer-safe bag.
Getting Started – Freezing Diced Onions
If you are not a person who enjoys the smell of onion, I highly suggest doing this part outside or in a well-ventilated area. Also, wear the appropriate eye protection if you tend to tear up when cutting onions. (For some reason, I hardly ever have issues. Maybe my contacts help protect my eyes? I don’t know!)

Choose only blemish-free onions that are not moldy, soft, or have an off-putting smell. Use only onions that are firm to the touch and have dry, papery skins.
First, cut the onion in half, going from stem end to root end using a sharp chef’s knife. Then, cut the stem end off and discard. Remove the outer layers of papery skin.
What you do next will depend on whether you use a vegetable chopper or dice the onions by hand, so choose one of the following options.
Two Dicing Options
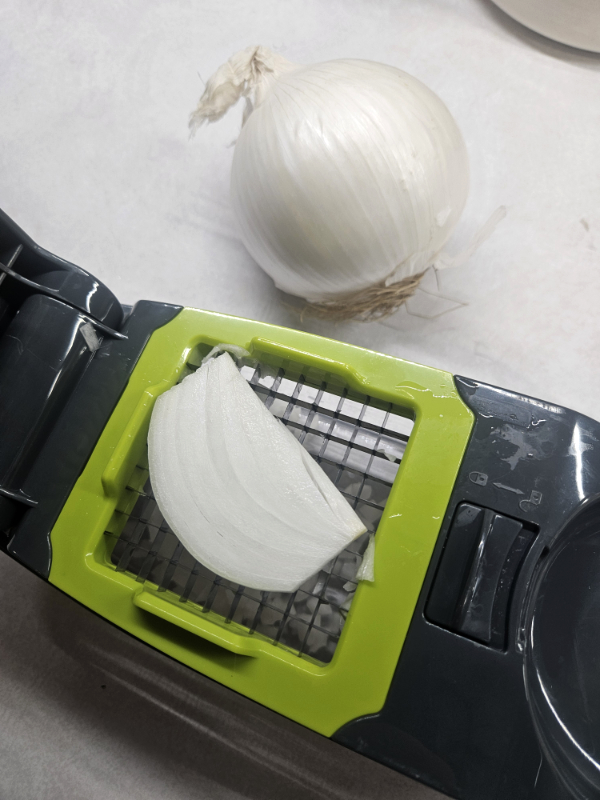
Option 1: Using A Chopper: Remove the root end (the hairy part) and discard. Cut the onion into small chunks that will fit on your vegetable chopper. Place the chunks on the grid and close the lid. (I use the larger of the two grids.) You may have to use decent pressure, but the chopper will cut the pieces for you. When the bottom of the chopper is full, dump it into a large bowl. Repeat until all the onions are chopped.
Option 2: Using A Knife:
- Leave the root end (the hairy part) intact because that will prevent the layers from falling apart as you cut.
- Place one of the onion halves cut side down on your cutting board. Point the tip of your knife toward the root end. Create slices going through the top of the onion down to the board. Don’t cut all the way through to the root. Space them about 1/4″ apart or however wide you want your diced onions to be.
- Hold the knife horizontally to the board and make a couple of slices going from the stem end to the root end. Again, stop before actually getting to the root end so the onion half stays intact. Normally 2 to 3 slices here works fine, but that will depend on how big your onions are.
- Working on top of the onion half again, hold your knife and cut across the first slices you made in Step 2. (This is what will cut the final diced pieces.)
- When you get close to the root where it is, cut around it as best as you can. Discard the root end.
- Toss the diced pieces into a large bowl. Repeat this process with the rest of the onions.
Divide And Store
After you have diced up all of your onions, it’s time to divide and store them. If using bags, label them before filling with the date, item (if needed), and quantity. (It’s a lot easier to write on the bags while they are empty as opposed to filled and bumpy!)

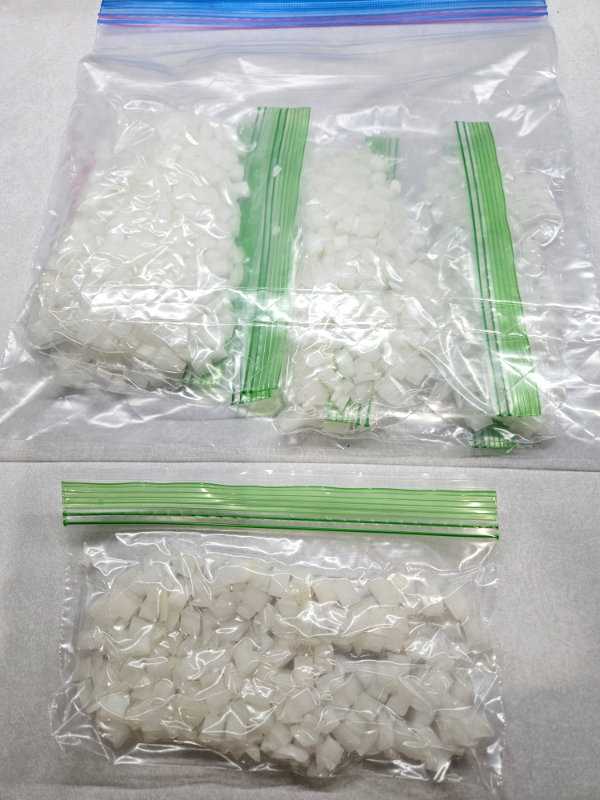
Use your measuring cup to measure out the desired amount and place it in each of the small bags or containers. Remove the air and seal tightly. Repeat the process until all of the onions are bagged. (Another option is to use silicone molds of specific measurements. That’s what I do with my minced garlic if you want to read more in that article.)
Place multiple smaller bags into a large freezer-safe bag. Remove all of the air and seal. Place the bags flat in your freezer until frozen.
Now, whenever a recipe calls for diced onions, you can simply pull out one or two bags of pre-diced onions and add them as needed.
Frequently Asked Questions – Freezing Diced Onions
What type of onions can I freeze? All of them! White, yellow, red, etc. onions are all perfect for dicing and freezing. The only ones I have found that don’t work well for freezing are green onions. Dehydrating them works much better.
How long do frozen diced onions last? They have the best flavor and texture if you use them within 3 to 6 months. However, they are safe to eat pretty much indefinitely if kept properly frozen.

Do I need to thaw out the frozen diced onions before using in recipes? Nope! You can toss them right into whatever you are cooking without thawing them first.
Can previously frozen onions be used raw in dishes that don’t require cooking? While you can, previously frozen onions won’t have the same texture once they are thawed. Instead of being nice and crisp, they will be wilted and soft. (Personally, I have no issues using them in my Chicken Salad, Six Ingredient Guacamole, Dill Pickle Salad, and other recipes, so you do you!)
Until next time, thanks for stopping by!
– Chelsea
*This post may contain affiliate links. These are products I have used personally and highly recommend. As an Amazon Associate, I may earn a small commission from qualifying purchases if you purchase items through my links. These links and the ads on this page help to support my family and our semi homestead, so Thank You!
Freezing Diced Onions
Instructions
- Cut off and remove the stem end of the onion. Then, cut the onion in half, going from the root end to the stem end.
- Remove the dry, papery outer skin from each half.
If Dicing Using A Vegetable Chopper
- Remove and discard the root end as well. Cut the onion into small chunks that will fit within the dicing blades of the vegetable chopper.
- Use the chopper to dice all of the onions. Once the bottom of the chopper is full, dump the diced onions into a large bowl. Repeat with the other onions.
If Dicing Using A Knife
- Place one of the onion halves cut side down on your cutting board. Pointing the tip of your knife toward the root end, create slices going through the top of the onion down to the board. Don't cut all the way through to the root. Space them about 1/4" apart or however wide you want your diced onions to be.
- Hold your knife horizontally to the board. Make a couple of slices going from the stem end to the root end. Again, stop before actually getting to the root end so the onion half stays intact. Normally, 2 to 3 slices here work fine, but that will depend on how big your onions are.
- Starting on top of the onion half again, hold your knife and cut across the first slices you made in Step 2. (This is what will cut the final diced pieces.) When you get close to the root where it is, dice around the root as best as you can. Discard the root end.
- Toss the diced pieces into a large bowl. Repeat this process with the other half and the rest of the onions.
For Both
- Once all onions are diced, label your bags or containers. Measure out the desired quantity of diced onions into small snack-sized bags or containers. Aim for ¼ or ½ cup quantities. Remove as much air as possible and seal.
- Place multiple bags into a freezer-safe bag or container. Freeze and use within 3 to 6 months for best flavor and texture, but they will keep almost indefinitely if properly frozen.
Notes
Discover more from Semi Homestead Life
Subscribe to get the latest posts sent to your email.