If you are looking for simple tips to easily grow tomatoes in your garden this year, then I’ve got you covered!
One of the best parts of growing tomatoes is that they are pretty hardy plants that can take some abuse as long as a few basic needs are met. That means they are a great option if you are just starting to dip your toes into gardening.
We have been growing tomatoes on our homestead since we first started gardening. Fresh tomatoes are one of my husband and daughter’s favorite summertime snacks and many don’t even make it into the kitchen!
But aside from fresh eating, you can use tomatoes for so many different recipes. They are one of the best for canning and putting away for the winter use for all sorts of different concoctions. And since most varieties have plenty of acid, they don’t require a pressure canner to process – a bonus for many people!
Whether you are growing tomatoes in a traditional garden, in raised beds, or in containers or buckets, their care is relatively the same. Keep reading to find out the simple tips I use for creating an amazing tomato harvest this summer!
How To Easily Grow Tomatoes
Growing From Seeds
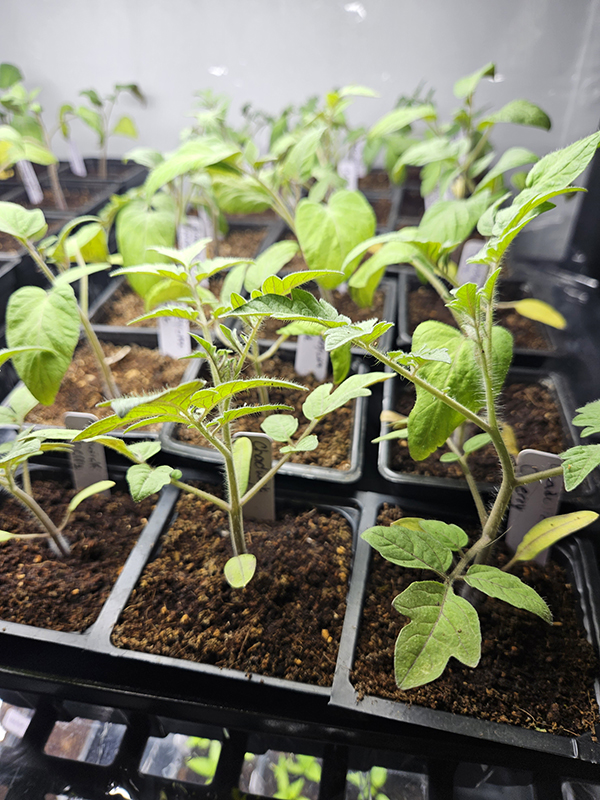
In our growing zone of 5B, we don’t have a long enough season in order to grow tomatoes outside from seed. (Most locations are the same way.) And since tomatoes take quite a while to go from sowing to the first initial harvest, tomato seeds need to be started indoors.
If growing from seeds, you need to start your tomatoes about 6 to 8 weeks before your last frost date. (You can check your date at the Old World Farmer’s Almanac). This gives the plants plenty of time to germinate and become strong enough before they can be transplanted outside in the spring.
For Zone 5B, my last frost date is around the end of April. However, I don’t plant tomatoes before at least Mother’s Day since our Midwest weather likes to throw us curveballs long in May. So I start my tomato seeds around the middle of March.
If you’d prefer, you can also just purchase tomato seedlings at local garden centers or other stores. But if you want to read all about starting seed indoors and how simple it is, I’ve put together a three-part article series that walks you through all the steps I take. You can find those articles here: Part 1: Sowing, Part 2: Growing, Part 3: Hardening Off.
Choosing The Location & Timing
Whether you are planting your own seedlings or those that you purchased from a local garden center, these instructions are the same when it comes to planting tomatoes.
One of the most important aspects of planting tomatoes is that you have patience! Don’t get too anxious and plant your seedlings too early in the spring; It’ll only hurt your plants in the long run.
Tomatoes need warm soil in addition to warm air temperatures to take root and start growing. Those planted too early will likely have delayed growth and are susceptible to late-season frost damage. Wait to plant until the threat of frost is long gone. In addition, allow the soil to rise to at least 60-65º Fahrenheit before planting.

Choose a location that receives full sun for at least 6 to 8 hours daily. The more sunlight for tomato plants, the better! You also want to make sure the location has well-draining soil with plenty of organic matter. This is the same whether you grow in containers, raised beds, or a traditional garden space.
We have very heavy, dense clay soil. Because of this, I had to amend the soil each year with several inches of compost. We are finally at the point where the soil is loose and workable. If you have heavy soil, you will need to also amend the soil with plenty of compost and other organic matter.
Planting Tomato Transplants – Easily Grow Tomatoes
Even though our soil is loose now, I still add a scoopful of finished compost into each planting hole to provide seedlings with a boost of additional nutrients. Tomatoes are heavy feeders, so the compost helps with this early on.
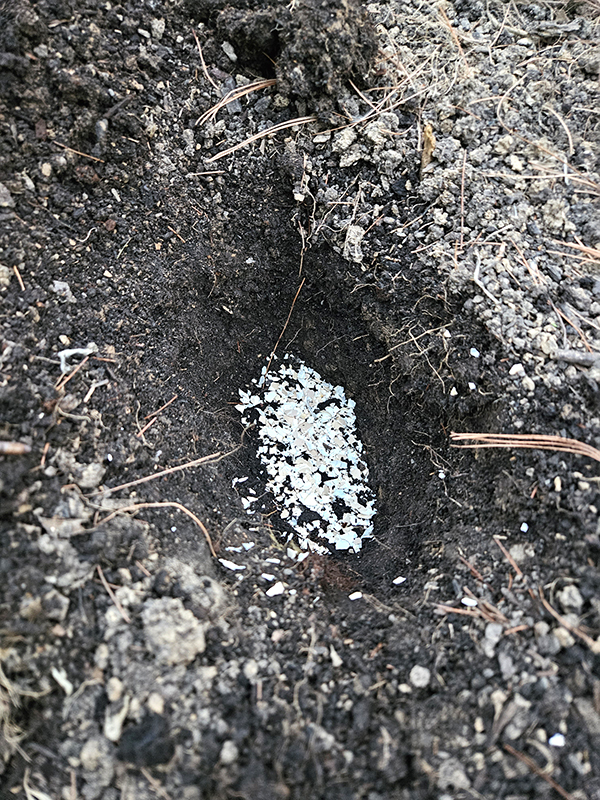
I also like to place some crushed or powdered egg shells into each planting hole. As the shells slowly break down, they will provide some additional calcium to plants. (Read more about using egg shells in my article, “How To Save And Use Eggshells In Your Garden“)
Now it’s time to plant the tomatoes! Another tip when planting is to bury them as deeply as possible. I typically like to plant about half the stem under the soil. You don’t even need to remove the buried leaves.
Tomato plants are unique in that they can produce new roots all along the entire length of the stem. These roots are great for helping to anchor plants to the ground, which is super important for top-heavy crops. In addition, the bigger root system also means there are more roots to soak up moisture and nutrients from the soil.
Once your tomatoes are planted deeply, backfill and water them in well. The exact spacing you need between plants will vary depending on their variety, their mature size, and whether they are indeterminates or determinates.
Additional Steps After Planting
After planting, add several inches of mulch around plants. We like to use grass clippings because they are readily available here and free for the gathering. You can also use straw or even shredded leaves (just don’t use hay!).

Place the mulch around each tomato plant, completely covering the soil. Keep the mulch about 2 to 3 inches away from the stem of each plant. The mulch will help to prevent weeds from growing, retain moisture, and regulate soil temperatures better than bare soil.
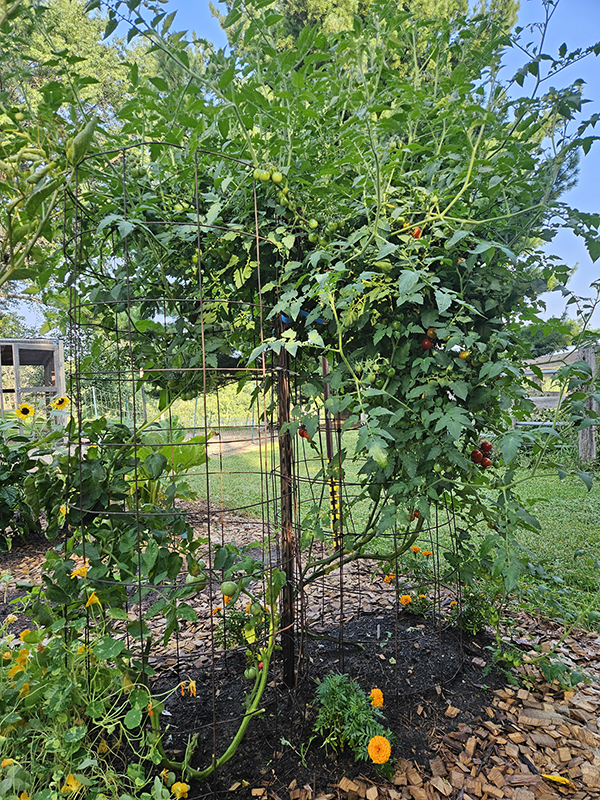
You also need to add your tomato supports at the time of planting. If you wait until the plants are bigger before installing, you risk damaging their large root system. We like to use tomato cages, but simple stakes and ties or even the Florida Weave all work well for tomatoes.
Summer Tomato Care – Easily Grow Tomatoes
Aim for fertilizing tomato plants about every two to three weeks once the plants are a few feet tall. I typically use MIracle Grow, but you can use any type of fertilizer you prefer, organic or otherwise. Dr. Earth fertilizers are another one of my favorite brands if you prefer the organic route. (Product Links: Miracle-Gro Water Soluble All Purpose Plant Food and Dr. Earth Organic Tomato, Vegetable, and Herb Fertilizer)
Tomatoes also need pruning during the growing season. Remove all the lower stems at least a foot off the soil line. This helps to keep the plants off the ground as well as improves airflow. (Obviously, this isn’t the case for dwarf varieties but more regular-sized plants.)
You can also prune indeterminate plants to help keep them from becoming too unruly. I try to leave at least 2 to 3 main stems and then remove all the additional suckers. However, by the later part of summer, the plants are usually growing wild and free! Determinate tomatoes shouldn’t be pruned aside from the bottom area.
Watering
As for watering, I like to water my tomato plants once to twice weekly depending on the weather and rain. Check the moisture levels several inches deep since the surface might seem dry and cracked but the soil where the plant’s roots are might be plenty moist. (I use this inexpensive moisture meter with my garden plants and my houseplants – Product Link: XLUX Soil Moisture Meter)
When watering, do so deeply, right at the base of each plant. The less moisture you can keep off their foliage, the better. Water them early in the morning or later at night if possible.
As the plants are growing, be sure to check them over every couple of days. Look for any signs of disease or damage and take care of them as needed.
Harvest Early & Often – Easily Grow Tomatoes
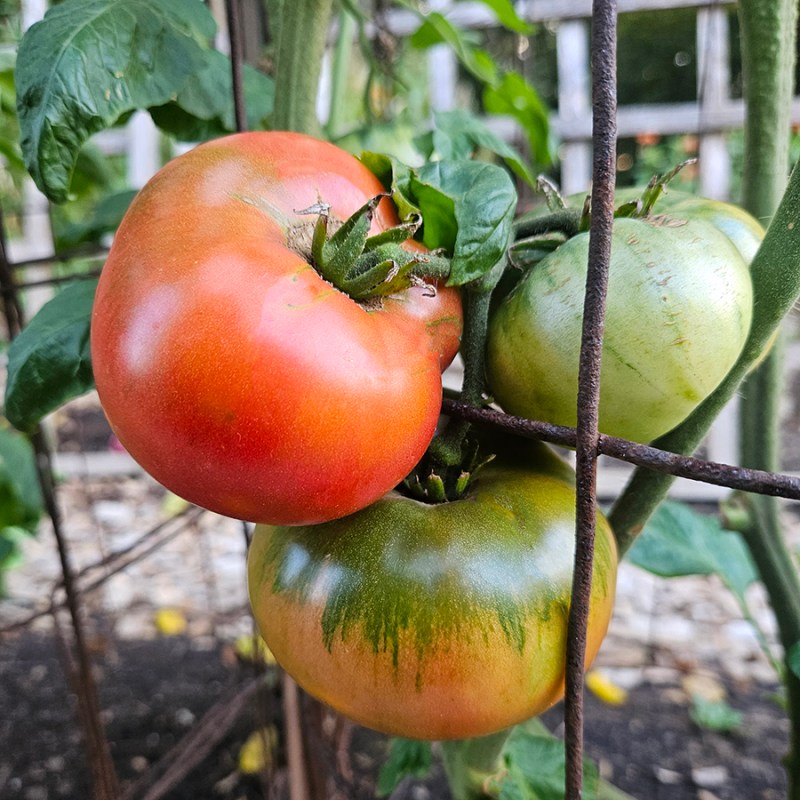
Lastly, harvest your tomato plants early and often. You do not need to wait until the fruit is fully ripe before harvesting. In fact, leaving tons of fruit on the plants can cause them to slow the production of new blooms. In addition, the fruit is left vulnerable to cracking, splitting, pests, and weather issues if allowed to ripen on the vine.

As soon as the fruit starts to change to its mature color, it can be picked. It will continue to ripen on your counter without the worry of pests, weather, or any other issues that might arise outside in the elements. Just keep the tomato on a wire rack or similar to give it plenty of airflow on all sides.
Store your tomatoes on the counter as opposed to the fridge. If you prefer cold tomatoes on your sandwiches like my husband does, just pop one in the refrigerator a few hours before consuming it. But trust me, the flavor and texture will be much better at room temperature.
Until next time, thanks for stopping by!
– Chelsea