
This guide will cover everything you need to know about planting, growing, harvesting, and drying mint either in your garden or in containers.
Known for its beautiful green color, refreshing flavor, strong scent, and aggressive growing behavior, mint can be both a reward to grow in your garden – or a total pain! Whether you get to enjoy growing this herbal perennial or wind up wanting to pull your hair out in frustration will likely depend on how – and where – you plant and grow mint.
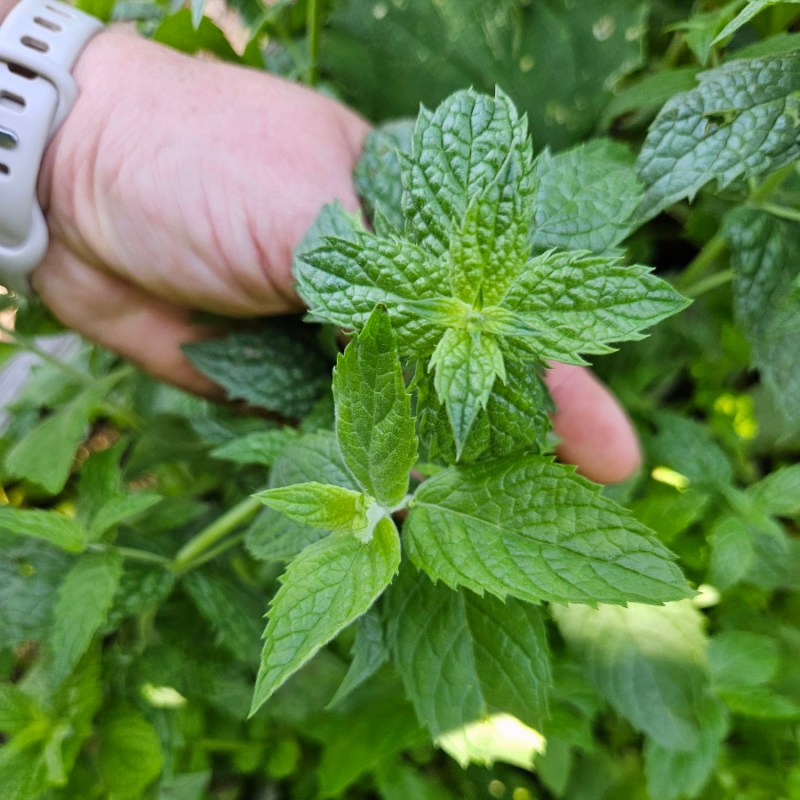
There are many different mint varieties. Some you have likely heard of and others that might not be as familiar to you. However, they all grow basically the same and feature fragrant, oil-rich leaves and vigorous spreading behaviors.
Mint spreads via underground rhizomes and horizontal runners. A single plant can quickly expand to cover multiple feet in a single growing season.
So if you aren’t prepared for your entire garden to become overtaken by mint, there are a few things to keep in mind before adding this herb to your growing list. This guide will cover not only that, but also tips on harvesting and drying this fragrant herb.
Planting Mint By Seeds Or Transplants – Mint Growing Guide
Mint is one of those easygoing herbs that grows easily in most home gardens. In fact, it grows so well that I HIGHLY recommend that you plant and grow it in pots or containers of some sort. (More on the reasons why in a bit.)
These plants prefer moist soil that also drains well to prevent root rot. The plants require a location with full to partial sun. (You can also grow mint indoors as a kitchen herb, but that’s a topic for another article another day!)
Mint can be started by either seed or cuttings/transplants. Both options work well, but there is a bit more planning involved when you grow by seed.
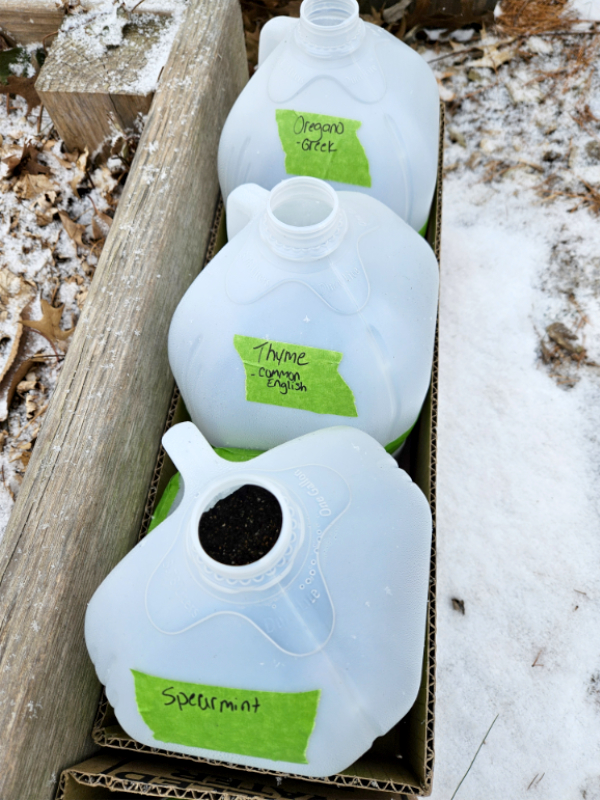
Starting Mint By Seeds
To grow mint by seed, you want to give plants a head start by starting the seeds indoors or doing winter sowing. Surface sow the seeds directly on top of pre-moistened seed starting or potting soil about 8 to 10 weeks before your location’s last frost date.
Mint requires light in order to germinate, so only cover the seeds with a light layer of soil, if any. For starting seeds indoors, cover the containers with a humidity dome or a piece of plastic wrap. Set them under grow lights with the lights on and keep the soil moist (not saturated). You can read more about starting seeds indoors here: “Indoor Seed Starting 101 – A Complete Beginner’s Guide”.
For winter-sown seeds, cover the container and place it outside where it can receive sunlight. Ensure that the soil stays moist (not saturated) until it freezes. The mint seeds will naturally germinate once the weather warms up in early spring. For more in-depth instructions on winter sowing, check out my article, “6 Steps For Winter Sowing – Starting Garden Seeds Outside”.
The seeds can take anywhere from one to three weeks to germinate, so be patient. Keep the soil moist and continue watering after seeds germinate.
Are Peppermint Seeds Sold In Stores Legit?
You may or may not have heard that peppermint plants do not produce seeds. Instead, they have to be grown via cuttings. If that is the case, how are companies packaging and selling seed packets labeled as “Peppermint seeds”?
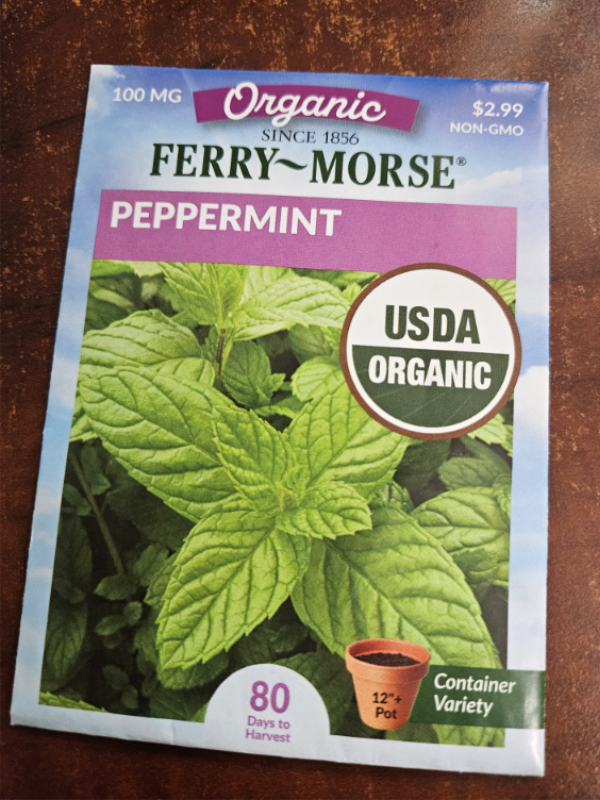
Peppermint is a hybrid plant, specifically an F1 hybrid. A hybrid plant is created by cross-pollinating two or more plants together to create a new plant that features characteristics from the parent plants.
Peppermint is specifically created by combining spearmint and watermint. The seeds produced by these parent plants after cross-pollinating are the peppermint seeds.
While some hybrid plants can produce seeds of some sort, most peppermint plants are sterile and don’t produce seeds at all. (If the plants do produce seeds, they are considered F2 hybrids and won’t be “true” copies of the peppermint plant.)
When you buy packets of peppermint seeds, you are actually purchasing the seeds produced by either one of the cross-pollinated parent plants, not directly from a peppermint plant.
Starting Mint With Cuttings – Mint Growing Guide
Another popular option is to start brand new mint plants using cuttings or transplants. You can purchase cuttings at most greenhouses. Or, you can often get a cutting from a neighbor or friend who grows mint. Most will be more than willing to share a cutting or two with you.
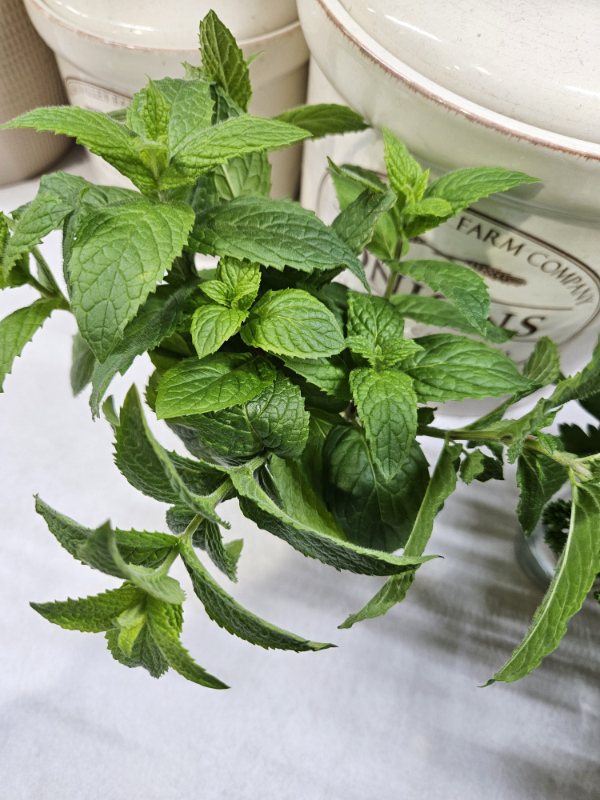
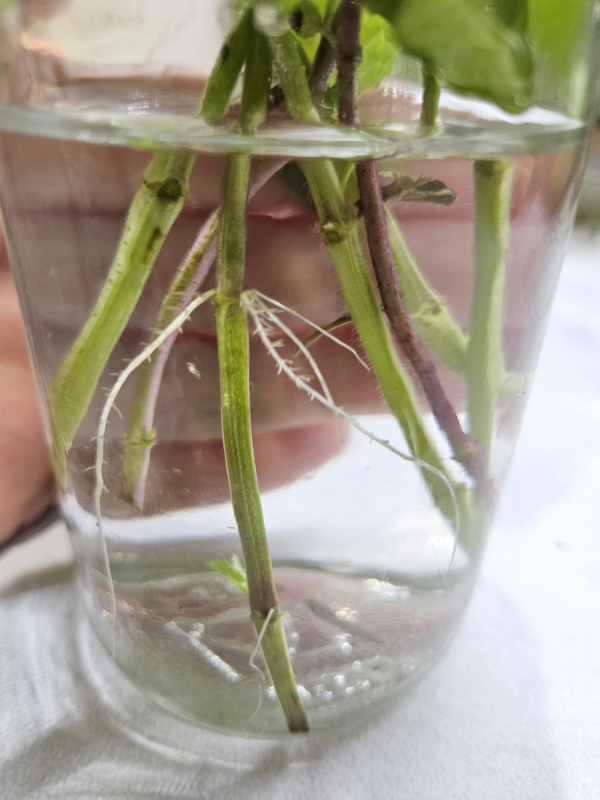
However you get your mint cuttings, you have two options to start the plants. First, you can pop the cutting into pre-moistened, well-draining potting soil. Another option is to place the cuttings into a cup of water. Keep the water topped off and change it every couple of weeks. When using water, you will easily be able to see new roots sprout before long.
Transplant the seedlings into your designated container filled with moistened potting soil once their roots are a few inches long. Make sure whatever container you are using has good drainage holes.
Always harden off indoor-started seedlings before you plant them outside. For seedlings that you plant directly outside, wait until the weather is warm enough to do so. Temperatures of 55 to 70º are ideal for growing mint.
Grow Mint In Containers!
If you learn nothing else from this article, the biggest takeaway I want you to get is: Do not plant mint directly in your garden! Only do that if you want your garden to be completely overtaken by mint. (It does make an excellent ground cover!)
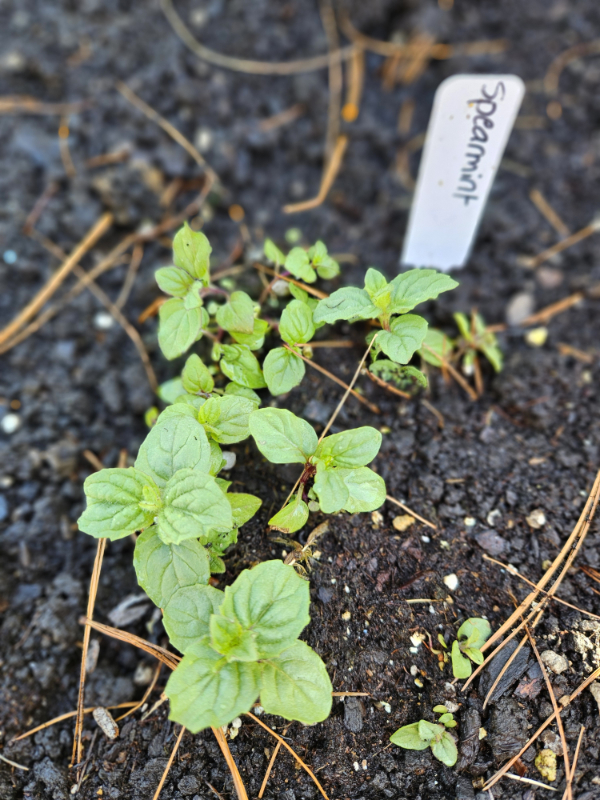
Mint spreads aggressively and quickly by using horizontal runners and underground root systems. So what might start out as one or two small plants can quickly become a 4- to 5-foot-sized plant in a single growing season.
And since mint is a perennial, while the plants above the soil die off in late fall, the roots overwinter. By next year, new plants will pop up through the soil and continue to grow and expand.
If you want to grow mint directly in your garden, plant your mint seeds or seedlings into a container with drainage holes first. Then, plant the entire container into the ground or raised bed, leaving a couple of inches of the pot above the soil line. That way, your mint can still thrive directly in your garden, but the roots stay contained.
My Personal Experience With Mint
I speak from personal experience when I say don’t plant mint directly in your garden without some sort of containment in place. In my case, I planted some mint that I winter sowed using milk jugs.
I transplanted the mint seedlings right into one of my 4′ x 8′ raised beds. I wanted this raised bed to become an herb garden, so to speak. In the same bed, I also planted items like parsley, lavender, thyme, oregano, etc..
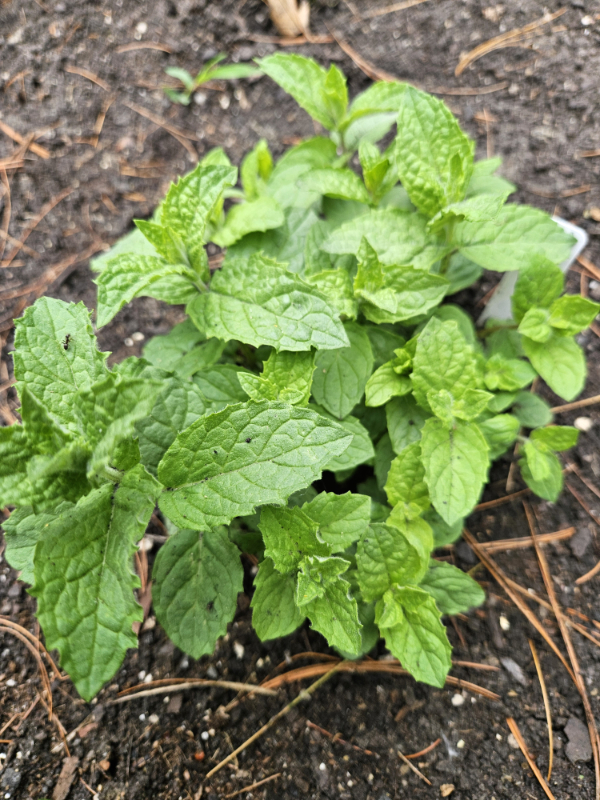
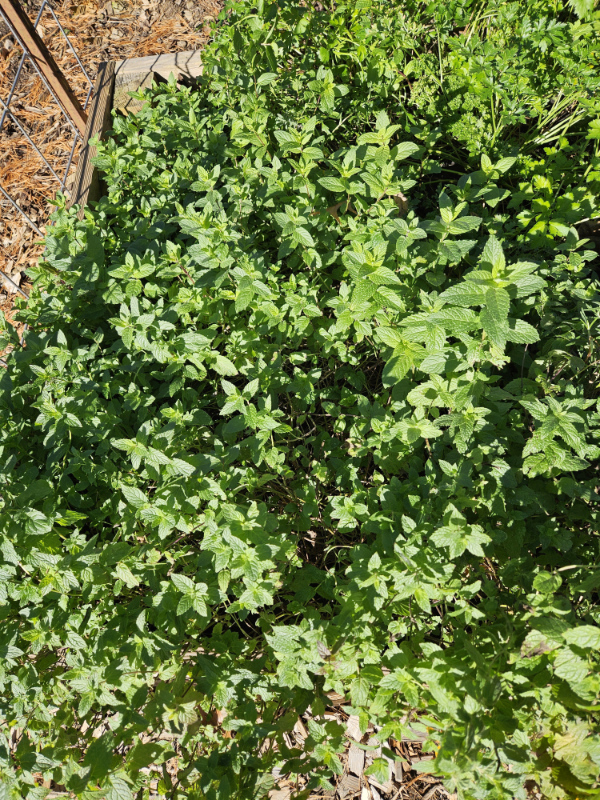
Well, those few bunches of mint ended up taking over half of my raised bed within the first year! I did try digging up as many of the roots as I could when I cleared out the garden in the fall, so we shall see how bad the damage is next year. By next year, I will most likely have a full 4′ x 8′ raised bed full of mint! Lesson learned the hard way because I didn’t take everyone else’s advice seriously.
Growing, Harvesting & Drying Mint – Mint Growing Guide
Keeping Mint Thriving
Not much care needs to happen in order for your mint to thrive. Lightly mulch the growing space with grass cuttings or another organic mulch. Keep the soil moist but don’t overwater. Give the plants a nice long drink twice a week or so, especially during the summer months.
You don’t usually need to fertilize mint. However, at the time of planting, mix in a bit of aged compost if your soil is heavy or lacking in nutrients and organic matter.
Alternatively, side-dress mature plants with a bit of compost for a light boost of nutrients any time you water or it rains. Another option is to water mint plants using compost tea for easily absorbed nutrients.
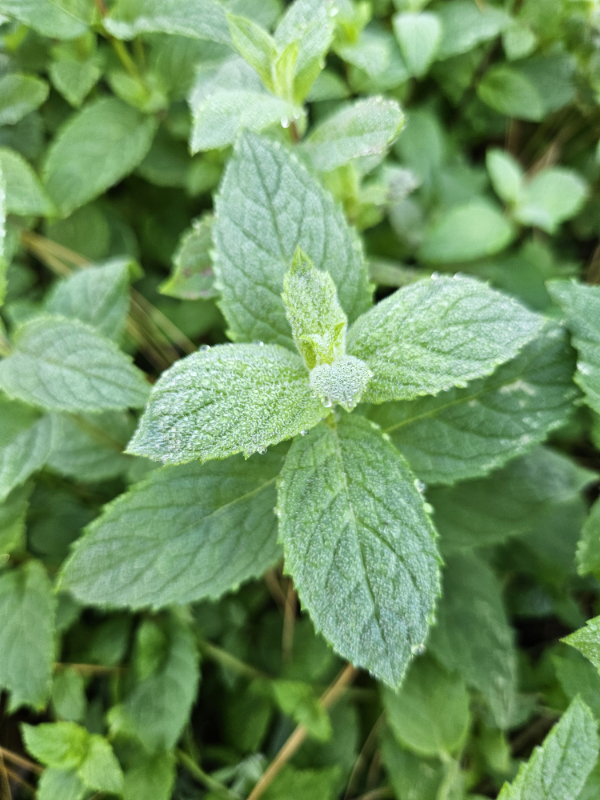
Mint plants grow best when you harvest them frequently. You can pick individual leaves or take cuttings/stems. Both options work well. The younger leaves tend to have a better, stronger flavor/scent. Leave a few leaf sections on the plant so it can continue to grow and produce additional leaves.
Mint is very frost tolerant and cold hardy. It can handle light frosts but will usually die back with the first hard freeze. The roots, however, will stay dormant even in sub-freezing temperatures.
Drying Mint For Storage
The next part of my mint growing guide is drying mint. Dried mint is best stored without crushing the leaves first. Once you do crush them, the oils get released. Instead, store them in airtight containers in their whole-leaf form. Here are some simple ways to dry your mint leaves:
Air Dry Method: This is the best method to get the most flavor from your harvested mint. For stem cuttings, hang a bundle of the cuttings upside down in a warm location for a few weeks. Alternatively, place the harvested mint on a wire rack and leave it somewhere with good airflow. Lastly, you can dry individual leaves in a sealed brown paper lunch bag. Shake the bag gently every day until the leaves are brittle and crumble easily.
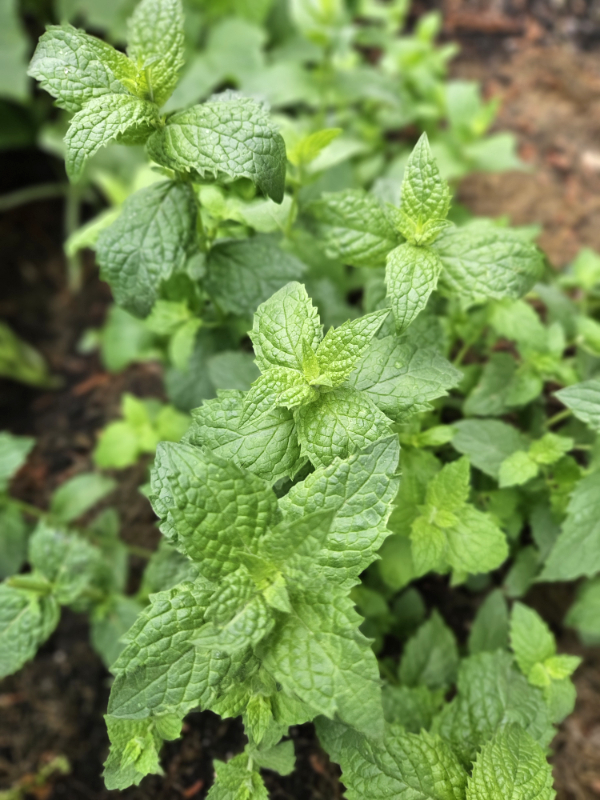
Oven Method: Preheat the oven to 175º. Wash and gently pat leaves dry. Place them on a baking sheet that is covered in parchment paper. Dry mint leaves for about 2 hours or until the mint is brittle.
Dehydrator Method: Wash and gently pat leaves dry. Place leaves or stems individually on a dehydrator rack. Set the dehydrator to as low as it will go and dry for anywhere between 2 and 5 hours, checking after the first 2. (A temperature of 95 to 110º is ideal.) The amount of time it takes will depend on the temperature setting and moisture level in the leaves. (I love my Cosori Dehydrator to dry out all sorts of herbs and garden produce. – Product Link).
Common Varieties Of Mint – Mint Growing Guide
There are many different varieties of mint, and they all differ slightly in their scent, flavor, and appearance. Here are some of the most common ones grown in home gardens:
Spearmint: A mildly minty, sweet flavor profile. It features bright green, pointed leaves that have slightly textured ridges along them.
Peppermint: Peppermint is a hybrid of spearmint and watermint. It has a very high menthol content and features a strong, intense minty flavor that comes across as “cooling”. It has darker green leaves with purplish-red stems. True peppermint plants are sterile hybrids and do not produce seeds.
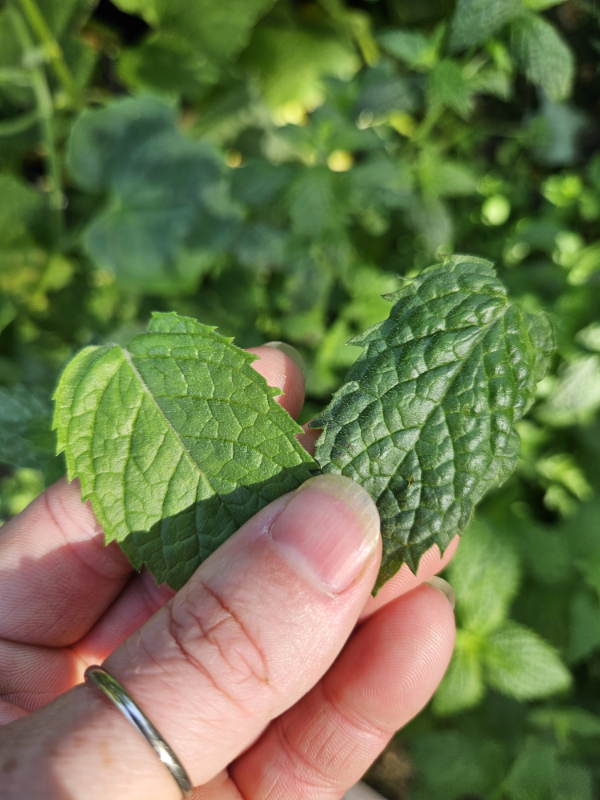
Chocolate Mint: Chocolate and mint are a delicious flavor combination, but did you know you can get chocolate and mint in an herb? This peppermint cultivar actually tastes like those delicious chocolate mints, making it a perfect herb for desserts and sweet treats. This is another sterile hybrid plant.
Apple Mint: This variety of mint has a slightly fruity flavor profile and is a bit milder than peppermint or spearmint. The plant features fuzzy leaves that most other mint varieties lack. You can find both true plants and hybrid varieties of apple mint.
Do Different Mint Varieties Cross-Pollinate?
Last but not least for the growing guide, I want to touch on cross-pollinating mint. If you grow multiple different varieties of mint in the same raised bed or next to each other, can they cross-pollinate? The quick answer is yes. However, there are some things to note.
When mint varieties produce flowers, bees and other pollinators go from plant to plant and carry pollen from one variety to another. This can cross-pollinate them. The existing plant does not change in flavor, scent, or appearance when this occurs. Spearmint will still smell, taste, and look like spearmint, and so forth.
However, the seeds produced by these parent plants will be the hybrids. That means that the next generation of mint plants might have features or traits of either of the crossed plants.
If you want to prevent cross-pollination from happening, simply snip off the flower heads as soon as you see them or before they get a chance to go to seed.
Until next time, thanks for stopping by!
– Chelsea
*This post may contain affiliate links. These are products I have used personally and highly recommend. As an Amazon Associate, I may earn a small commission from qualifying purchases if you purchase items through my links. These links and the ads on this page help to support my family and our semi homestead, so Thank You!
Discover more from Semi Homestead Life
Subscribe to get the latest posts sent to your email.