
If you are drowning in garden produce by the end of the growing season, then you aren’t alone! Thankfully, there are plenty of ways of preserving your garden harvests, whether you have loads of time and energy on your hands or you are barely scraping by. (Trust me, we all have “those” kinds of years, and that’s ok!)
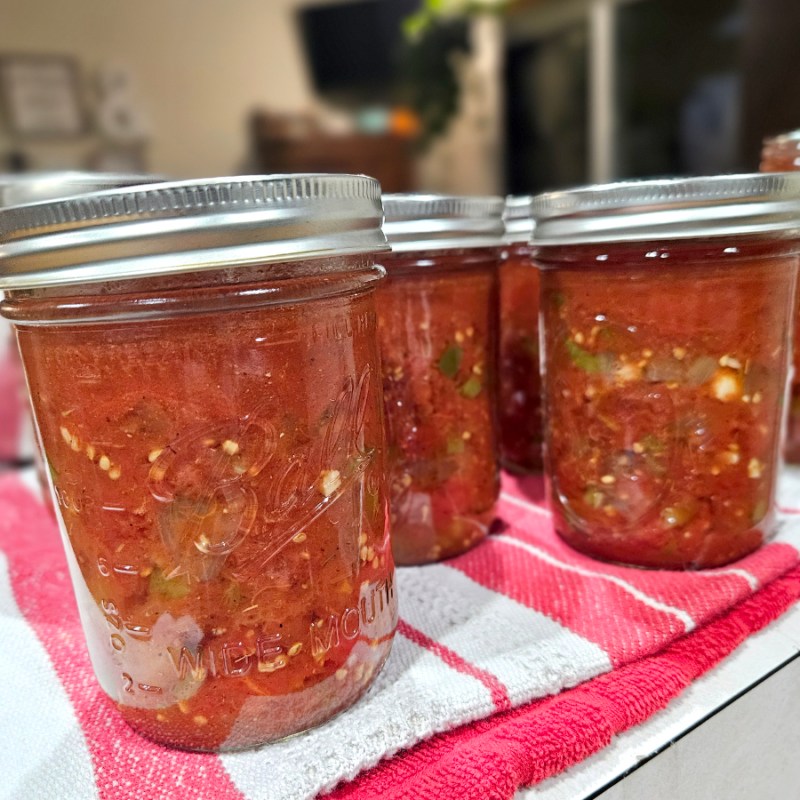
It never fails. One minute you are wondering if your plants will ever grow and start producing. The early days in the garden just seem to drag on when you are watching those young plants start to fill out and set blooms.
The next thing you know, you are practically drowning in produce. It covers up your kitchen counters, tables, and even your husband’s workbench. (Or maybe that’s just in my household!)
It can be very overwhelming to see all of those vegetables and fruit sitting around, especially if you are new to gardening. What can you do with it when you have little time or energy? What can you do if you have loads of time on your hands but are clueless about where to begin? I’ll cover both of those situations and more to help you with preserving your end-of-the-season garden harvests.
Little Time Or Energy – Preserving Garden Harvests
There are just some years when you are struggling. Whether it’s mental struggles, physical struggles, issues in your workplace, with your kids, dealing with hormones, or just life in general, time and energy simply aren’t on your side.

I’ve had years where I’m canning and preserving all the garden harvests my hands come into contact with. I make the salsa from scratch, slow-roast tomatoes to create a rich and amazing tomato sauce, and use my water bath and pressure canner to preserve jars upon jars of goods. Basically, I do all I can to save every item in the garden.
Then there are those years where I am just scraping to get by, and that’s ok. Sometimes, I feel like I enjoy growing the garden plants more than I do preserving them! Sure, I love to open up a jar of something I preserved in the middle of winter and enjoy the “fruits of my labor”, but that isn’t always the case. When years like that hit, it’s ok to just do the bare minimum to not waste your garden produce.
Here are some things you can do to help with preserving garden harvests when your energy is low and time is short:
Plan Meals Around It
This might seem simple, but the first tip is to enjoy the garden produce in your day-to-day meals. Use what you harvest to guide and influence your weekly menu.
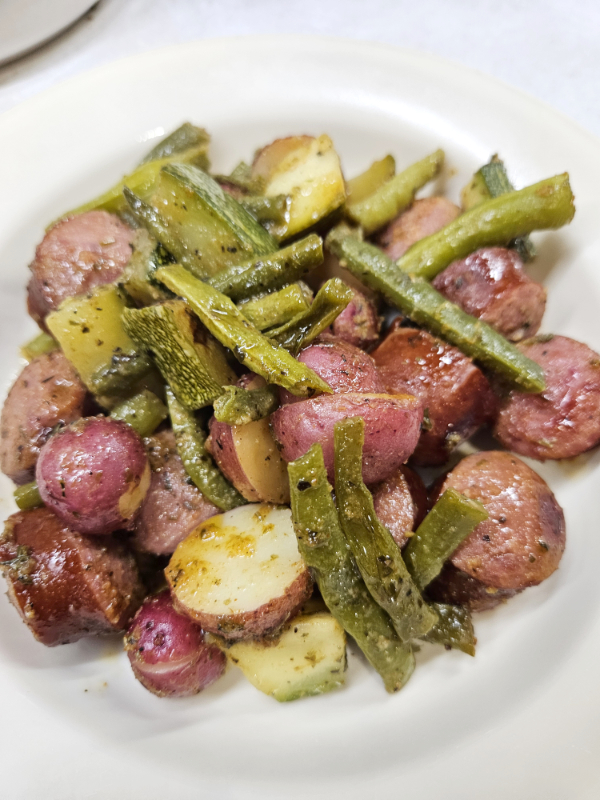
Are some of the tomatoes starting to look like they are close to spoiling? Peppers starting to get a bit soft and wrinkly? If so, gear your menu around using those items first. Find ways to eat and enjoy the freshly harvested produce while you have it sitting on your countertop. You’ll likely be missing it come wintertime!
For example, if you have loads of slicing tomatoes, add BLTs to your menu. Several tender zucchini lining your counters? Make a few loaves of zucchini bread or sauté up a simple yet tasty side dish. (Try my Sautéed Garlic Butter Zucchini recipe!)
Preserving Garden Harvests By Freezing
My favorite way of preserving my garden harvests when time and energy are short is to freeze them. For the most part, freezing takes very little time, can be done in large batches, and doesn’t require you to work over a hot stove or oven all day.
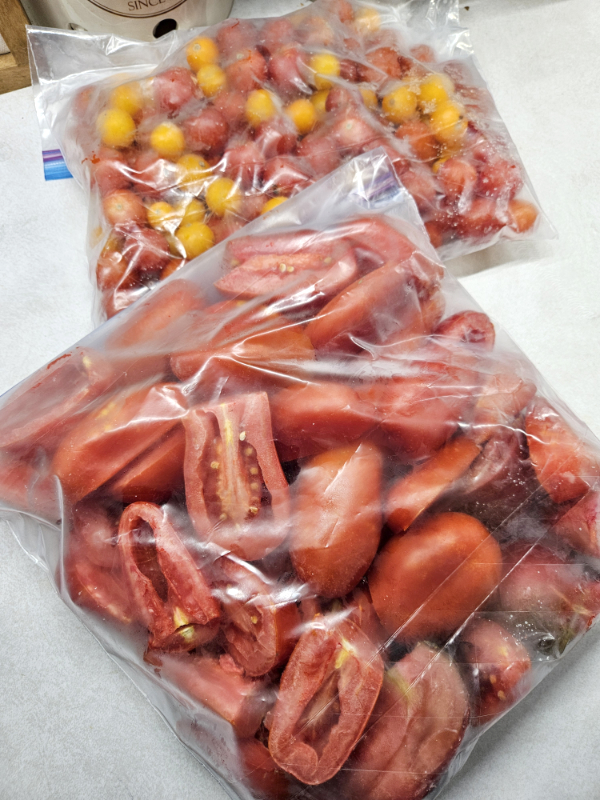
Freezing can be done in small or large batches, and it allows you flexibility to enjoy the produce later on. For example, I love to freeze extra tomatoes I have lying around before they spoil. Then, when I have more time during the fall or winter months, I can thaw them out and make all sorts of recipes using the tomatoes when I have more time and energy.
A great resource for freezing the garden is Crystal Schmidt’s books. She’s an individual I follow on Instagram and is a master at preserving her garden to last her and her husband all winter long. Her recipes are easy to follow, don’t require fancy equipment, and make it easy to do for even beginner gardeners.
In addition, she includes recipes to use up those frozen vegetables, herbs, and fruit. Check out her two books, “Freeze Fresh” and her newest one, “Freeze Fresh Meal Prep” (Product Links).
Share Your Harvests
Not everyone is lucky enough to have a load of harvests from a producing garden. Even if a person does garden, some years certain crops grow better than others. Chances are you’ve experienced a bumper crop of something one year only to have it flop and die the next. (If you haven’t experienced that yet, then I need to know your secret!)

If you are swimming in produce that you can’t eat fast enough or are running out of freezer space to store it, then consider selling or sharing your produce. Many communities have local farmers’ markets. Set up a booth to sell your excess produce. Promote the items on social media or simply ask around your community if anyone is interested in purchasing or swapping.
If that seems too time-consuming or you don’t need the extra funds, donate your excess to local food banks. Check with family members, neighbors, or friends and see if they would like some. Your overflowing – and overwhelming – produce can turn into someone else’s blessing!
A Little Bit Of Time Now Or Soon – Preserving Garden Harvests
Let’s move on to the category of maybe having a bit more time right now, or soon. Maybe during the work week you are swamped, but you have time during the weekend to do a bit of preserving and saving. That’s when these tips come into play:
Refrigerate To Prolong Freshness
The next suggestion I have is to use your refrigerator. While this won’t allow you to store most garden produce long-term, it can still buy you a few extra days or maybe even weeks.
For most produce, leave them whole and don’t wash them before storing in the crisper drawer in your refrigerator. Just give them a good scrub right before using them instead.

How successful refrigeration is will depend on the produce you are preserving. Some produce is best left at room temperature. This includes tomatoes, potatoes, onions, garlic, and winter squash. Store tomatoes on the counter and everything else in a cool, dry, and dark location. Otherwise, try refrigerating these items for slightly extended life:
Refrigerating Tips
- Apples – Apples are one of the best items to store in your refrigerator. The amount of time they last will depend on the variety. Keep them whole in plastic bags.
- Broccoli – Store whole in a breathable bag. Lasts around 3 to 5 days.
- Carrots – Whole carrots can last around 3 to 4 weeks in a refrigerator. Remove the leafy green tops and store in an airtight bag or container.
- Cauliflower – Lasts up to two weeks when stored whole in a breathable bag.
- Green Beans – Store whole, trimmed, or snapped in a breathable bag or container. They should last around a week or so.
- Herbs – Different herbs have different requirements. A quick search will tell you how to best store your herbs in the refrigerator.
- Leafy Greens – Most leafy greens do well in the refrigerator and can buy you an extra few days. For most, wrap them in dry paper towels and store in a breathable bag.
- Peppers – Most whole peppers can last between 1 and 3 weeks when stored unwrapped in the refrigerator. Green peppers last longer than others.
- Radishes and Beets – Both can last up to a month or so. Remove the green tops before storing in a plastic bag or container.
- Zucchini – When stored at room temperature, zucchini is good for just a few days. However, by popping them in your refrigerator, you can extend their shelf life to a couple of weeks instead.
Cook Double Batches
Another method I like to use when I have some time but not a whole afternoon is to make a double or triple batch of something that our family plans to eat right away and then freeze any excess. The way I see it, you are already going to be going through the steps to make the recipe anyway. Why not just double or triple it?
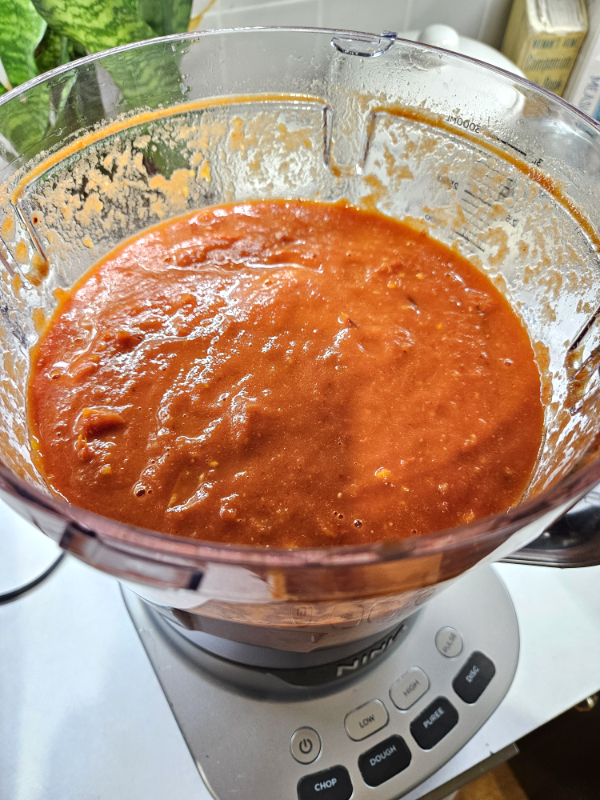
Typically, it only takes a little bit longer in the moment to prep the additional items. Not only can you enjoy it now but you get a second or third batch to enjoy later on in the year.
One great example of this is roasting tomatoes for a tomato sauce. I like to use my HUGE baking sheet to roast a ton of tomatoes, peppers, garlic, and onions at one time. We get to enjoy half of the sauce right away for our spaghetti supper, and the other half I freeze for a second meal later on.
Dehydrate For Shelf-Stable Items
Dehydrating foods is a great way to create a shelf-stable product without taking a ton of time – well, at least your time! Once the food is in the dehydrator, it requires basically no hands-on time while the dryer does all the work.
The purpose of a dehydrator is to draw out most of the moisture from a food item. This then makes the product safe to store at room temperature since bacteria, yeast, and mold won’t grow as easily.
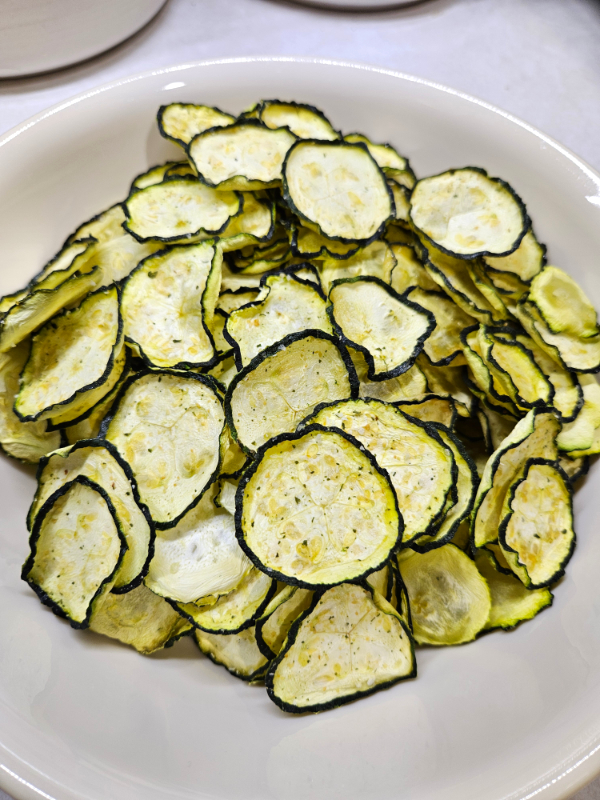
Think beyond beef jerky! All sorts of garden produce can be dehydrated, and it’s honestly one of my favorite preservation methods. Items like fruit crisps, fruit leathers, seasoned chips, dried herbs, vegetable cubes, etc. There are loads of recipes and ways to dehydrate and use fruit and vegetables, so you have plenty of options to try.
Again, this method takes a small amount of time at the beginning, but then the dehydrator does all the work. I have a COSORI Food Dehydrator (Product Link) that fits quite a bit of produce in a small space. (You can also use your oven in many instances as well.) Pop in a few Desiccant Packets (Product Link) with your finished product, and your items will store for months beyond!
A Whole Afternoon Or Day – Preserving Garden Harvests
If you have a whole afternoon or day dedicated to processing and preserving your garden harvest as well as the energy, then you have way more flexibility. In addition to the suggestions I mentioned above, you can also can your garden produce.
Water Bath Or Pressure Canning
There are two main types of home canning available. The first is water bath canning, and the other is pressure canning. I have two articles dedicated to the basics of canning and what materials you need if you want to go down a deep dive into those topics:
- “Canning Basics – Two Great Ways To Preserve The Garden”
- “Basic Canning Equipment For Water Bath Or Pressure Canning”

Basically, canning is the best way to preserve a large harvest of produce to create a shelf-stable, long-term product that you can use all year long. The main thing to keep in mind is that you must follow a safe and tested recipe. Follow these recipes to a “T” to ensure that your finished product is safe for consumption.
There are loads of canning recipes out there as well as ones that have been handed down from family member to family member. While I’d love to use some of my own late grandmas’ canning recipes, I know they aren’t necessarily safe by today’s standards.
Only tested recipes that have been checked for proper ingredients, processing times, temperatures, acidity, and pressure can guarantee that your produce will be safe from sometimes fatal food-borne illnesses like botulism.
Enjoy The Harvest
No matter how little or much time you have, try to enjoy your garden harvest. Remember that what you do this year in regard to preserving and canning doesn’t have to be repeated year after year. The goal is to enjoy gardening, and if you have time and energy, to preserve it to enjoy year-round. If not, there’s always next year!
Until next time, thanks for stopping by!
– Chelsea
*This post may contain affiliate links. These are products I have used personally and highly recommend. As an Amazon Associate, I may earn a small commission from qualifying purchases if you purchase items through my links. These links and the ads on this page help to support my family and our semi homestead, so Thank You!
Discover more from Semi Homestead Life
Subscribe to get the latest posts sent to your email.