
When it comes to storing all those saved vegetable and flower seeds over winter so they stay healthy and viable, how and where you store them will make a huge difference between seeds that thrive and those that fail to even germinate.
If you are like me, then chances are you were left with tons of extra seeds once you get done planting your garden each spring. Whether it’s from poor planning or having a slight addiction to purchasing new vegetables and flowers each year (all with the knowledge that you have NO place to put them) – those leftover seeds shouldn’t be tossed in your trash!

In fact, most seeds are viable for several years – not just the year they were packaged for. This means that you can save those extra seeds and keep them over the fall and winter months to use again next year (and the next!).
Not only does this create less waste, but it allows you to save money at the same time! It’s no secret that the price of everything keeps increasing, and seed packets aren’t immune. Even if the price does stay the same, the amount of seeds you are getting each year is often reduced.
Whether you have extra seeds from seed packets you purchased or seeds that you saved yourself, you can store them safely and properly with just a few simple tips.
Tips For Storing Saved Garden Seeds
There are two main issues that can really shorten the life expectancy of your seeds. Those problems are moisture and heat. Both can cause otherwise healthy seeds to no longer be viable.
Too much moisture will cause the seeds to spoil and mold. Sometimes, excess moisture can cause seeds to germinate prematurely. Once the seeds germinate through the outer coating, the seeds will quickly die if there isn’t any soil or light to continue the growth.
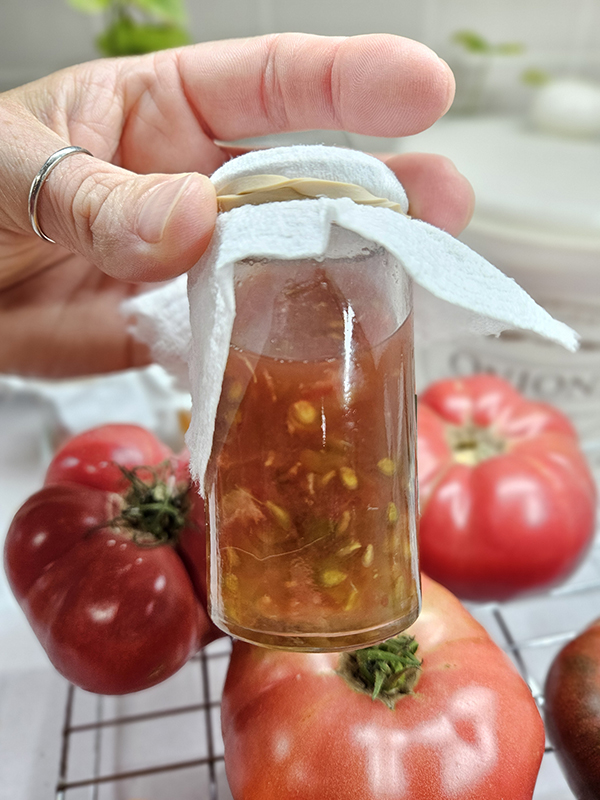
High heat can also cause damage to the seeds’ protective coating. Once that is damaged, the seeds can quickly become ruined. More often than not though, moisture will end up killing your seeds as opposed to excess heat.
So the key is to keep seeds cool and dry. If you can prevent those two issues from occurring, then you can likely successfully store your saved seeds for several years.
Choosing The Right Seeds
This tip doesn’t really pertain to seeds that you have left over from purchased seed packets. This tip is for those of you who might be saving seeds from your own garden plants.
There are likely a ton of different flowers and vegetables that you can successfully save the seeds from. Some of my favorites are marigolds, pumpkins, zinnias, nasturtiums, and tomatoes. However, not all seeds will produce identical plants as the parent plants.
When it comes to seed varieties, there are two main types: Open-pollinated seeds and Hybrid seeds. Only the seeds from open-pollinated plants will produce nearly identical copies of the adult plants. Hybrids, on the other hand, will not.

This is such an important topic when it comes to saving your own seeds that I dedicated an entire article to it: “How To Save Garden Seeds – Open-Pollinated Vs Hybrid Seeds“. Please take a look at that article if you plan on saving and storing your own saved seeds from your garden plants.
You can definitely still save the seeds from hybrid plants. Just have an open mind. Don’t be surprised if the seeds don’t produce the exact same plant you were expecting. Who knows; Maybe it will end up being your new favorite plant!
Keeping Seeds Dry
Now that you have figured out which seeds to save, the first step is to get them dry and moisture-free. With seeds that you purchase from the store or a reputable seed distributor, this shouldn’t be an issue. The company removes the moisture from those seeds before they package them for sale.
All you really need to do with those seeds is toss any that are broken or look bad. Starting with healthy-looking seeds gives you a better chance of having strong, healthy plants down the road.
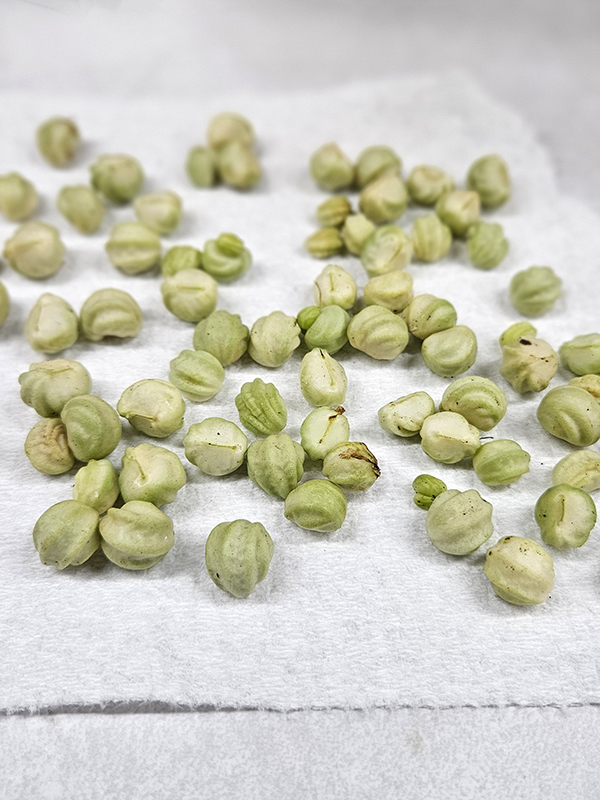
If you are saving the seeds from your own open-pollinated crops, then you need to take extra steps to ensure that the seeds are truly dry. Most often, this involves drying out the seeds after harvesting.
I like to spread out the seeds on a piece of paper or paper towel to dry for a few days. I keep them in a dry, draft-free location that is far away from any moisture. After a few days or even a few weeks, the seeds should be dry. If they easily snap when you try to break them, they are good to be packaged up. If not, wait a few more days and try again.
Using Paper Envelopes For Storing Saved Seeds
Once the seeds are fully dry, you have a couple of options. I like to save any purchased seeds in their original seed packet as long as it is clean. Those packets contain all of the planting information I need without needing to re-write it.
If the packet has been ruined or I am storing seeds I’ve saved from my own garden plants, then I like to use paper envelopes or even brown paper bags. I use inexpensive kraft paper seed envelopes that I found online. They are the perfect size and allow me to wring any information I need on the packet before sealing. (Product link: 100 Pack Self-Adhesive Kraft Paper Envelopes)
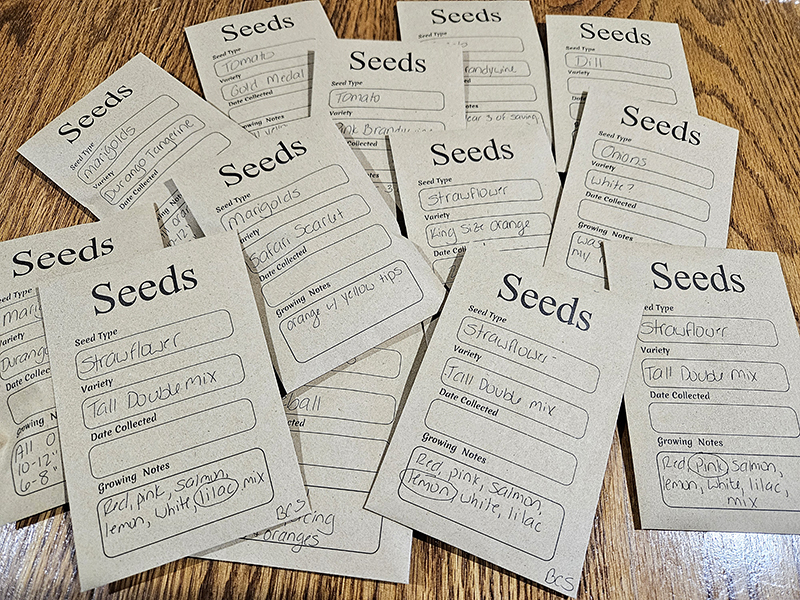
If you don’t want to purchase anything new, you can also make your own envelopes using paper mailing envelopes or even cardstock paper. You just want to make sure to write the name of the plant variety, the date, and any other important information pertaining to the plant or seed on the outside of the paper product.
Photo Storage Boxes
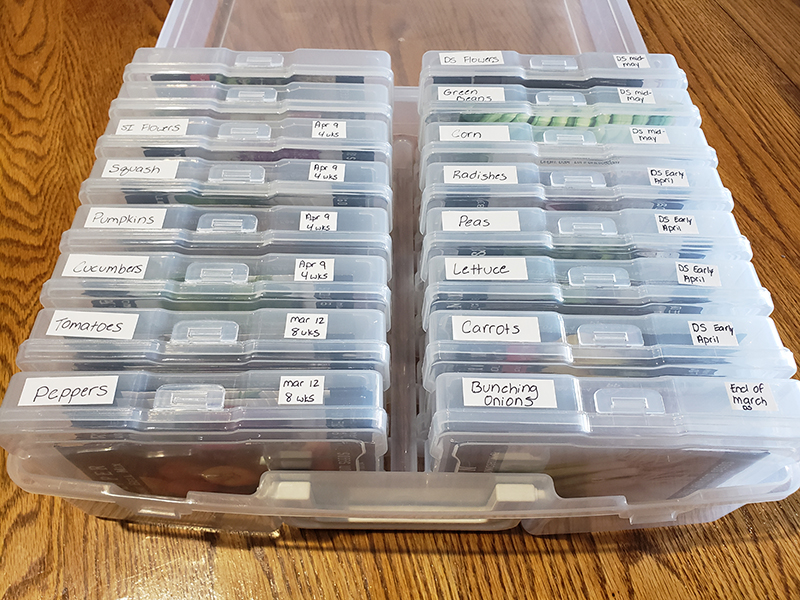
The next step is storing all the paper envelopes in a large container. For this, I like to use a plastic photo storage box. This storage box makes keeping the seeds safe and dry a breeze! It has separate 4×6-sized compartments for the different types of seeds and keeps those securely stored inside a larger box with a handle. (Product Link: Photo Storage Box)
Some other storage options besides the photo storage box are glass canning jars with lids, plastic zip-lock bags, plastic food storage containers, and even empty and clean spice containers or medicine bottles (as long as they have sealing lids). Using plastic is fine as long as you have the seeds inside some type of paper product.
You can also add a food-safe, silica-gel desiccant to help absorb any excess moisture if you are still worried about that. (This is an option I haven’t needed to try yet.) Adding rice is another option that some people use. (Product Link: Dry & Dry Silica Gel Packets)
Storing Saved Seeds Long-Term
Now that your seeds are dry and in sealed containers, it’s time to find a spot to store them over winter. Again, the key is to keep them dry, cool, and in a dark location.
I like to keep my seeds in the photo storage box in one of our spare closets. It stays cool enough that the seeds won’t germinate while staying dry at the same time.
You can also store seeds in a cool garage or in a dry basement. Some people prefer to keep their seeds in a chest freezer. Just be sure to use freezer-safe containers if you are going that route to avoid unnecessary damage or breakage.
Do not keep your seeds in a refrigerator, a damp basement, a cellar, or any other place where moisture might be an issue.
By following these simple tips, you will not only save yourself money, but you will be able to rest easy knowing that you already have a head start on your spring garden for next year!
Until next time, thanks for stopping by!
– Chelsea
*This post may contain affiliate links. These are products I have used personally and highly recommend. As an Amazon Associate, I may earn a small commission from qualifying purchases if you purchase items through my links. These links and the ads on this page help to support my family and our semi homestead, so Thank You!
Discover more from Semi Homestead Life
Subscribe to get the latest posts sent to your email.