To grow your vegetable and flower garden seeds indoors this late winter and early spring, there are a few basic seed starting supplies you are going to need. And, contrary to what most stores want you to think, you don’t have to spend a small fortune to get those supplies!
As soon as the holiday season starts to wrap up, you will likely start to see all sorts of different products and supplies stacking store shelves that have to do with starting vegetable and flower seeds indoors. From grow mats to containers to soil and more, it seems like the list of items you need is overwhelming.
However, you really don’t need that many supplies to successfully start seeds indoors. In fact, many of the products that are specifically labeled for “seed starting” just aren’t needed!
I have been starting my own garden seeds indoors for several years. I can tell you from personal experience what items you really need and what ones you can do without (like those heat mats).
Here is my list of the 5 basic supplies you need for successfully starting seeds indoors. Get a head start on your gardening season and save money at the same time!
Starting Your Saved Seeds – Seed Starting Supplies
Starting seeds indoors is perfect for any store-bought seed packets, as well as the seeds you’ve saved from your own garden and stored all winter long. The equipment and process is completely the same either way!

If you want all the reasons why you should consider starting your own seeds, check out my article, “The Advantages Of Starting Tomato Seeds Indoors This Spring.” While that article is specific to tomato seeds, the same advantages work with all other types of seeds.
Just know that growing your own plants from seeds is not only a great way to save money and preserve your favorite plants, but it’s also a way to have total control over how your plants are grown right from day one! However, store-bought seed packets are also perfectly fine as well.
1. Containers And Trays
To start off this supply list, you are going to need some type of container to grow the seedlings in as well as trays to set those containers on. Now that I’ve been doing this for several years, I have invested in good-quality seed starting trays and containers. However, almost anything can be used to start seeds.
In fact, I’ve even started seeds using empty toilet paper rolls! They can be a bit cumbersome to work with, but they will allow the seeds to germinate just like any other container would.

The main key is having a container that can hold soil but also drain excess water at the same time. The containers need to have adequate drainage holes at the bottom, no matter what you end up using.
Think outside the box when it comes to containers. Sure, you can purchase those flimsy ones that the stores sell. (That is what I started out using, and they worked great at first. However, they didn’t last for more than a season.) You can also add holes to the bottom of empty and clean food containers as well.
Smaller containers work well when seeds first germinate. Once the seedlings start growing, you will want a container that is large enough to support the plant and the expanding roots. My containers now measure between 2 and 4 inches wide by 4 inches deep, and I find that is perfect for most vegetable seedlings.
As for the trays, you just need something with sides that can catch any excess moisture as well as soil that drains out of the containers.
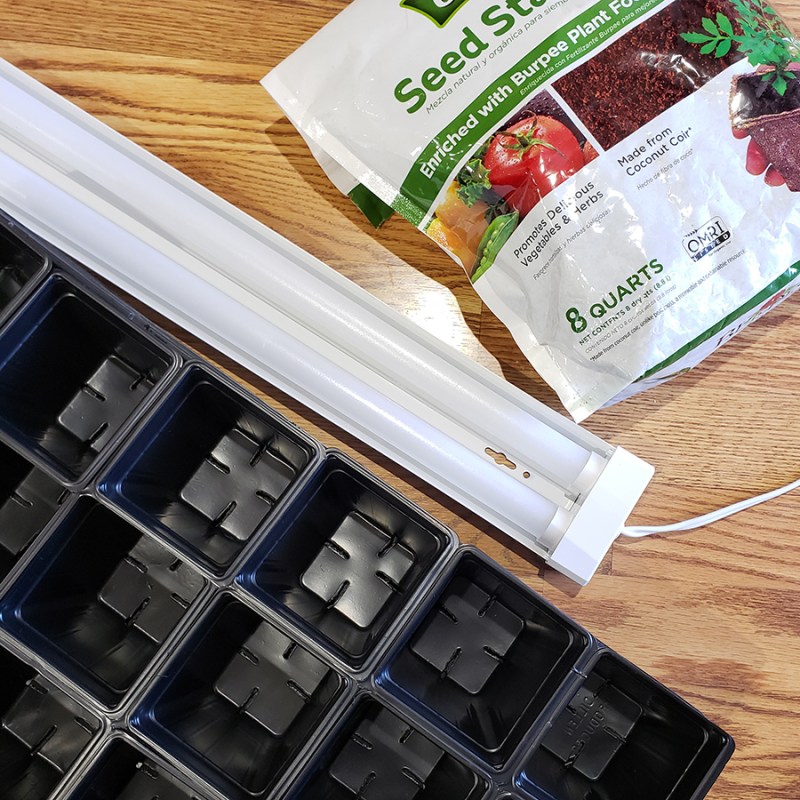
2. Seed Starting Soil
Now that you have your containers and tray supplies, you need proper soil. While it might be tempting, don’t just go out to the garden and use that soil. While the soil in your garden or raised bed works great outside in the sunlight and elements, it can be a bit difficult to get seeds to start indoors when using it.

In fact, seed starting soil is actually “soilless”. The best seed starting soil is light and fluffy with just a few nutrients included.
The whole purpose of seed starting soil is that it is loose and allows the roots of new seedlings to grow easily without obstruction. At the same time, the mixture holds moisture well.
I’ll admit it, I purchase seed starting soil mixtures. There are a ton of different brands out there, and all have their fans and their enemies. I am not brand loyal and have had success with all sorts of different brands. (Product Link: Miracle-Gro Seed Starting Soil)
Usually, I will take whatever seed starting soil I have on hand and mix in worm castings and fine compost. I find that this combination does great to support young seedlings and provide a bit of nutrients to get them off to a strong start. (Product Link: Worm Bliss Worm Castings)
You can also make your own seed starting soil from scratch. Simply mix 2 parts of coir (like coconut fiber, a fibrous material that helps to retain moisture and add bulk to potting mixes), 2 parts fine compost, and 1 part perlite.
3. Artificial Lights – Seed Starting Supplies
When growing any type of plants indoors, you need the help of artificial lights. Unfortunately, the light from windows just isn’t strong enough to produce strong, healthy seedlings. You will wind up with long, leggy seedlings that will struggle to survive outdoors.

However, you also don’t need to purchase expensive “grow lights.” You can find all sorts of lights that are labeled with “grow light” on them. And boy, do they cost a pretty penny!
Instead, you can use basic LED or fluorescent shop lights like you would have in your garage. They produce more than enough light to help seeds germinate and start growing.
The key is to keep the lights only a few inches above the seedlings. You can use shelves, hangers, or even blocks to keep your lights up off the plants. Just move them up as needed as the plants grow.
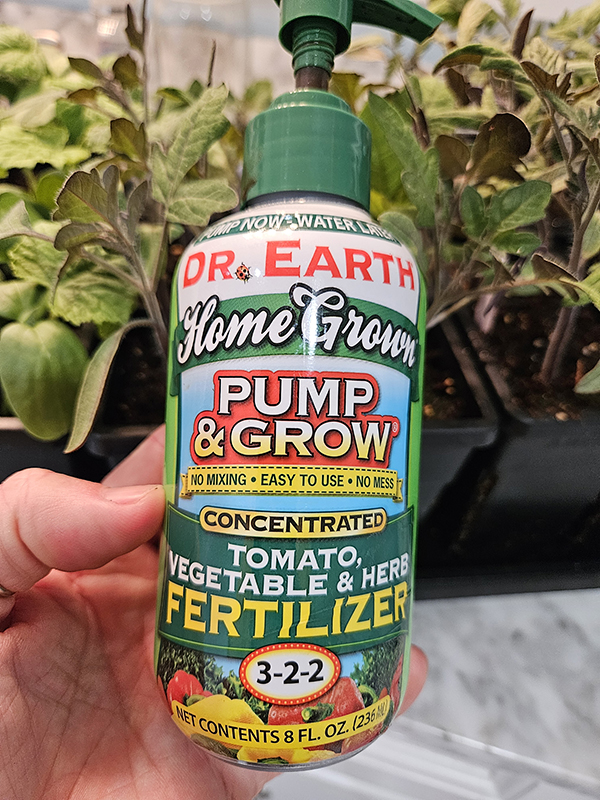
4. Fertilizer & Water
Technically, these are two items but only one needs to be purchased or made. The first is water. We use simple old tap water to keep the seed starting soil nice and moist. When seeds haven’t germinated yet, spritz the top of the soil with a mist sprayer to keep the soil moist.
After that, we like to bottom water our seedlings. This helps to prevent mold from growing on the top of the soil. It also helps promote the deep growth of the roots.
As for fertilizer, new seedlings don’t need many nutrients to begin with. Seeds have plenty of nutrients to germinate and grow in the first couple of weeks. Once seedlings are around two inches tall and have their first set of true leaves, you want to supplement with a light dose of fertilizer.
I like to use either compost tea or a pre-made fertilizer. If you use commercial fertilizers, be sure to use them at half of the recommended dose. (Product Link: Dr. Earth Pump & Grow Fertilizer)
5. Plant Labels
The last of the seed starting supplies you need are labels of some type. Trust me, once you plant those tiny seeds in your soil, it’s so easy to forget what you planted where! Even as the seedlings sprout and begin to grow, they all tend to look very similar.
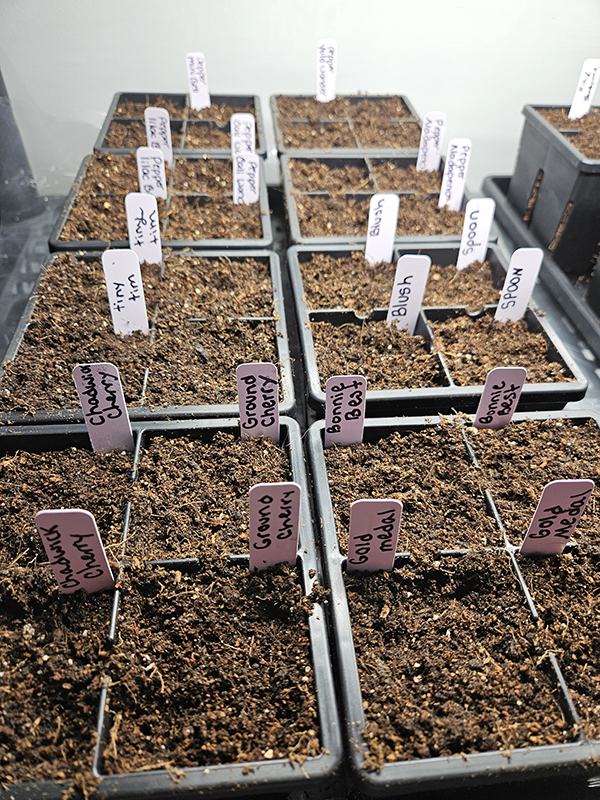
If you have multiple different varieties of tomatoes or pepper plants, it gets even more confusing! You likely won’t be able to know which plant is which. Having some type of label will help you easily identify what you are growing.
You can use whatever you want to label your seeds. We tried popsicle sticks before, but quickly found out that they don’t do well with so much moisture in the containers. Stickers on the containers or plastic labels also work well. I love to use these plastic tags, Plastic Plant Name Tags (Product Link).
With these 5 simple products, you will be well on your way to starting seeds indoors for your spring garden! For a complete step-by-step guide to starting seeds, read my article, “Indoor Seed Starting 101 – A Complete Beginner’s Guide”. For an in-depth look at each part of the process, see one of my Seed Starting Series articles:
- Starting Your Garden Seeds Indoors Series – Part 1: Sowing
- Starting Your Garden Seeds Indoors Series – Part 2: Growing
- Starting Your Garden Seeds Indoors Series – Part 3: Hardening Off
Until next time, thanks for stopping by!
– Chelsea
*This post may contain affiliate links. These are products I have used personally and highly recommend. As an Amazon Associate, I may earn a small commission from qualifying purchases if you purchase items through my links. These links and the ads on this page help to support my family and our semi homestead, so Thank You!
Discover more from Semi Homestead Life
Subscribe to get the latest posts sent to your email.