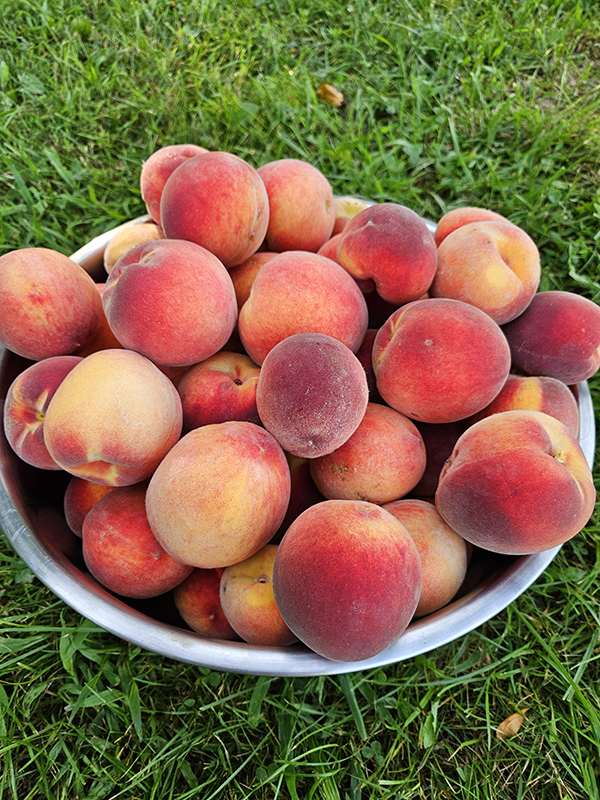
August is peach season, which means you probably need a great way to preserve your harvest. One of the best ways is water bath canning fresh peaches to create a shelf-stable product you can enjoy year-round.

It can be a bit overwhelming if you purchase a huge box of peaches or have peach trees with fruit ripening all at once. Even a small tree can produce loads of peaches, and many of those can become ripe at the same time.
One day, the peaches are rock solid and just slightly showing hints of color. The next thing you know, they all have a slight give and a beautiful golden reddish color. A quick whiff brings you the bright, sweet aroma associated with fresh ripe peaches.
Now what? There are only so many peaches you can (and should) eat in a day! Only so many neighbors and friends to share the wealth with. So instead of letting them rot away on your countertop, you can preserve them.
While you can freeze peach slices to use in recipes like smoothies, most people have limited space in their freezer. Instead, use a water bath canner to create shelf-stable canned peaches. It’s a great option that allows you to enjoy the flavors of fresh peaches all year long!
6 Steps To Canning Fresh Peaches
The way to preserve fresh peaches to create a shelf-stable product is by canning them. This is the process of using a water bath canner. Essentially, you are submerging jars filled with the food product in boiling water for a set amount of time. This time depends on the product being canned.
Once you remove the jars from the canner, the lids will seal and produce a shelf-stable product you can store in your pantry. You can read more about water bath canning and get into the details here: “Canning Basics – Two Great Ways To Preserve The Garden”.
There are a few different ways to can peaches. One method is “dry pack,” and the other is “hot pack.” I like to use the dry-packed method, and that is the one I will be talking about here. This just means that you do not cook the peaches before they go into the jars. You do, however, still have to prepare the peaches a little bit before adding them to the jars.
Here are the steps I use for water bath canning peaches. These instructions are based mostly on the Ball Canning Book. This ensures that the method has been tested and certified as safe. (I have an older version of the book, but here is the book I am referring to – Product Link: The All New Ball Book Of Canning And Preserving.)
Step 1: Prep The Canner & Jars
First, you need to get your water bath canner and the jars ready. I have an electric water bath canner that I LOVE. It makes canning so much easier and frees up my stove for the syrup and other tasks. If you are an avid canner, I highly suggest you look into the investment. Of course, you can also water bath can the old way using a large stove-top canner. (This is the newer version of the one I have – Product Link: Ball EasyCanner Electric Water Bath Canner.)
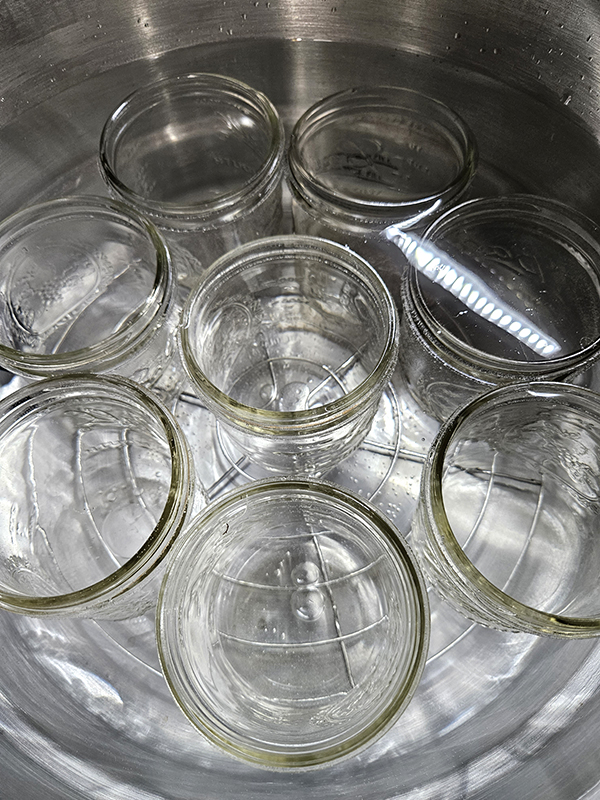
You also need to prepare your jars and get them hot. I do this by putting them into the water bath canner and letting them both heat up at the same time. Some people run their jars through a dishwasher cycle (mine is always full of dirty dishes, it seems like). Others boil the jars in a separate pot of water. I just find that using the canner to warm up the jars works perfectly and saves me space.
To use your canner, fill each jar with warm water and place them into the canner. Then fill up the canner with hot water until it reaches the top of the jars. Turn your canner or the stove on and start heating up the water and jars.
Canning Tip: Add a splash of vinegar to your water bath canner water. This will help to prevent hard water spots from forming on the jars. Trust me, it makes a big difference!
Step 2: Prepare your Peaches
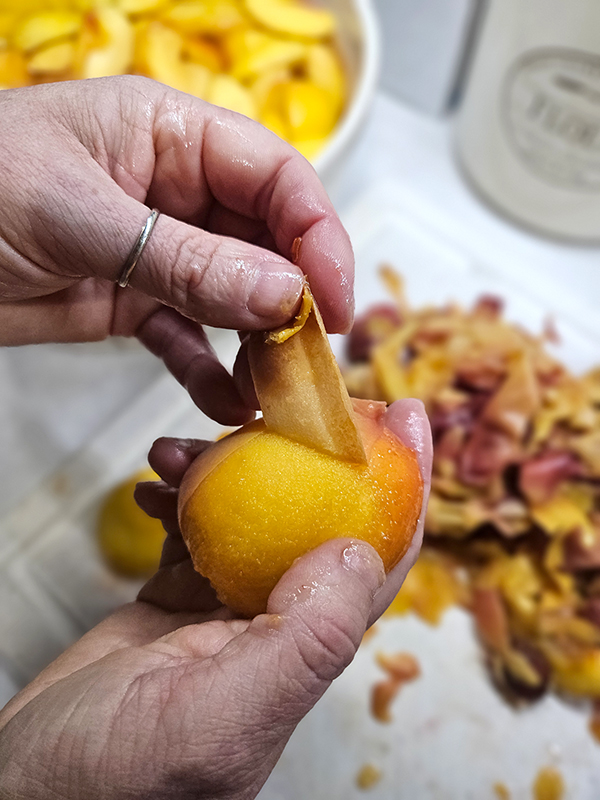
While that is heating up, it’s time to prep the peaches. When canning peaches, you need to remove the skin. This is a process that I personally hate doing, but I know it ends up with a much better product. (For a preserving method where you can leave the skins on, freeze the peaches instead.)
You can peel them normally using a paring knife or peeler, but this can take a lot of time. Besides, you usually end up peeling up a bunch of the flesh as well as the peel. (Unless you have some amazing knife skills, unlike me!)
Instead, I use the hot water method. First, wash the peaches. Then bring a large stock pot of water to a rolling boil. The water needs to be deep enough so the peaches are fully submerged when dropped into the pot. On each peach, cut a shallow “X” into the bottom. Just go deep enough to pierce the skin.
Working in batches, carefully drop the peaches into the water and allow them to “boil” for 45 to 60 seconds. Remove the peaches with a slotted spoon or a spider spoon and immediately place them in a bowl of ice water.
Once the peaches have cooled, you should be able to easily slide off the skins. I have noticed that peaches that are not quite fully ripe are a bit harder to peel using this method. That’s when I have to bust out the knife skills, as lacking as they might be.
Step 3: Slice & Prevent Browning
Once the peaches are peeled, it’s time to get slicing. You can either cut the peaches in half, quarters, or slices. I prefer to use slices for one main reason: I can get more peaches in each jar this way.
Cut the peaches in half to remove the pit. Then cut each half in half again, so you’re working with four quarters per peach. Each quarter gets cut into two or three slices, depending on its size.

Place the cut peaches in a large bowl of water that has been treated with Fresh Fruit Preserver or lemon juice. This helps to prevent the peaches from browning. You can skip this step, but I find it useful.
I use Mrs. Wages Fresh Fruit Preserver (found in most stores that carry canning products). Just add 3 Tbsp of the preservative to 2 quarts of water. If you want to use lemon juice, add 1/2 cup of lemon juice per 2 quarts of water. Leave the peaches in this solution until you are ready to add them to your canning jars.
Step 4: Create A Syrup – Canning Fresh Peaches
Now you need to create a simple syrup using a mixture of water and sugar. This is the liquid that gets added to the jars with the peaches.
Have you ever bought a can of peaches at the grocery store and it said “peaches in heavy syrup” or something similar? That’s the liquid they are talking about that we need to make. And with home canning, you can control the sugar-to-water ratio to your liking.

The chart below shows the syrup ratio according to the “Ball Blue Book Guide To Preserving.” This is where I venture a little differently from their recipe. I use an in-between ratio of 2 cups of sugar to 6 cups of water. (Mainly because this was easier for me to measure and double). My ratio created a syrup that is between light and extra light.
| Type Of Syrup | Sugar Amount | Water Amount |
|---|---|---|
| Extra Light | 1 1/4 cups | 5 1/2 cups |
| Light | 2 1/4 cups | 5 1/4 cups |
| Medium | 3 1/4 cups | 5 cups |
| Heavy | 4 1/4 cups | 4 1/4 cups |
Place your water and sugar in a large pot and bring the mixture to a boil. Stir until the sugar is completely dissolved. Keep the syrup simmering while you prepare your canner and jars.
Step 5: Fill The Jars – Canning Fresh Peaches
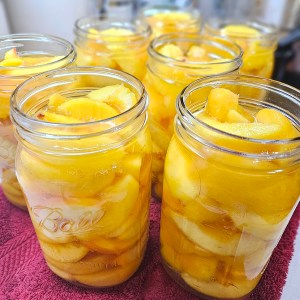
Once you have all of your peaches sliced and ready to go, your syrup is heated, and your water bath canner and jars are warm, it’s time to fill the hot jars with peaches.
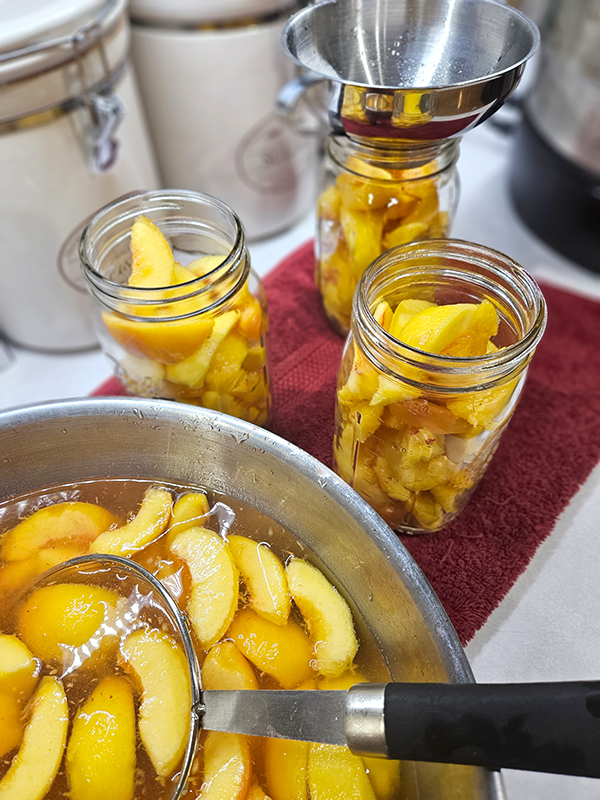
Remove a couple of jars from the canner at a time using a jar lifter. Pour the water that’s inside each jar into the water bath canner so that the jars are empty. Place the hot jars onto a folded towel and fill them with peaches. Gently tap the jars to get the peaches to settle to the bottom. You should be able to pack quite a few slices in each jar. Just don’t press too hard or you’ll end up with peach mush!
Next, fill the jars with the hot syrup, leaving half an inch of headspace at the top. Use a plastic knife, a bubble popper, or even a plastic chopstick to gently go around the inside edge of the jar to release any trapped air bubbles. Top the jar off with additional syrup if needed, still leaving the half-inch headspace.
Once the jars are filled, use a clean, damp paper towel to clean off the rim of the jar. Add a new canning lid (i.e., a flat) and a band to each jar, tightening them to finger tight. Place the jars back into the canner using a jar lifter. Repeat until all of the jars are filled. Make sure that you have at least an inch of water above the top of the jars. Add the lid to your canner.
Step 6: Process & Store – Canning Fresh Peaches
Process pint jars for 25 minutes and quarts for 30 minutes. Do not start the timer until the water bath canner has been brought to a full rolling boil. Sometimes, this can take several minutes.
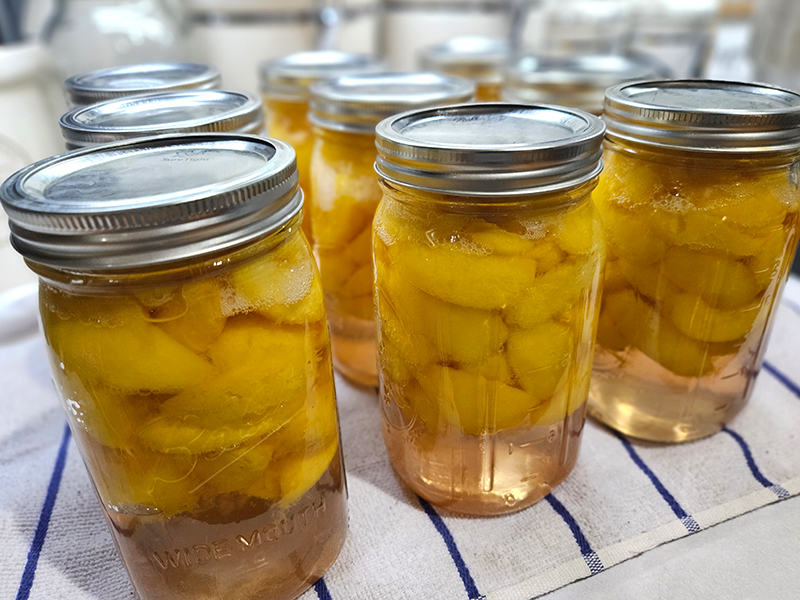
Once the time is up, turn off the heat and remove the lid. Allow the jars to sit in the canner for 5 minutes. Then, using a jar lifter, lift the jars out one by one and place them onto a folded towel. Once you set the jars down, leave them undisturbed for 24 hours.
After the 24 hours are up, remove the bands and check each lid to make sure they have properly sealed. Place any jars that don’t seal into your refrigerator and consume within a week. The sealed jars are now shelf-stable. Label and store the jars without the bands in a cool, dry location.
That’s all there is to it! You can now enjoy your fresh peaches all year long!
Until next time, thanks for stopping by!
– Chelsea
*This post may contain affiliate links. These are products I have used personally and highly recommend. As an Amazon Associate, I may earn a small commission from qualifying purchases if you purchase items through my links. These links and the ads on this page help to support my family and our semi homestead, so Thank You!
Canning Fresh Peaches
Equipment
- Water bath canner
- 7 quart canning jars, lids, and bands
- Jar lifter
Ingredients
- 17 pounds ripe peaches
- 2 cups sugar
- 6 cups water
- 1 bag ice
Optional To Prevent Browning
- 3 tbsp fruit preserver (or ½ cup lemon juice)
- 2 quarts water
Instructions
- First, get your water bath canner ready and warm up the jars. I do this by filling each jar with warm water and placing them into the water bath canner. Then fill the canner with hot water until it reaches the top of the jars. Turn your canner or the stove on and start heating up the water and jars. Canning Tip: Add a splash of vinegar to your water bath canner water. This will help to prevent hard water spots from forming on the jars.
- Wash all your peaches and gently scrub off the peach fuzz. Next, remove the peel. To do this, cut a shallow “X” into the base. Working in batches, drop each one into boiling water for 45 to 60 seconds. Remove the peach and immediately place it into ice water. Once cool, the peels should easily slide off.
- Once the peaches are peeled, cut the peaches in half, quarters, or slices, removing the pit. Place the cut peaches into a large bowl treated with Fresh Fruit Preserver or lemon juice to prevent the peaches from browning. If using Mrs. Wages Fresh Fruit Preserver, add 3 Tbsp of the preservative to 2 quarts of water. If using lemon juice, add 1/2 cup of lemon juice per 2 quarts of water. Leave the peaches in this solution until you are ready to add them to your canning jars.
- Now, create a simple syrup using a mixture of water and sugar. This is the liquid that gets added to the jars with the peaches. See notes below for the "Ball Blue Book Guide To Preserving" ratio. (I use a ratio of 2 cups of sugar to 6 cups of water.) Place the water and sugar in a large pot and bring the mixture to a boil. Stir until the sugar is completely dissolved. Keep the syrup simmering.
- Next, pour the water that's in the hot canning jars back into the water bath canner and place the empty jars on a folded kitchen towel. Fill the hot jars with peaches. Gently tap the jars to get the peaches to settle to the bottom. Add the hot syrup, leaving ½ inch of headspace. Use a plastic knife, a bubble popper, or something similar to remove any trapped bubbles. Top the jar off with additional syrup if needed, still leaving ½ inch headspace. Once the jars are filled, use a clean, damp paper towel to clean off the rims. Add a new canning lid (i.e., a flat) and a band to each jar, tightening it to finger tight. Place the jars back into the canner using a jar lifter. Repeat until all of the jars are filled. Make sure there is at least an inch of water above the top of the jars. Add the lid to your canner.
- Process pint jars for 25 minutes and quarts for 30 minutes. Do not start the timer until the water bath canner has been brought to a full rolling boil. Once the time is up, turn off the heat and remove the lid. Allow the jars to sit in the canner for 5 minutes. Then, using a jar lifter, lift the jars out one by one and place them onto a folded towel. Once you set the jars down, leave them undisturbed for 24 hours. After the 24 hours are up, remove the bands and check each lid to make sure they have properly sealed. Place any jars that don't seal into your refrigerator and consume within a week. The sealed jars are now shelf-stable. Store the jars without the bands in a cool, dry location.

Hello! I'm Chelsea, the writer & photographer behind Semi Homestead Life. As a wife and mom of two busy teen kids, I attempt to incorporate basic homesteading practices while staying practical to today's crazy life (and trying to be honest about the whole process)! I love writing, gardening, photography, crafting, cooking, and so much more!
Discover more from Semi Homestead Life
Subscribe to get the latest posts sent to your email.